前言
啟程方式還蠻瘋狂的
同事的團出發前一週半有一個人臨時不能去,低於半價讓出
我特休有剩,主管也同意請假,才能參加這次埃及行
Note: 因為是個人 blog,本篇包含大量主觀意見,主觀意見部份僅供參考 XDD
旅行團資訊
人員組成
這團台灣的旅行社是喬瑞,並和當地旅行社合作
從門票和車輛圖樣來看有可能是和埃及當地旅行社 埃及豆豆 合作
溝通上會直接把相關人員加入一個 Line 群組,如果有問題可以直接問台灣旅行社這邊的人
裡面的成員包含
- 台灣旅行社 (產品經理)
- 接送機人員 (導遊助理) * N
- 導遊 (埃及本地人)
- 導遊主管 (猜測)
- 埃及客服 (有可能是會講中文的值班人員?)
BTW 以上的人全部會說中文,但埃及端的中文程度可能沒有到最頂,如果聽到覺得奇怪的資訊可以用英文再次確認
服務範圍
台灣旅行社會有行前規劃和說明,但因為加入時間關係所以沒參加到
往返埃及的機票要自理
到達埃及當地入境 Visa、換錢、處理 SIM 卡,和離開的接送會有到由助理帶著跑完 (但專程接送可能要給司機 3~4 美金的小費)
中間想提問、調整行程都可以在 Line 上進行,處理速度都還蠻即時的
導遊會負責聯絡各種大小事 (司機、行程等) 以及與當地人溝通,如果有需要諮詢的 (e.g. 小費要給多少、廁所是否要收費) 可以直接問導遊
行程
自主行動 (Day 0)
因為機票難買,在開團前兩天深夜到開羅
意外的是開羅機場深夜換匯和 SIM 卡店都有開
旅行社有安排接機和送到我自己訂的飯店
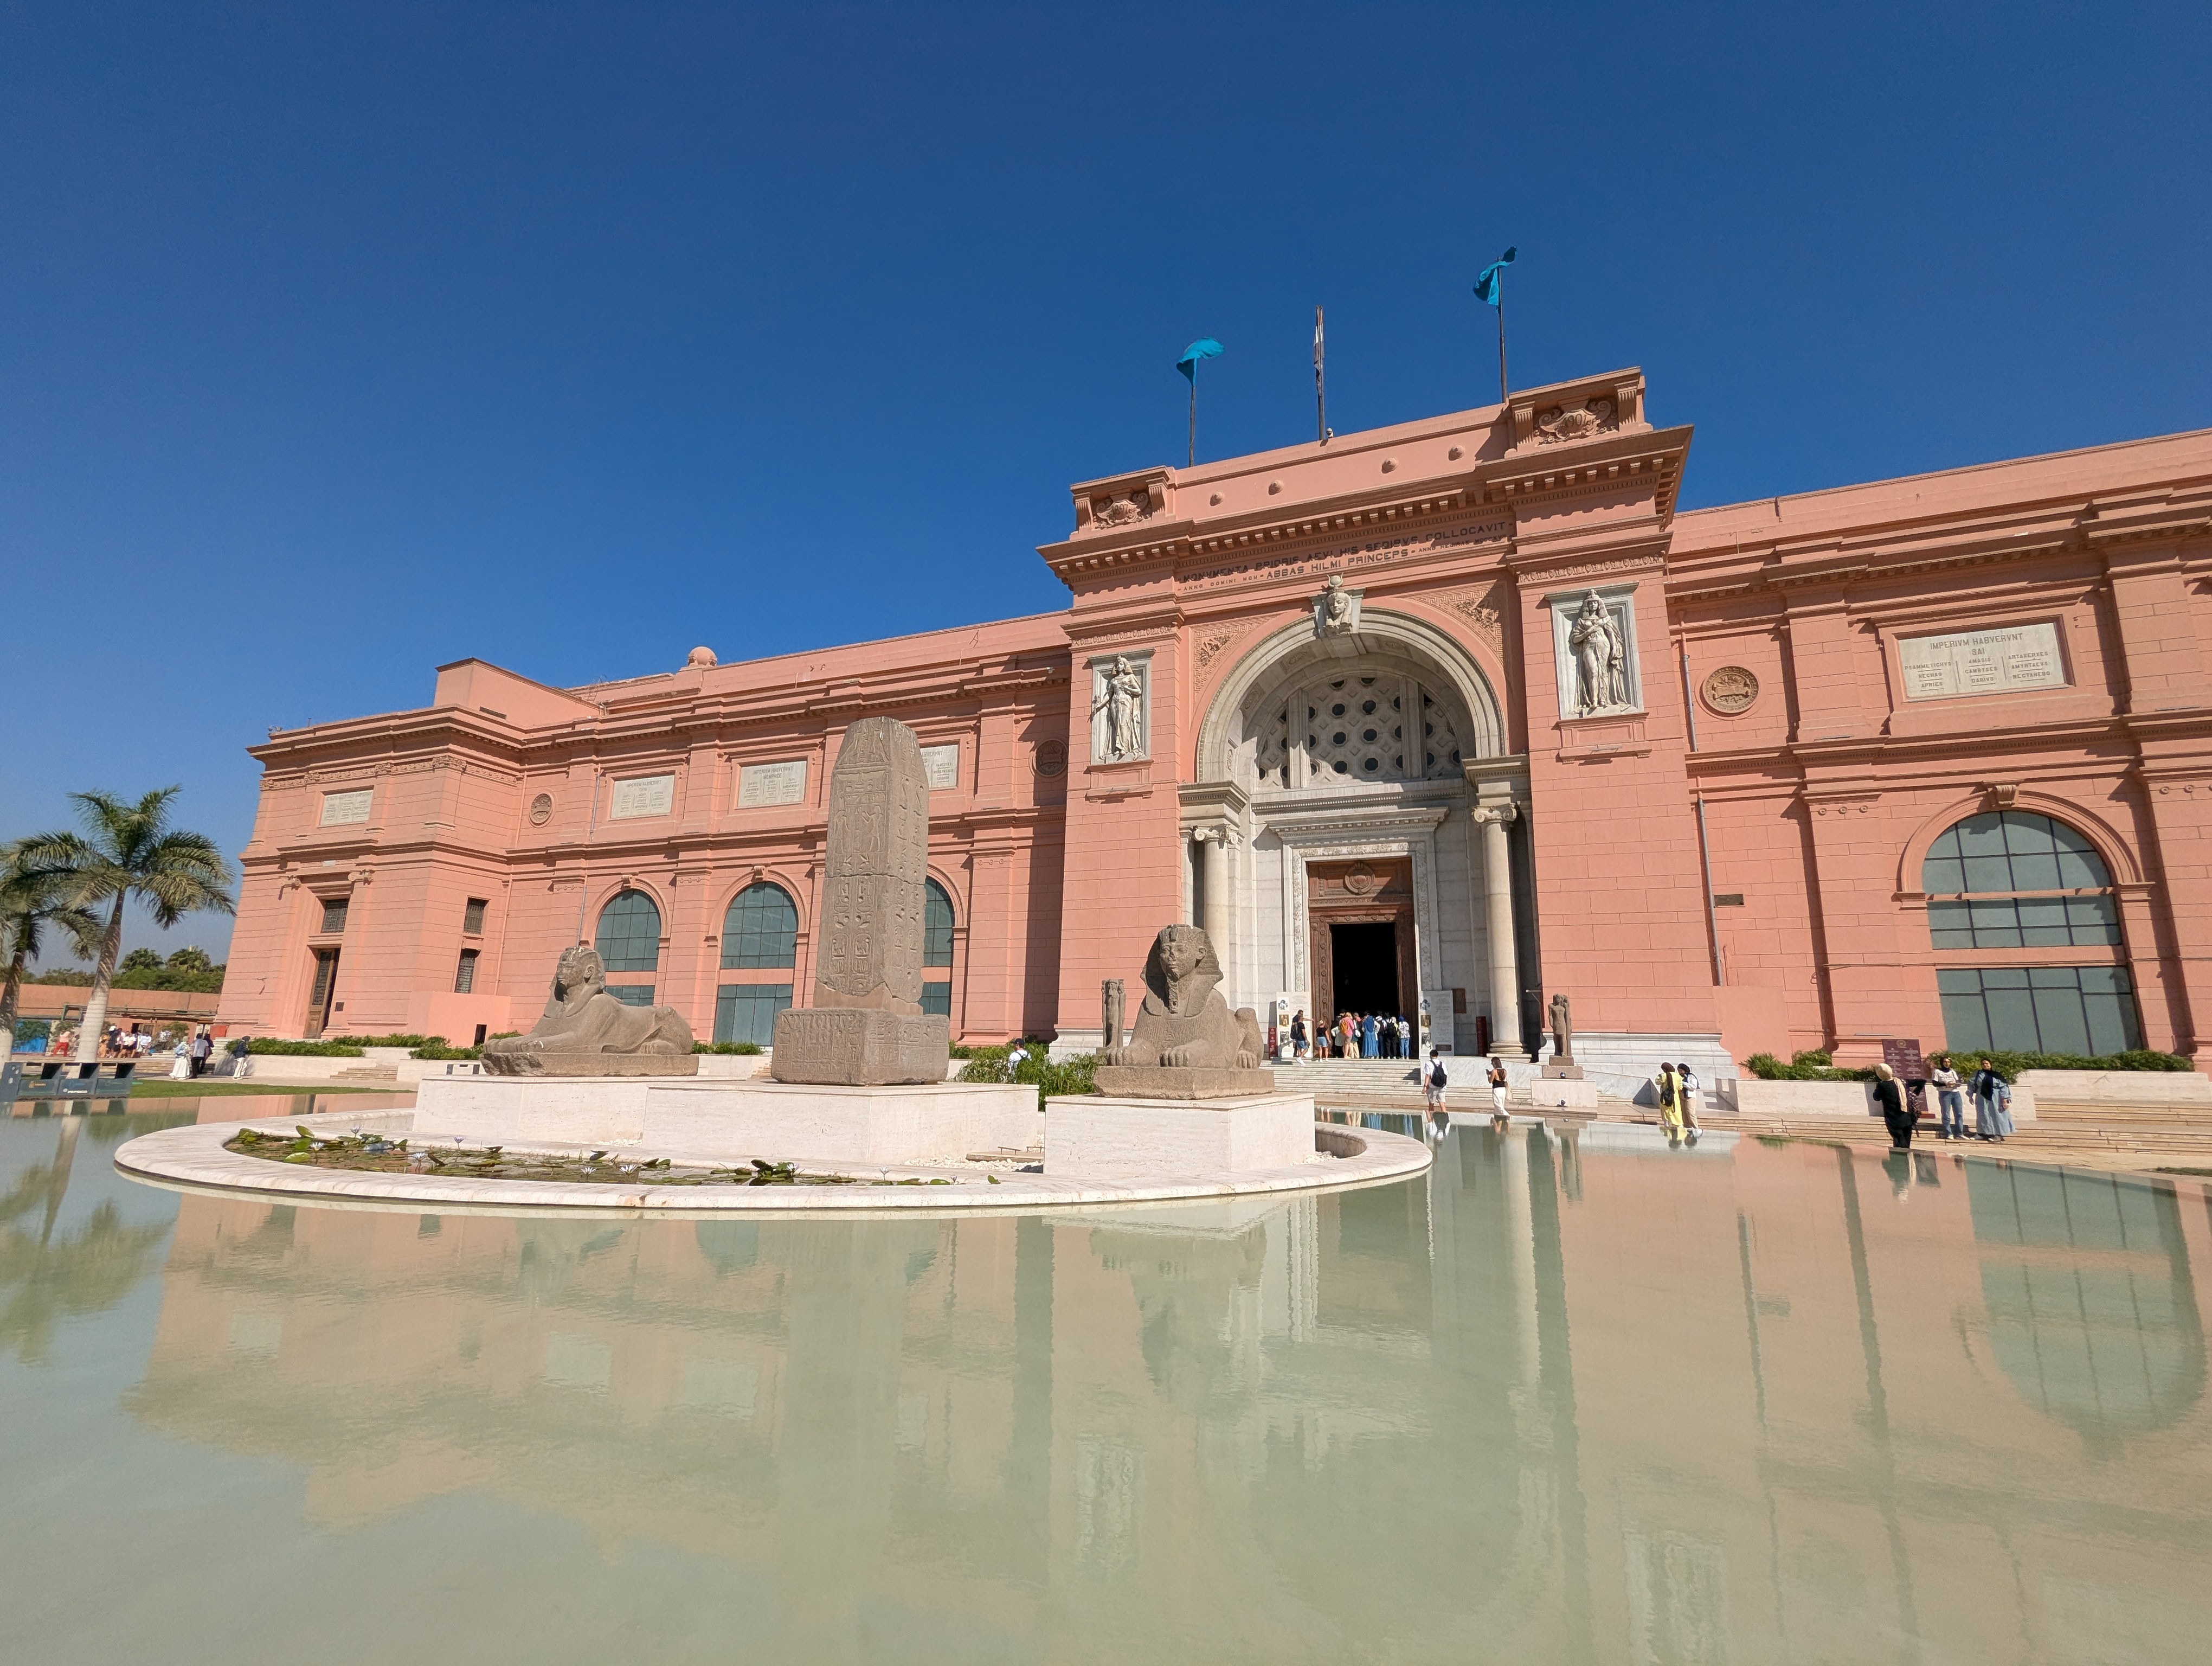
隔天自己搭地鐵跑到開羅博物館 (完全忘記旅行社行程裡面有排...)
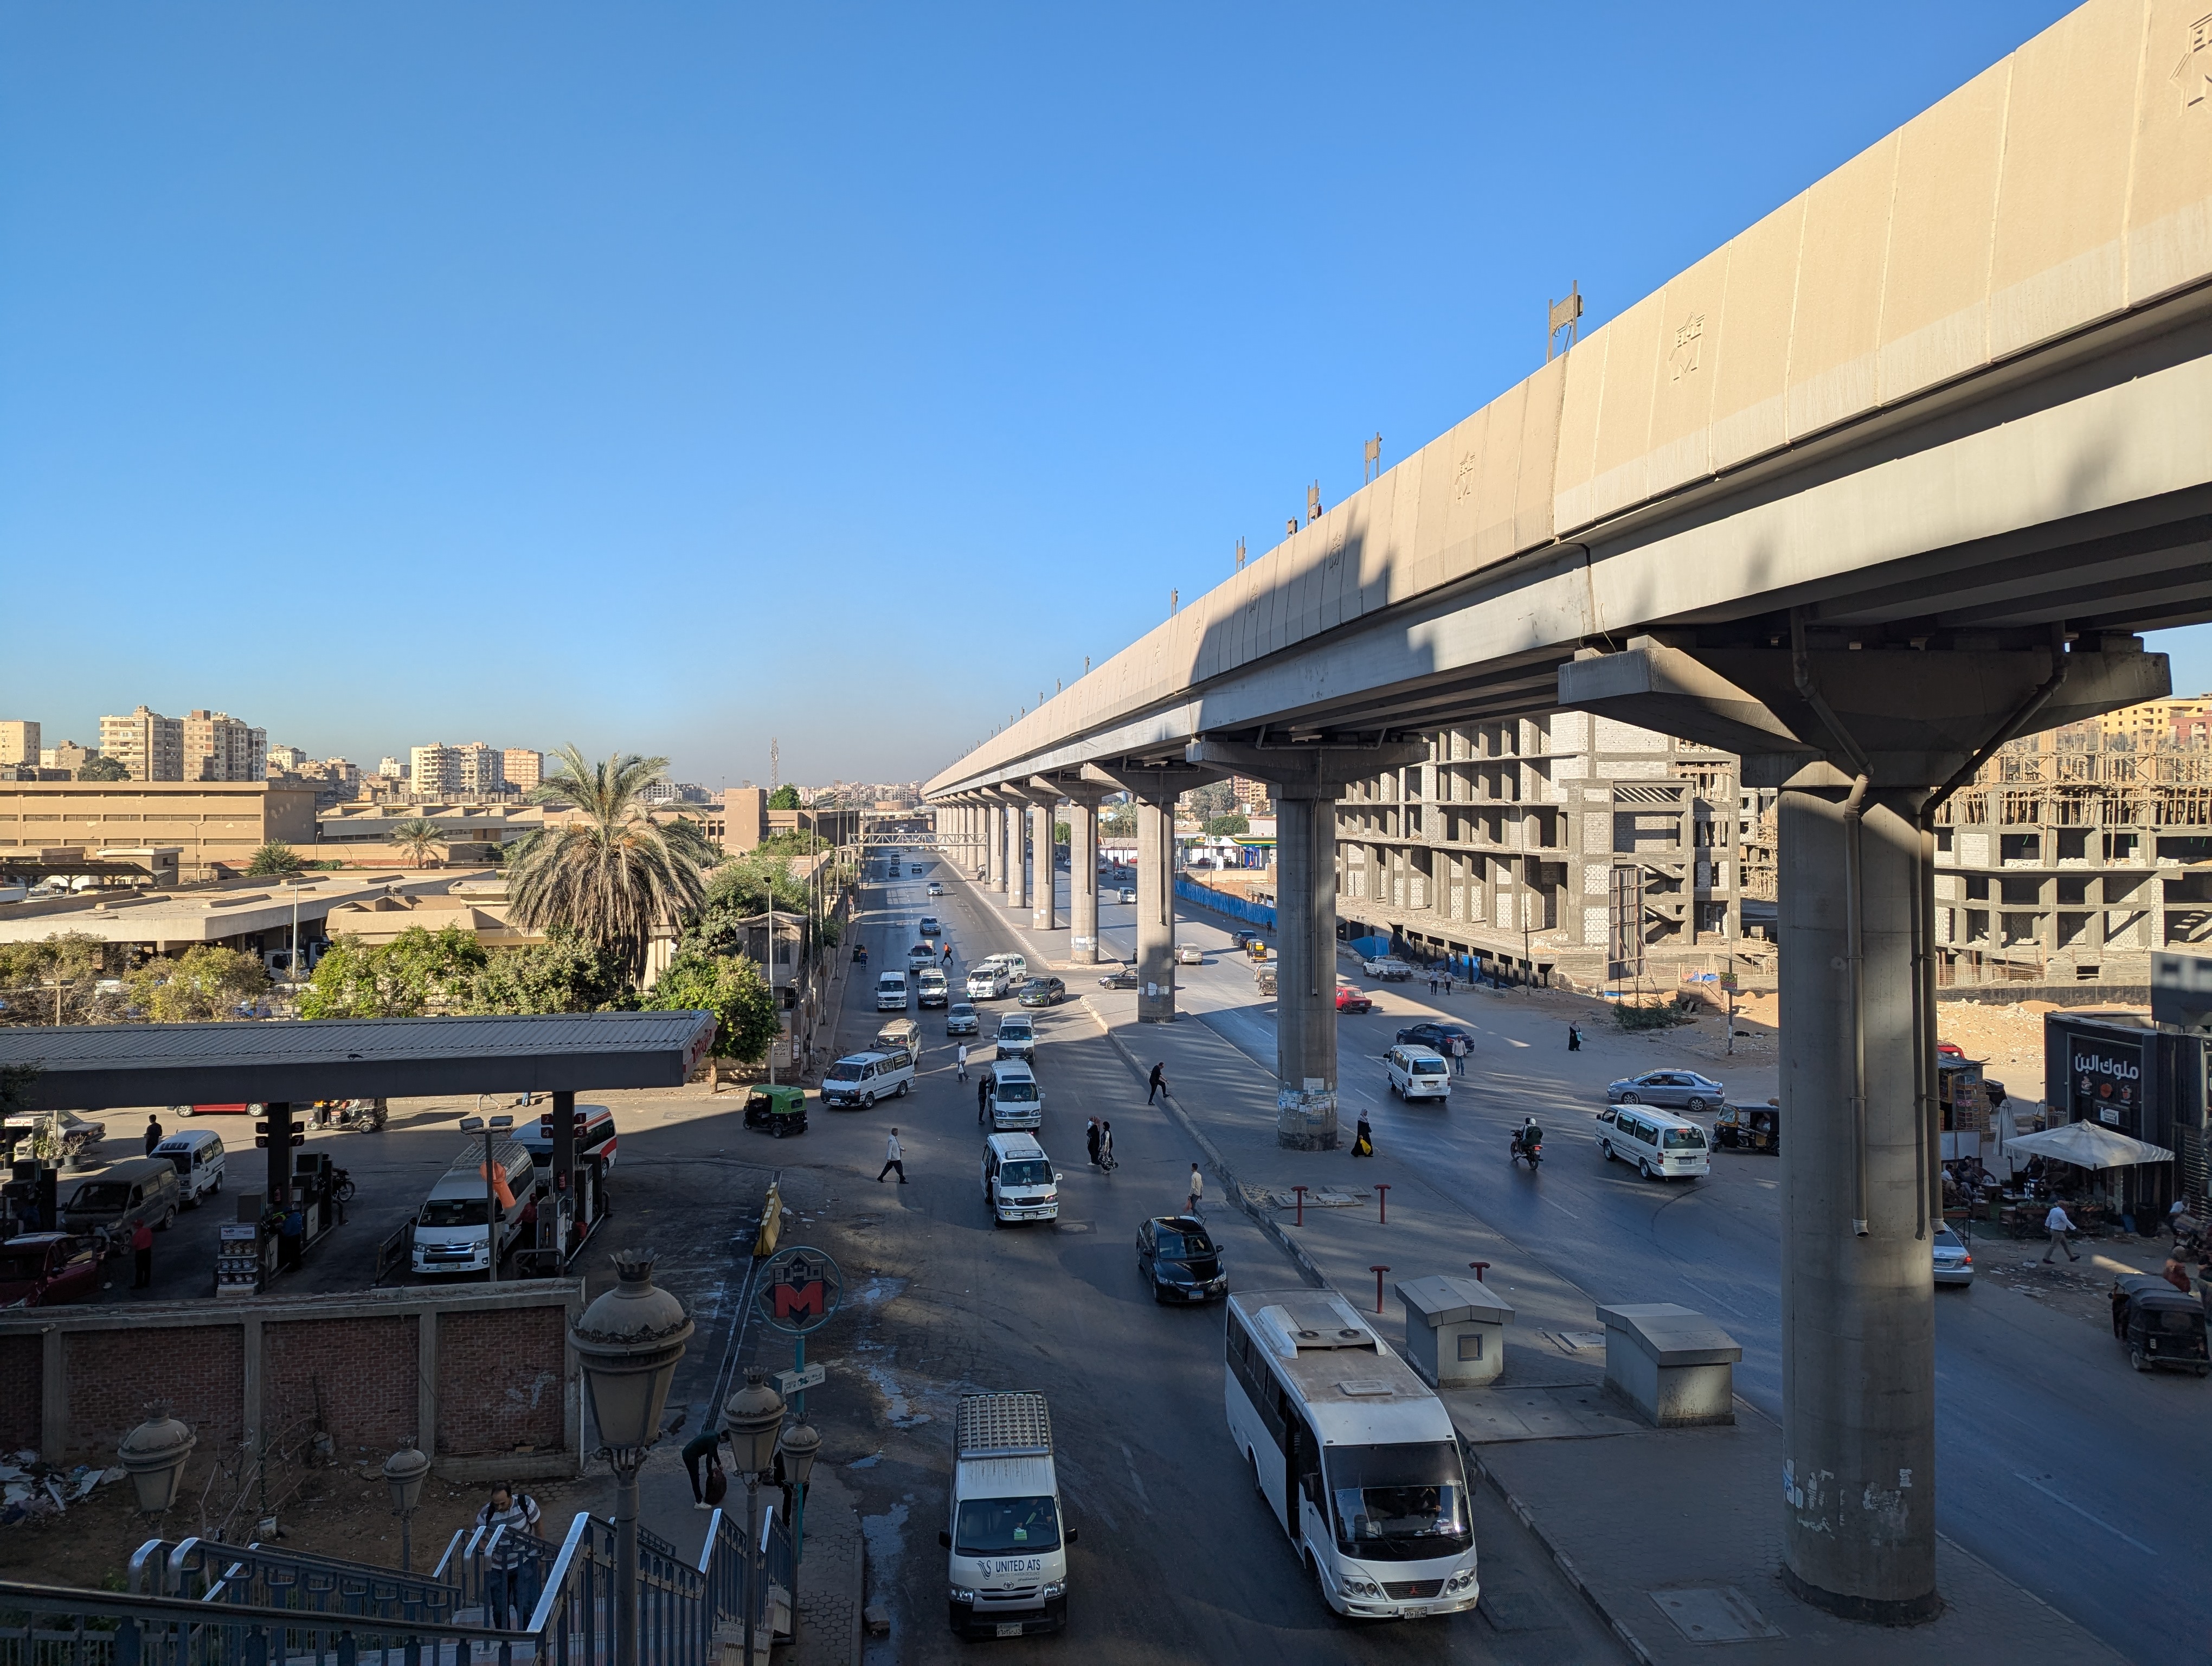
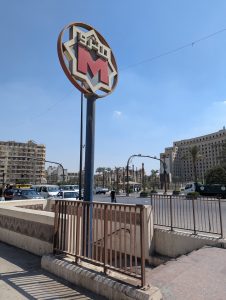
開羅地鐵有自動販賣機和交通卡,但大部分的市民看起來還是習慣櫃台買票
地鐵價格非常便宜 (最高價低於台幣 13),使用者大部份是當地人
在開羅博物館旁邊看到一群人在過安檢,一開始不知道那是不是入口,直到我繞完一整圈博物館外圍之後才確信那是入口...
一共有四次安檢,分別是大門外、博物館大門、博物館室內和出口,不知道入口看那麼多次是為啥
自動賣票機是壞的,當地人有嘗試提醒我但我還是想要試試看,他們就一直在我背後喊 "Error! Error! Error!" XDD
最後當然是只能到人工窗口買票
裡面館藏很多,人也很多,可以先查好要看哪些
不然就會像我一樣只能全部走馬看花看完 XDD
BTW 博物館的紀念品店可以記一下價格,之後跟小販殺價比較有依據
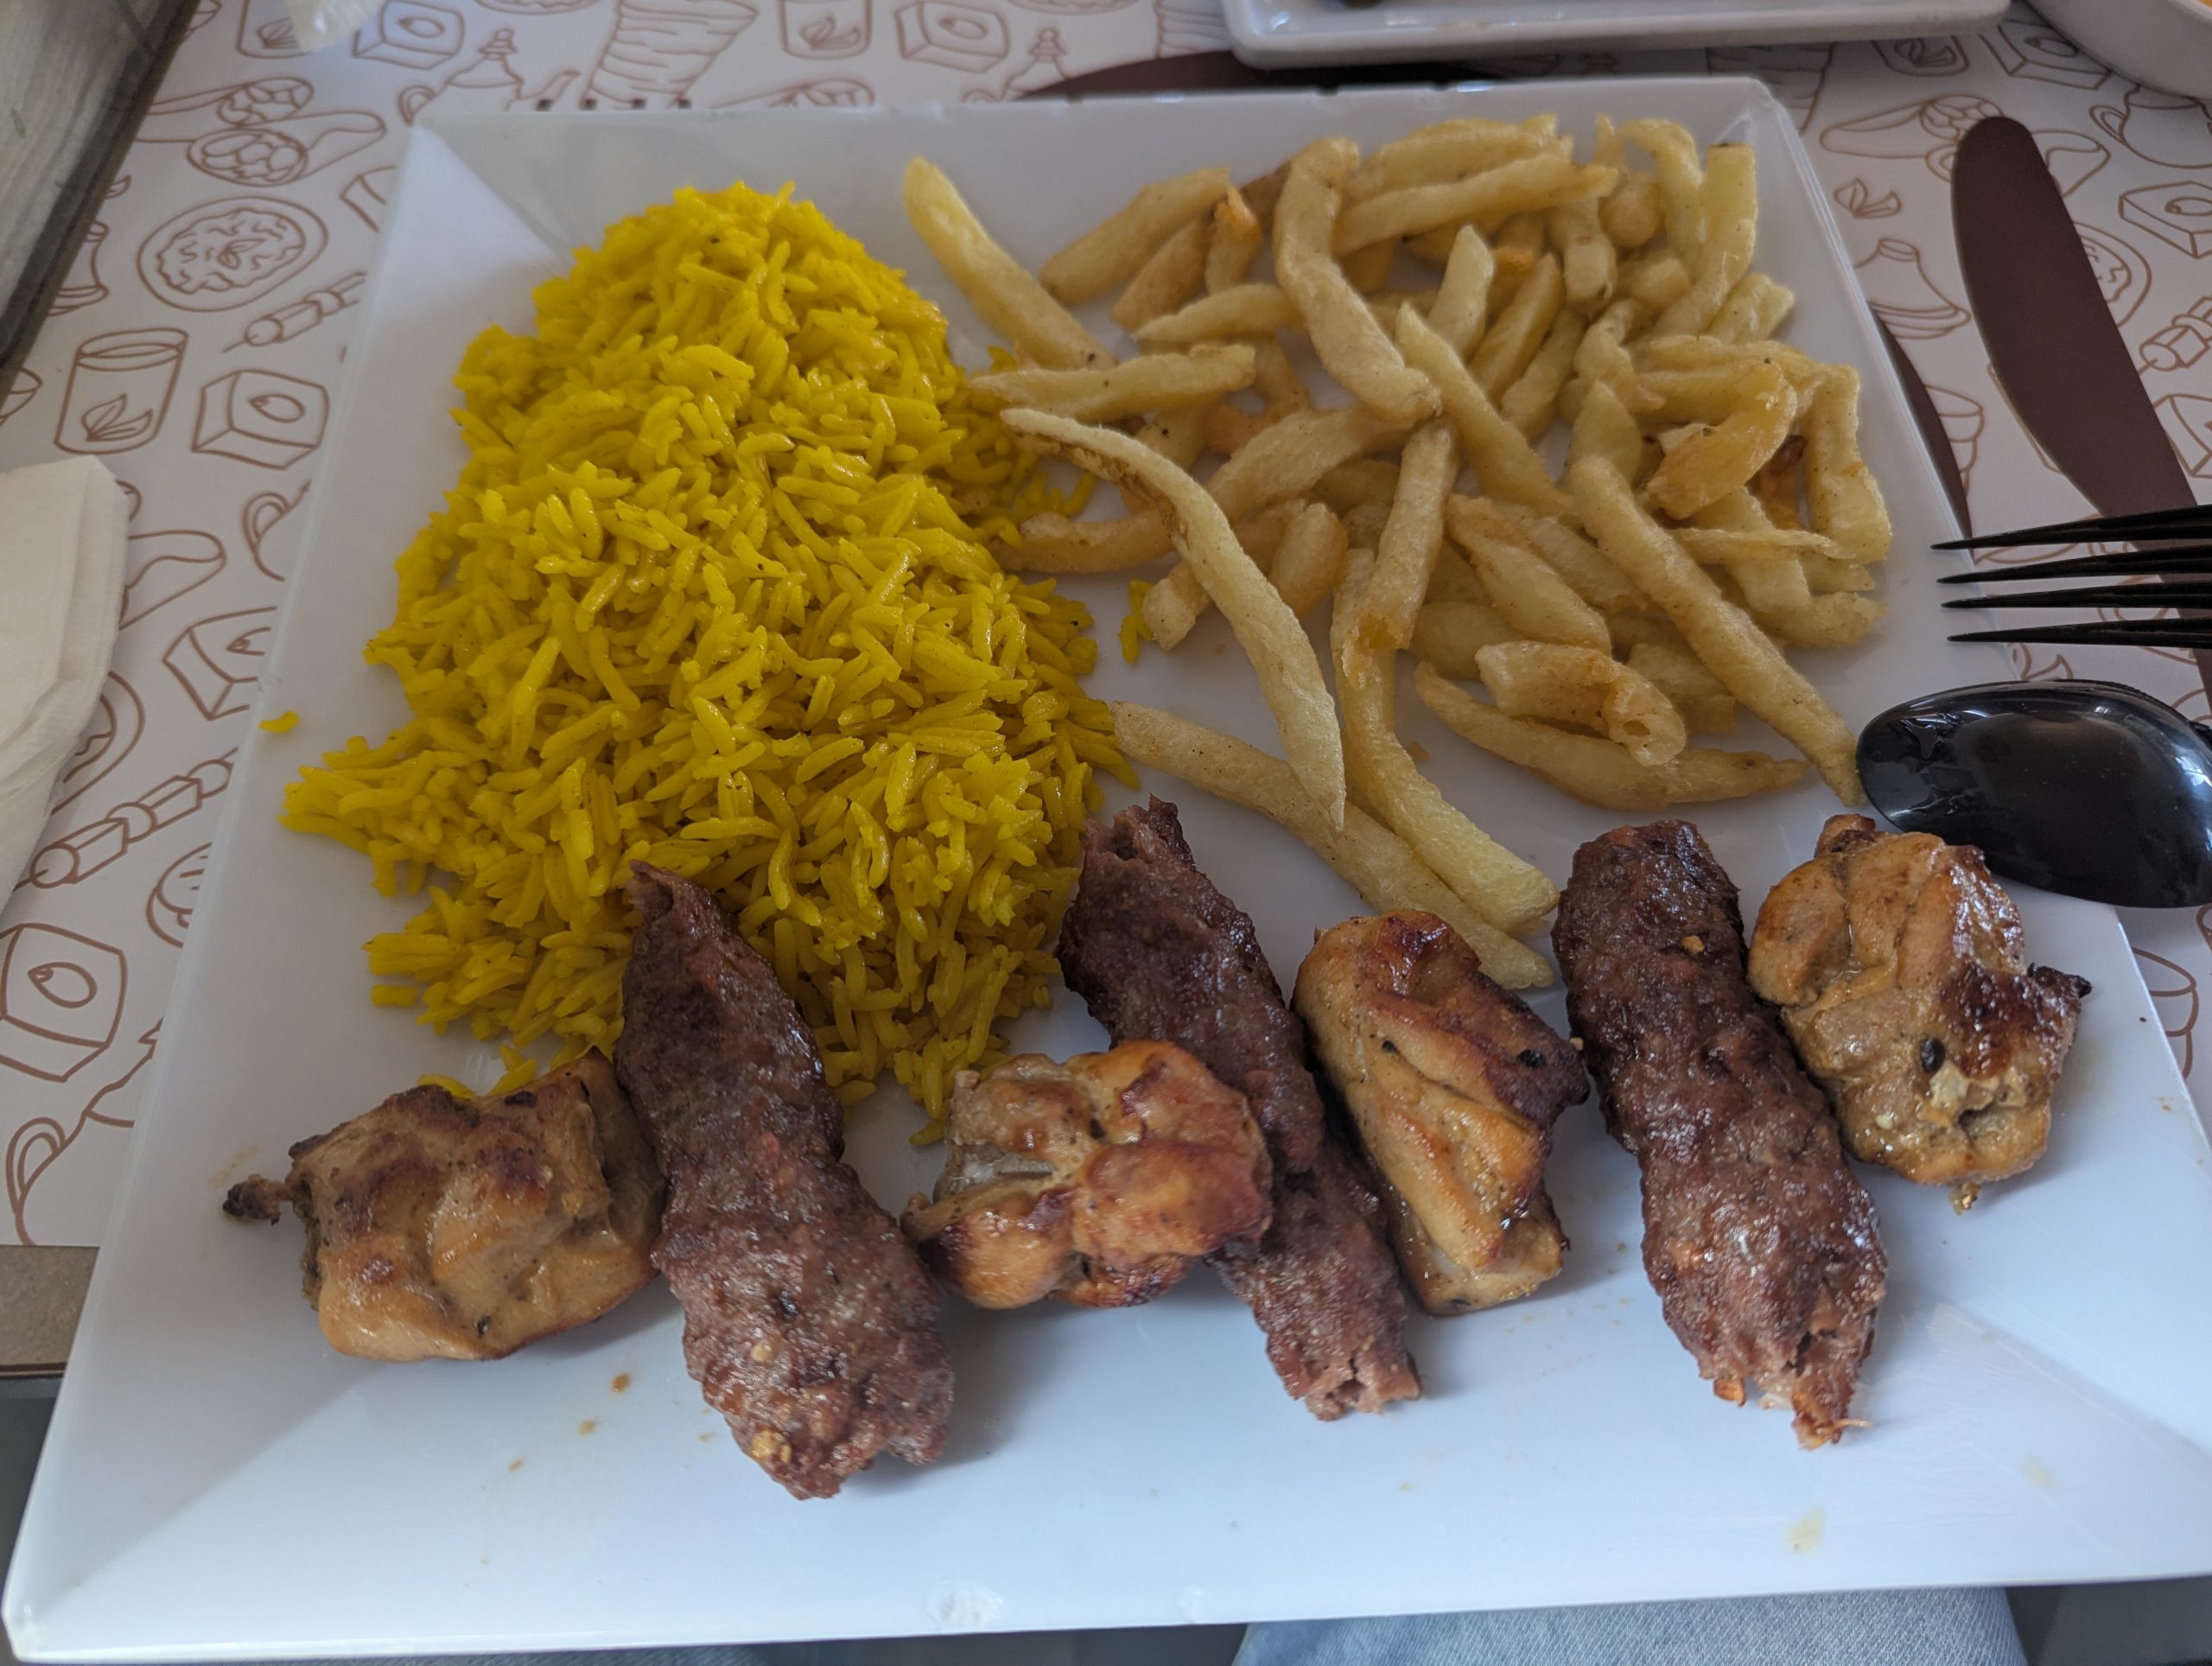
午餐跑去吃網路上推薦的連鎖埃及菜店 - Kazaz,吃烤乳鴿塞飯 (Hammam Mahshi)
原本想說考乳鴿是單點,所以又加點了一個 1/4 雞套餐
但與店員溝通不良,在疑似是店長的協助下點成了兩個都是套餐,連晚餐份都點了
總共 300 多 EGP
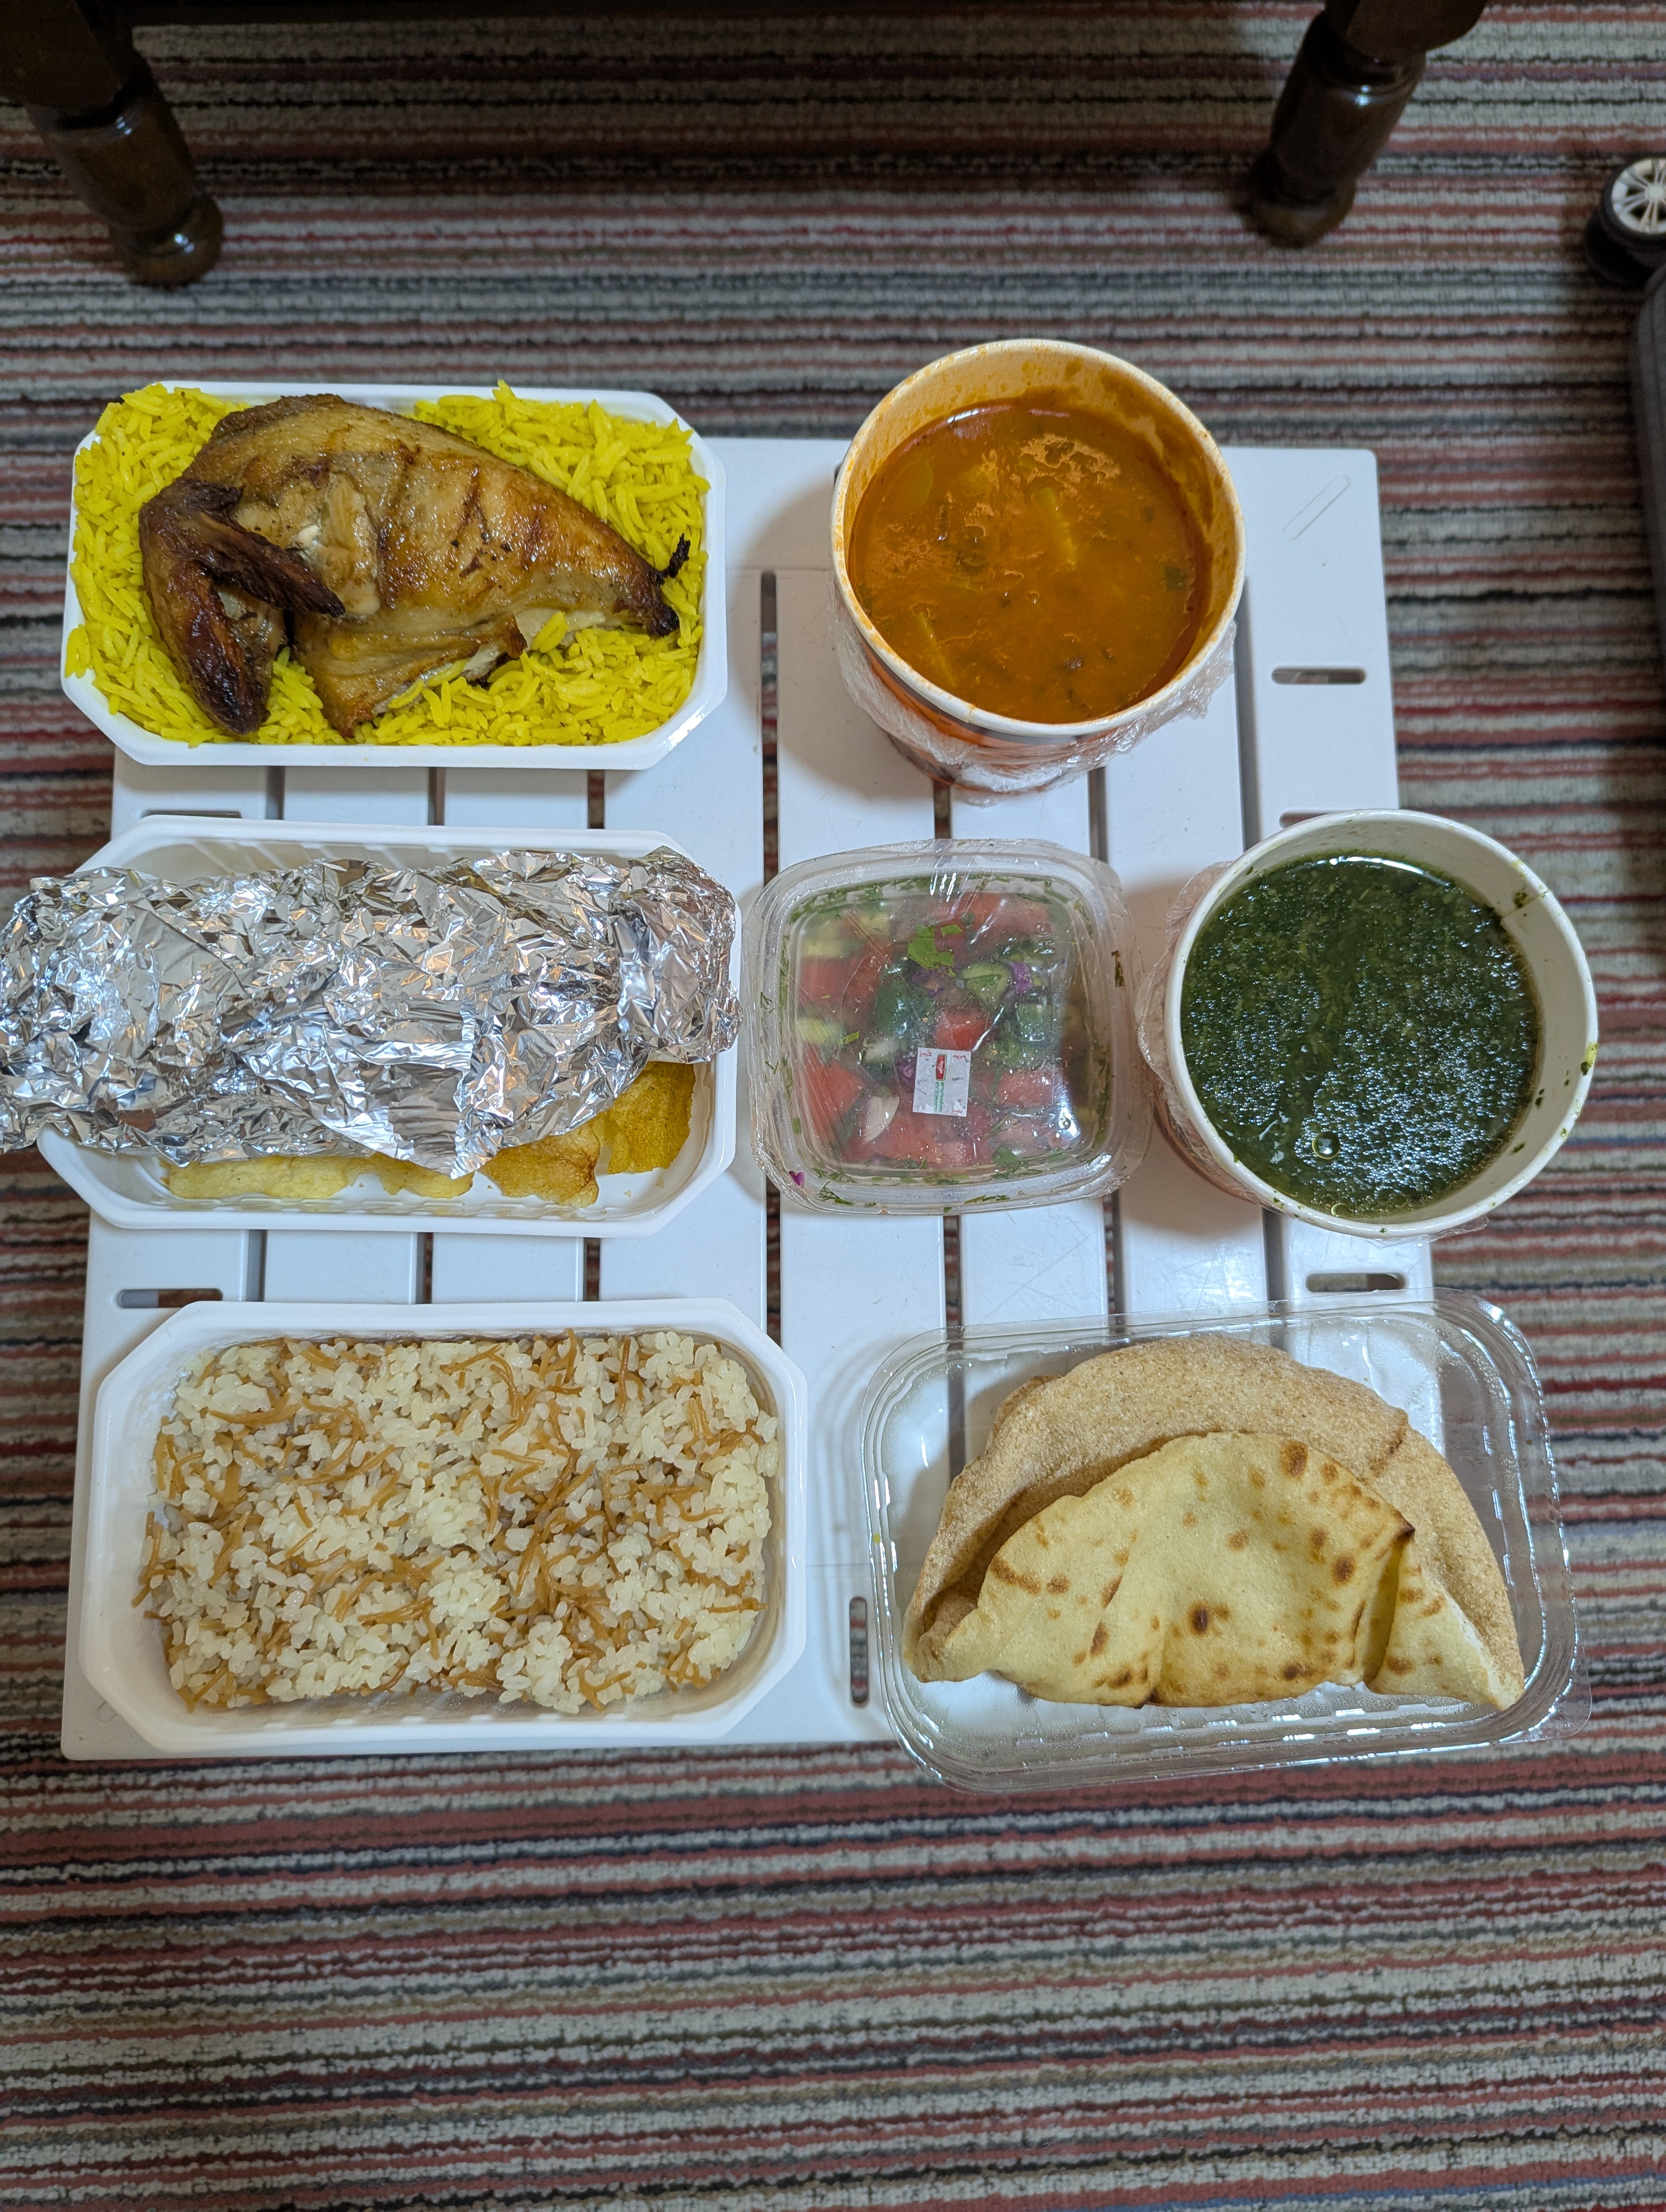 (鋁箔那包是烤乳鴿)
烤乳鴿本身沒啥肉,肉質也偏柴。裡面包的飯有點像荷葉包飯,這個就好吃
另外綠色勾芡湯也好喝~
這時候的我還不知道,我會吃這類食物好幾天...
開羅市區 (Day 1)
開羅博物館 (2hrs)
有導遊導覽比較知道文物的背景知識
但時間關係參觀的範圍就比較小
午餐 - Galalto Restaurant (1hr)
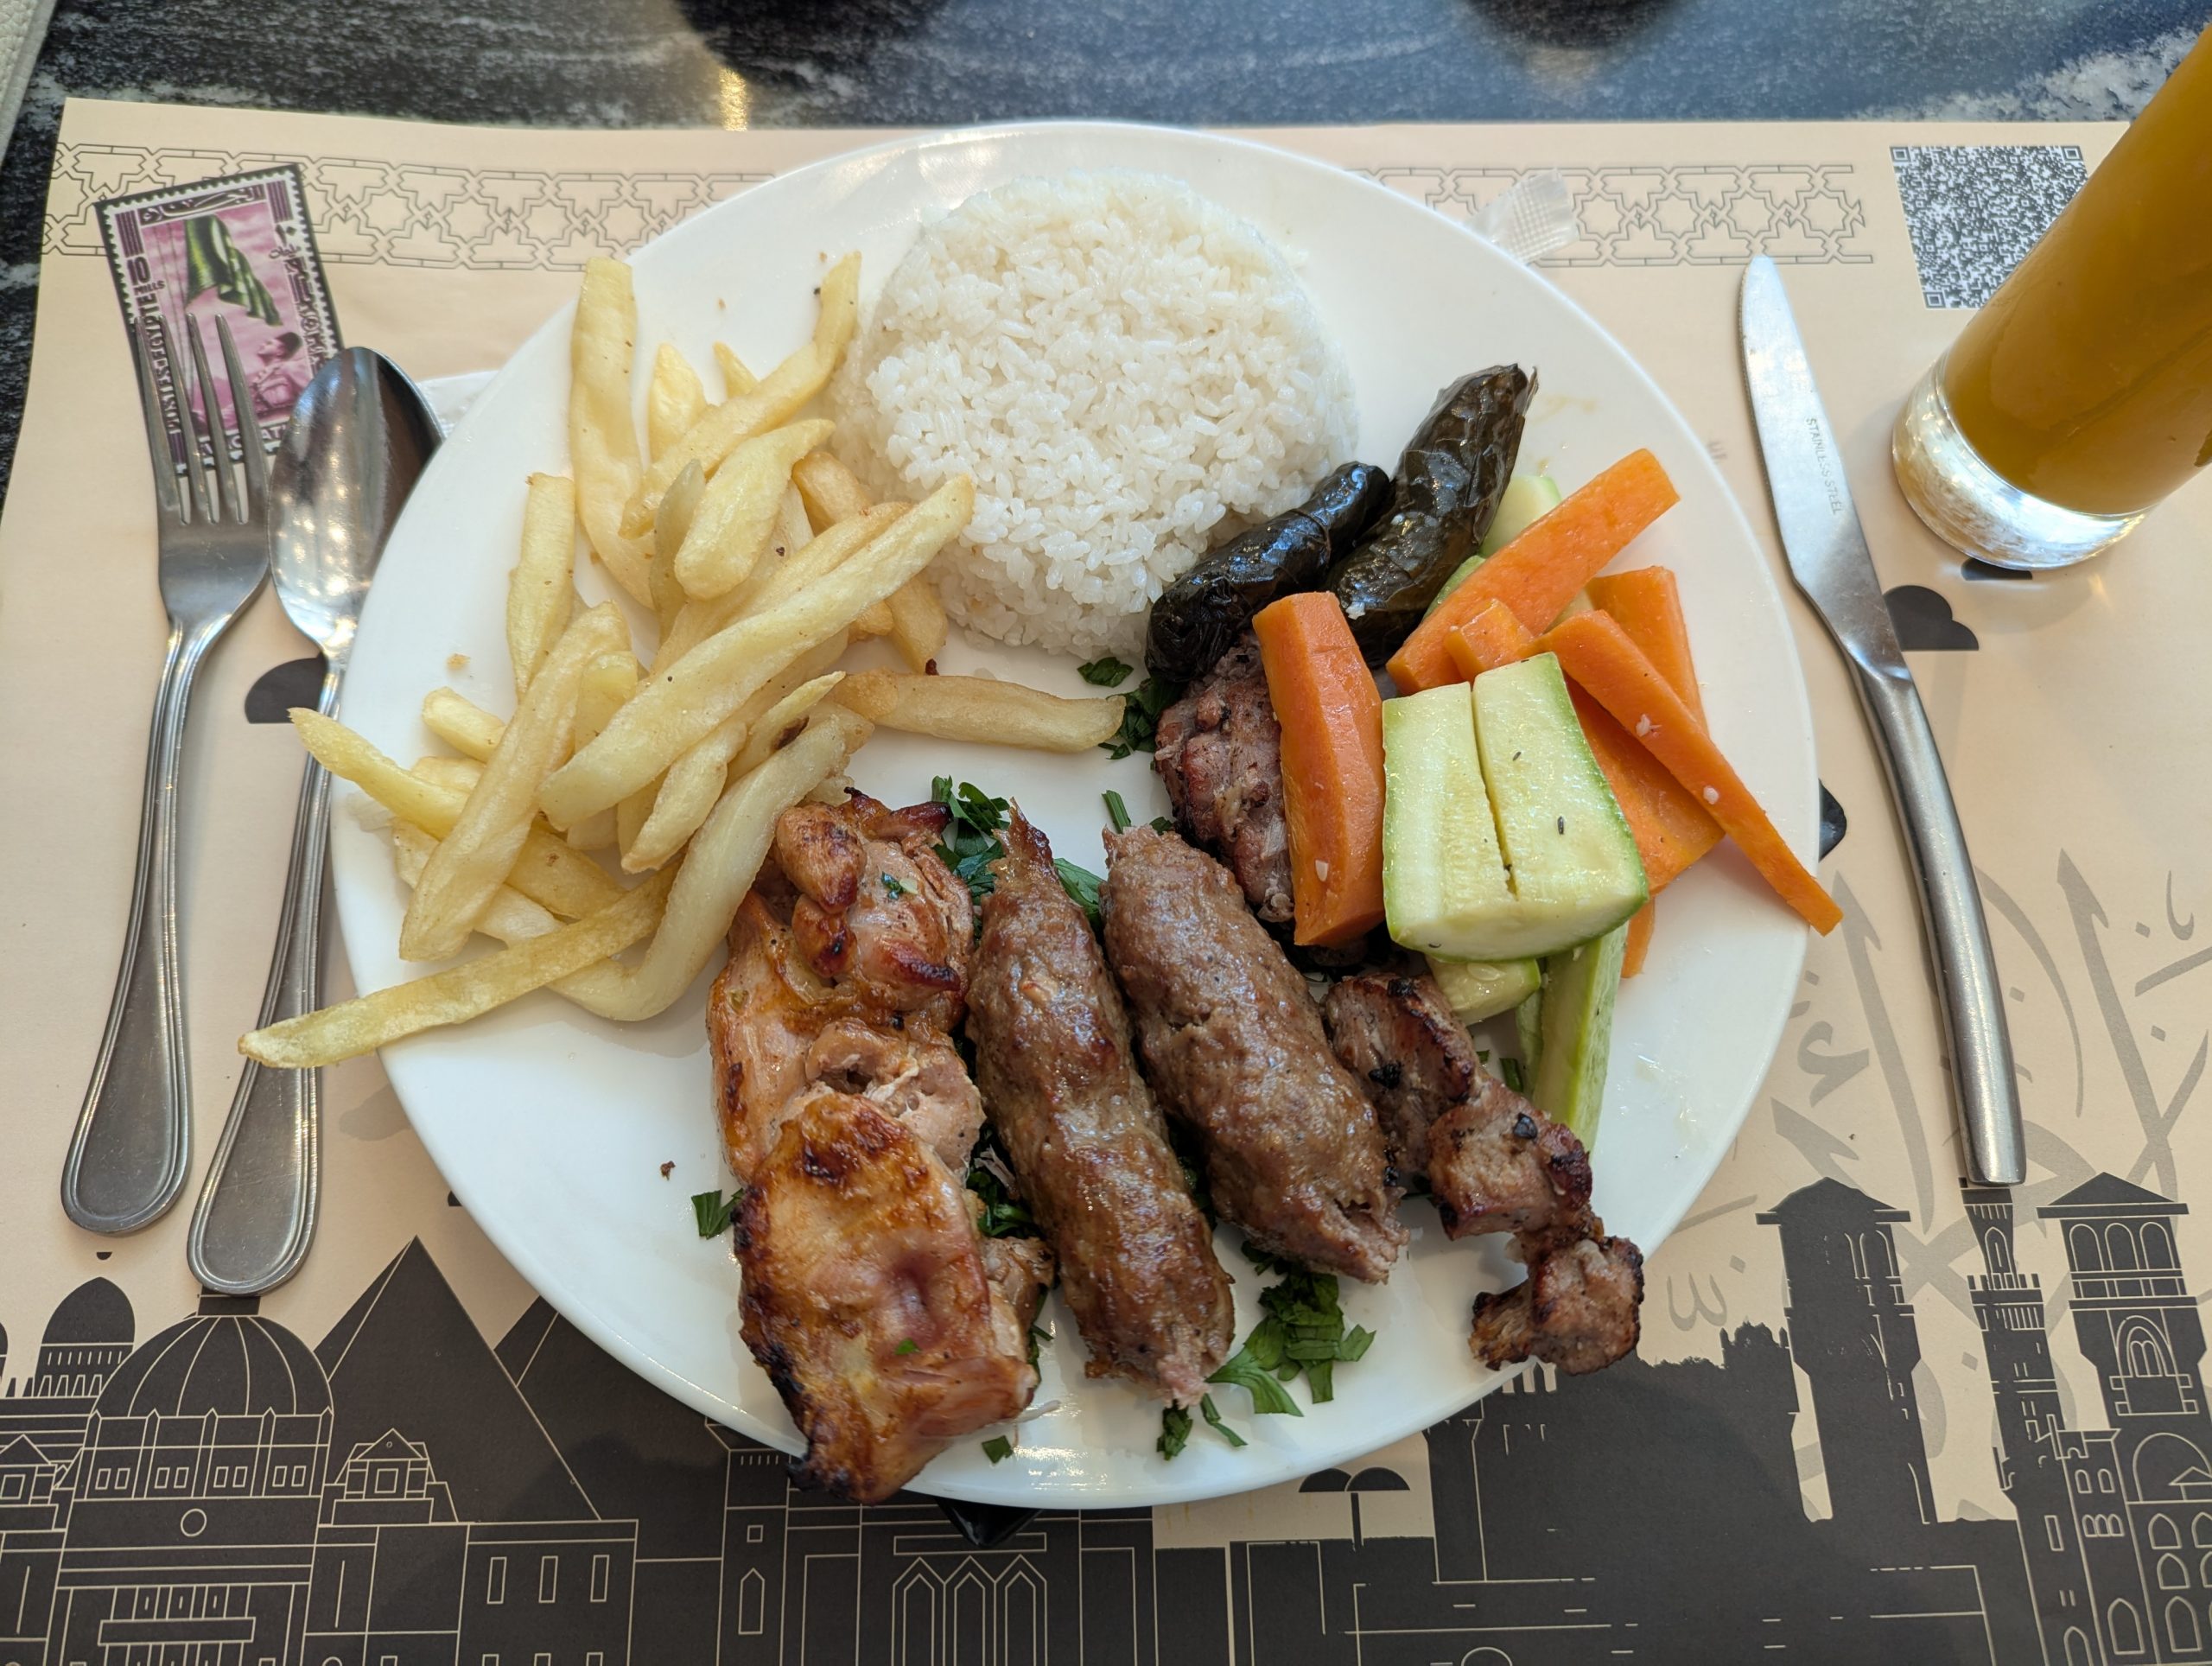 埃及風味餐
埃及風味餐
像是給團客用餐的地點,但裝潢服務都不錯
飲料一杯 2 美金,大推芒果汁,超濃
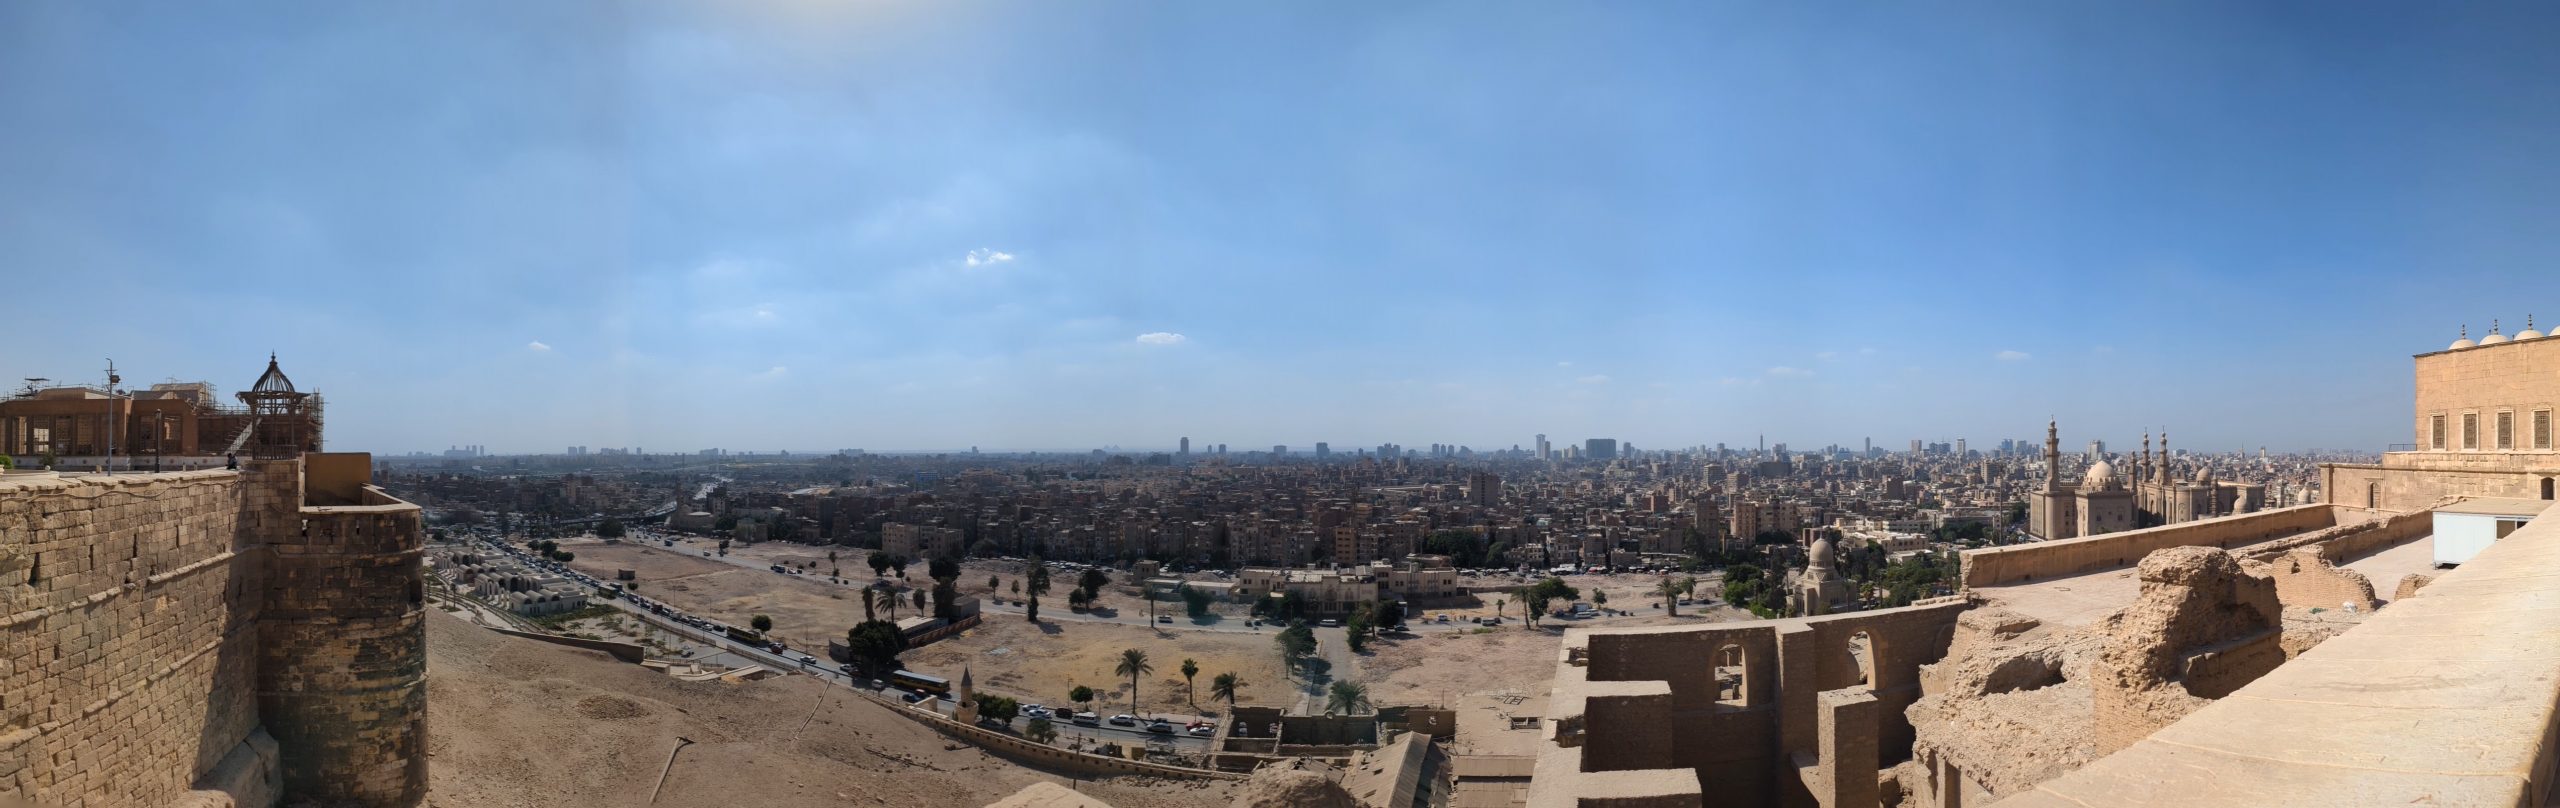
薩拉丁城堡+阿裡清真寺 (1hr)
位於高地上,可以俯瞰開羅市區
 薩拉丁城堡內部
導遊是伊斯蘭教徒,也可以借這機會了解伊斯蘭教的文化以及他們對一些事情的看法
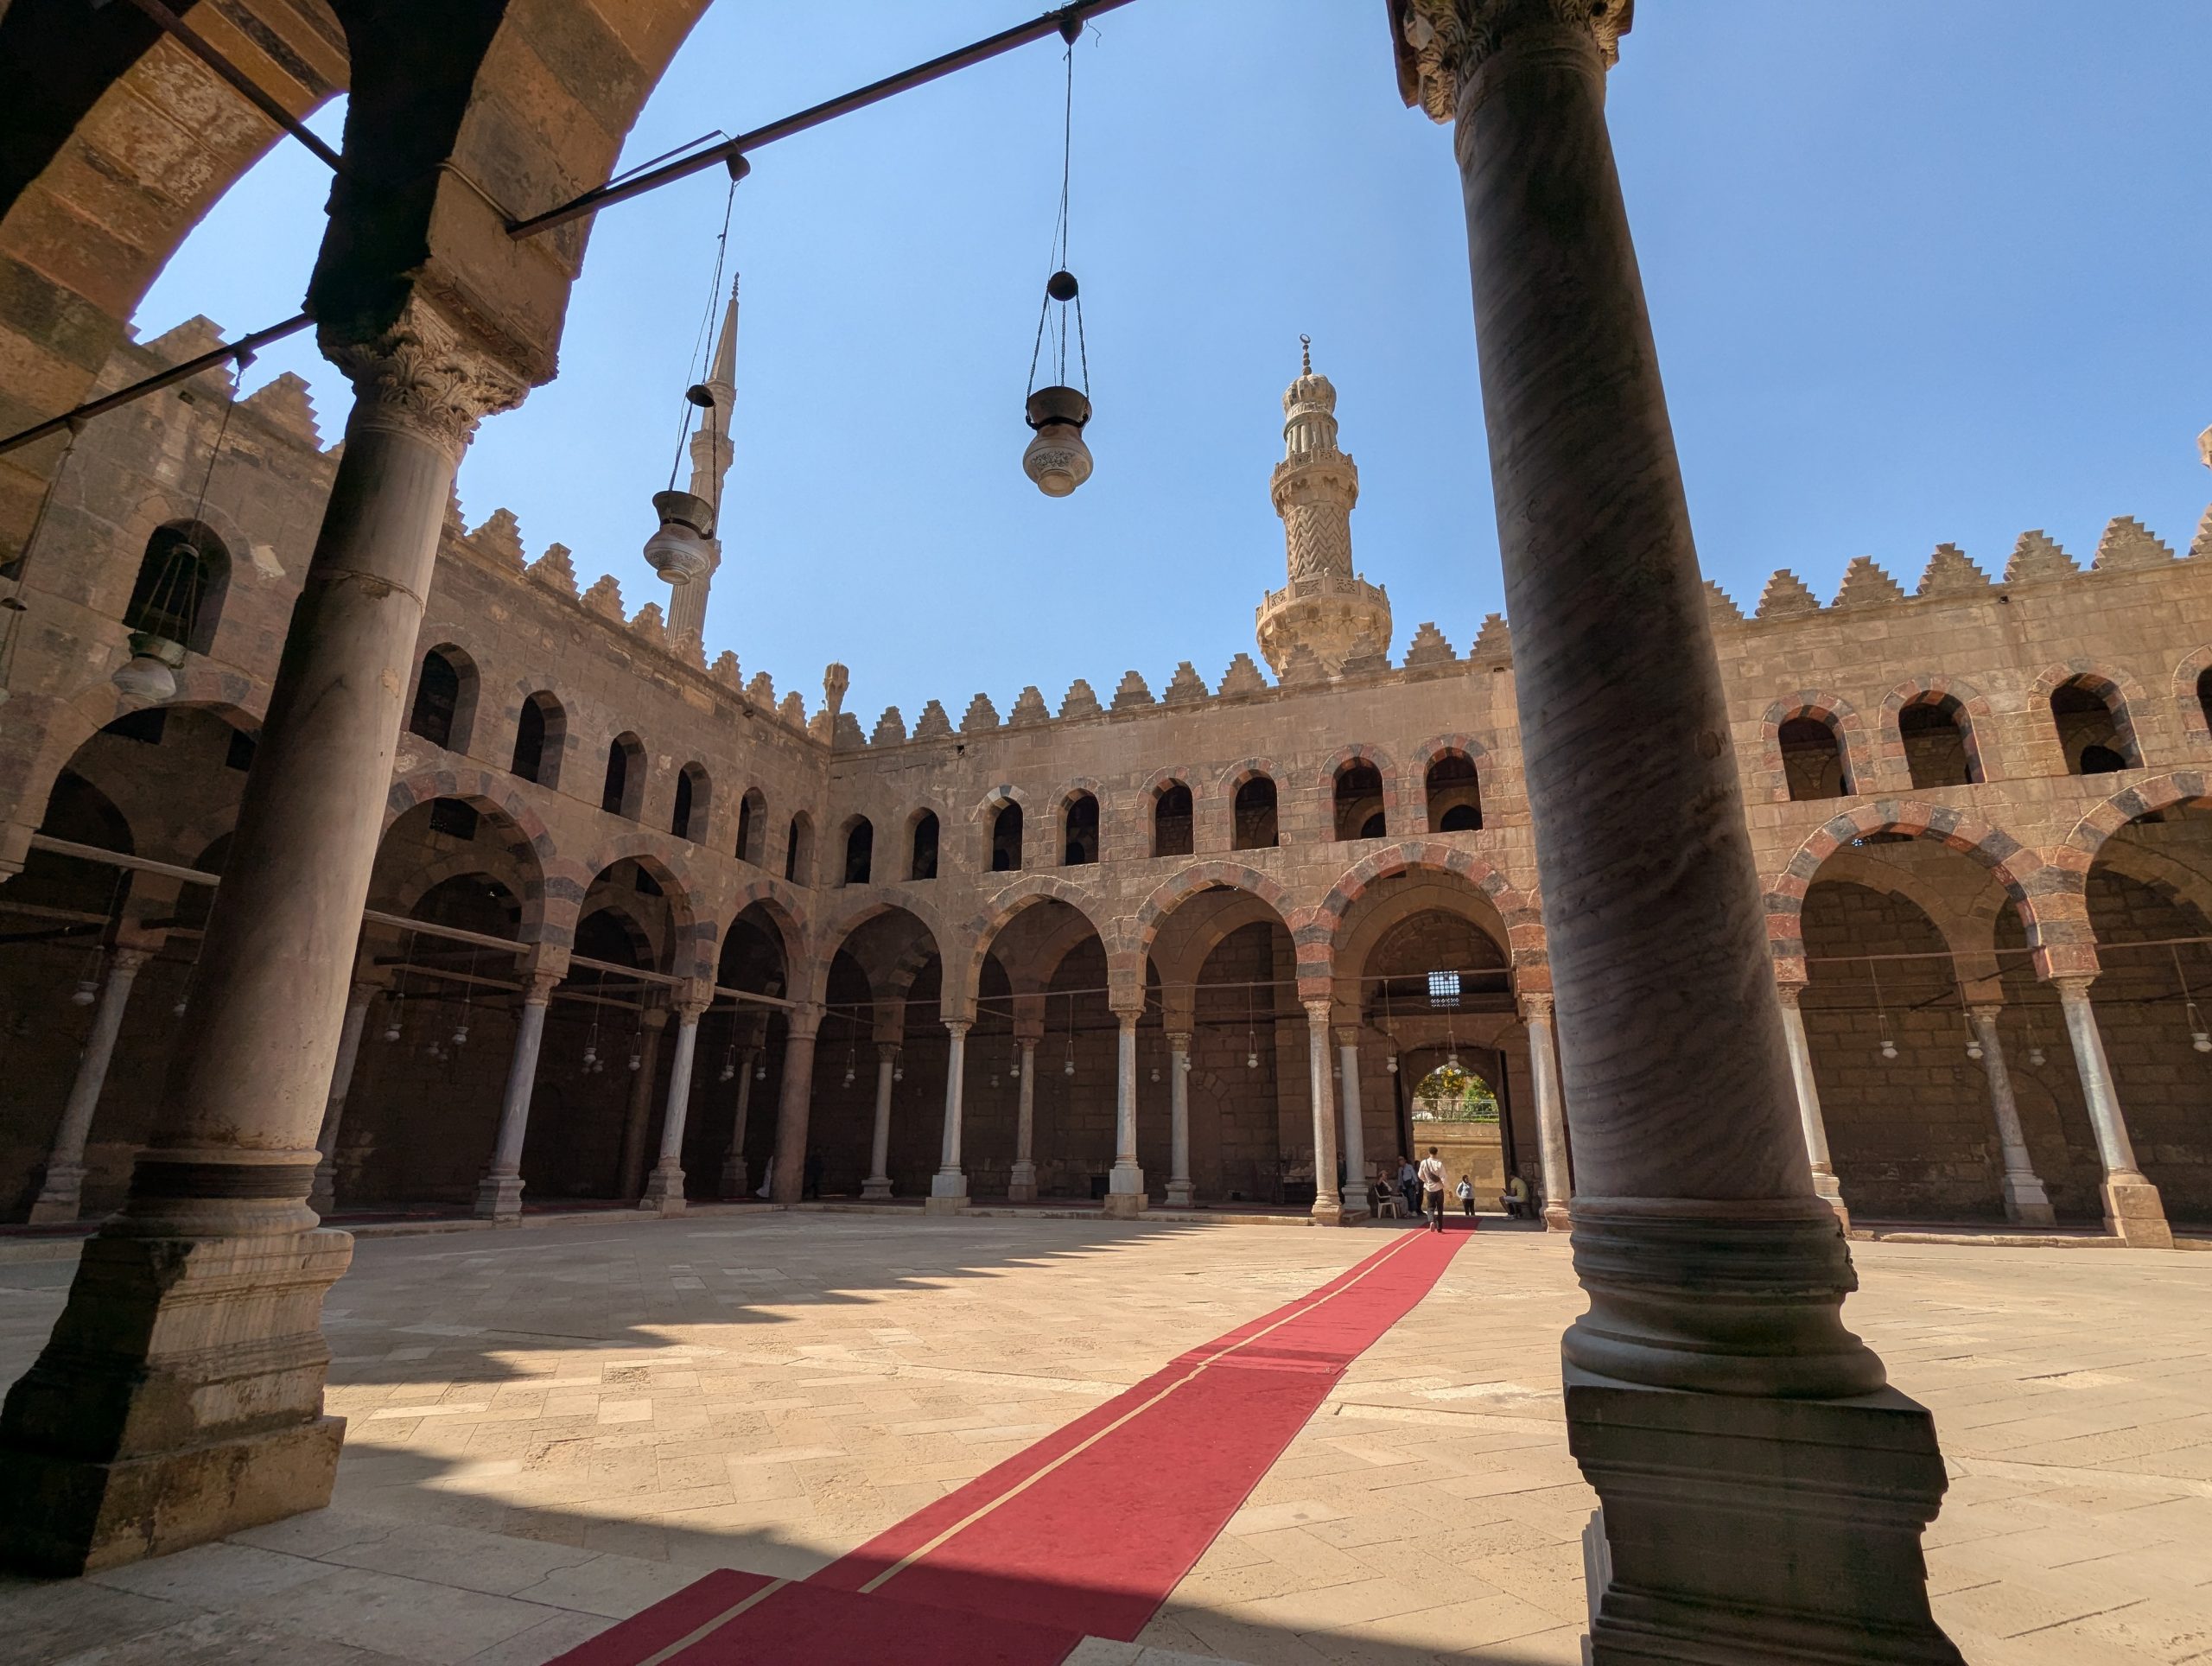
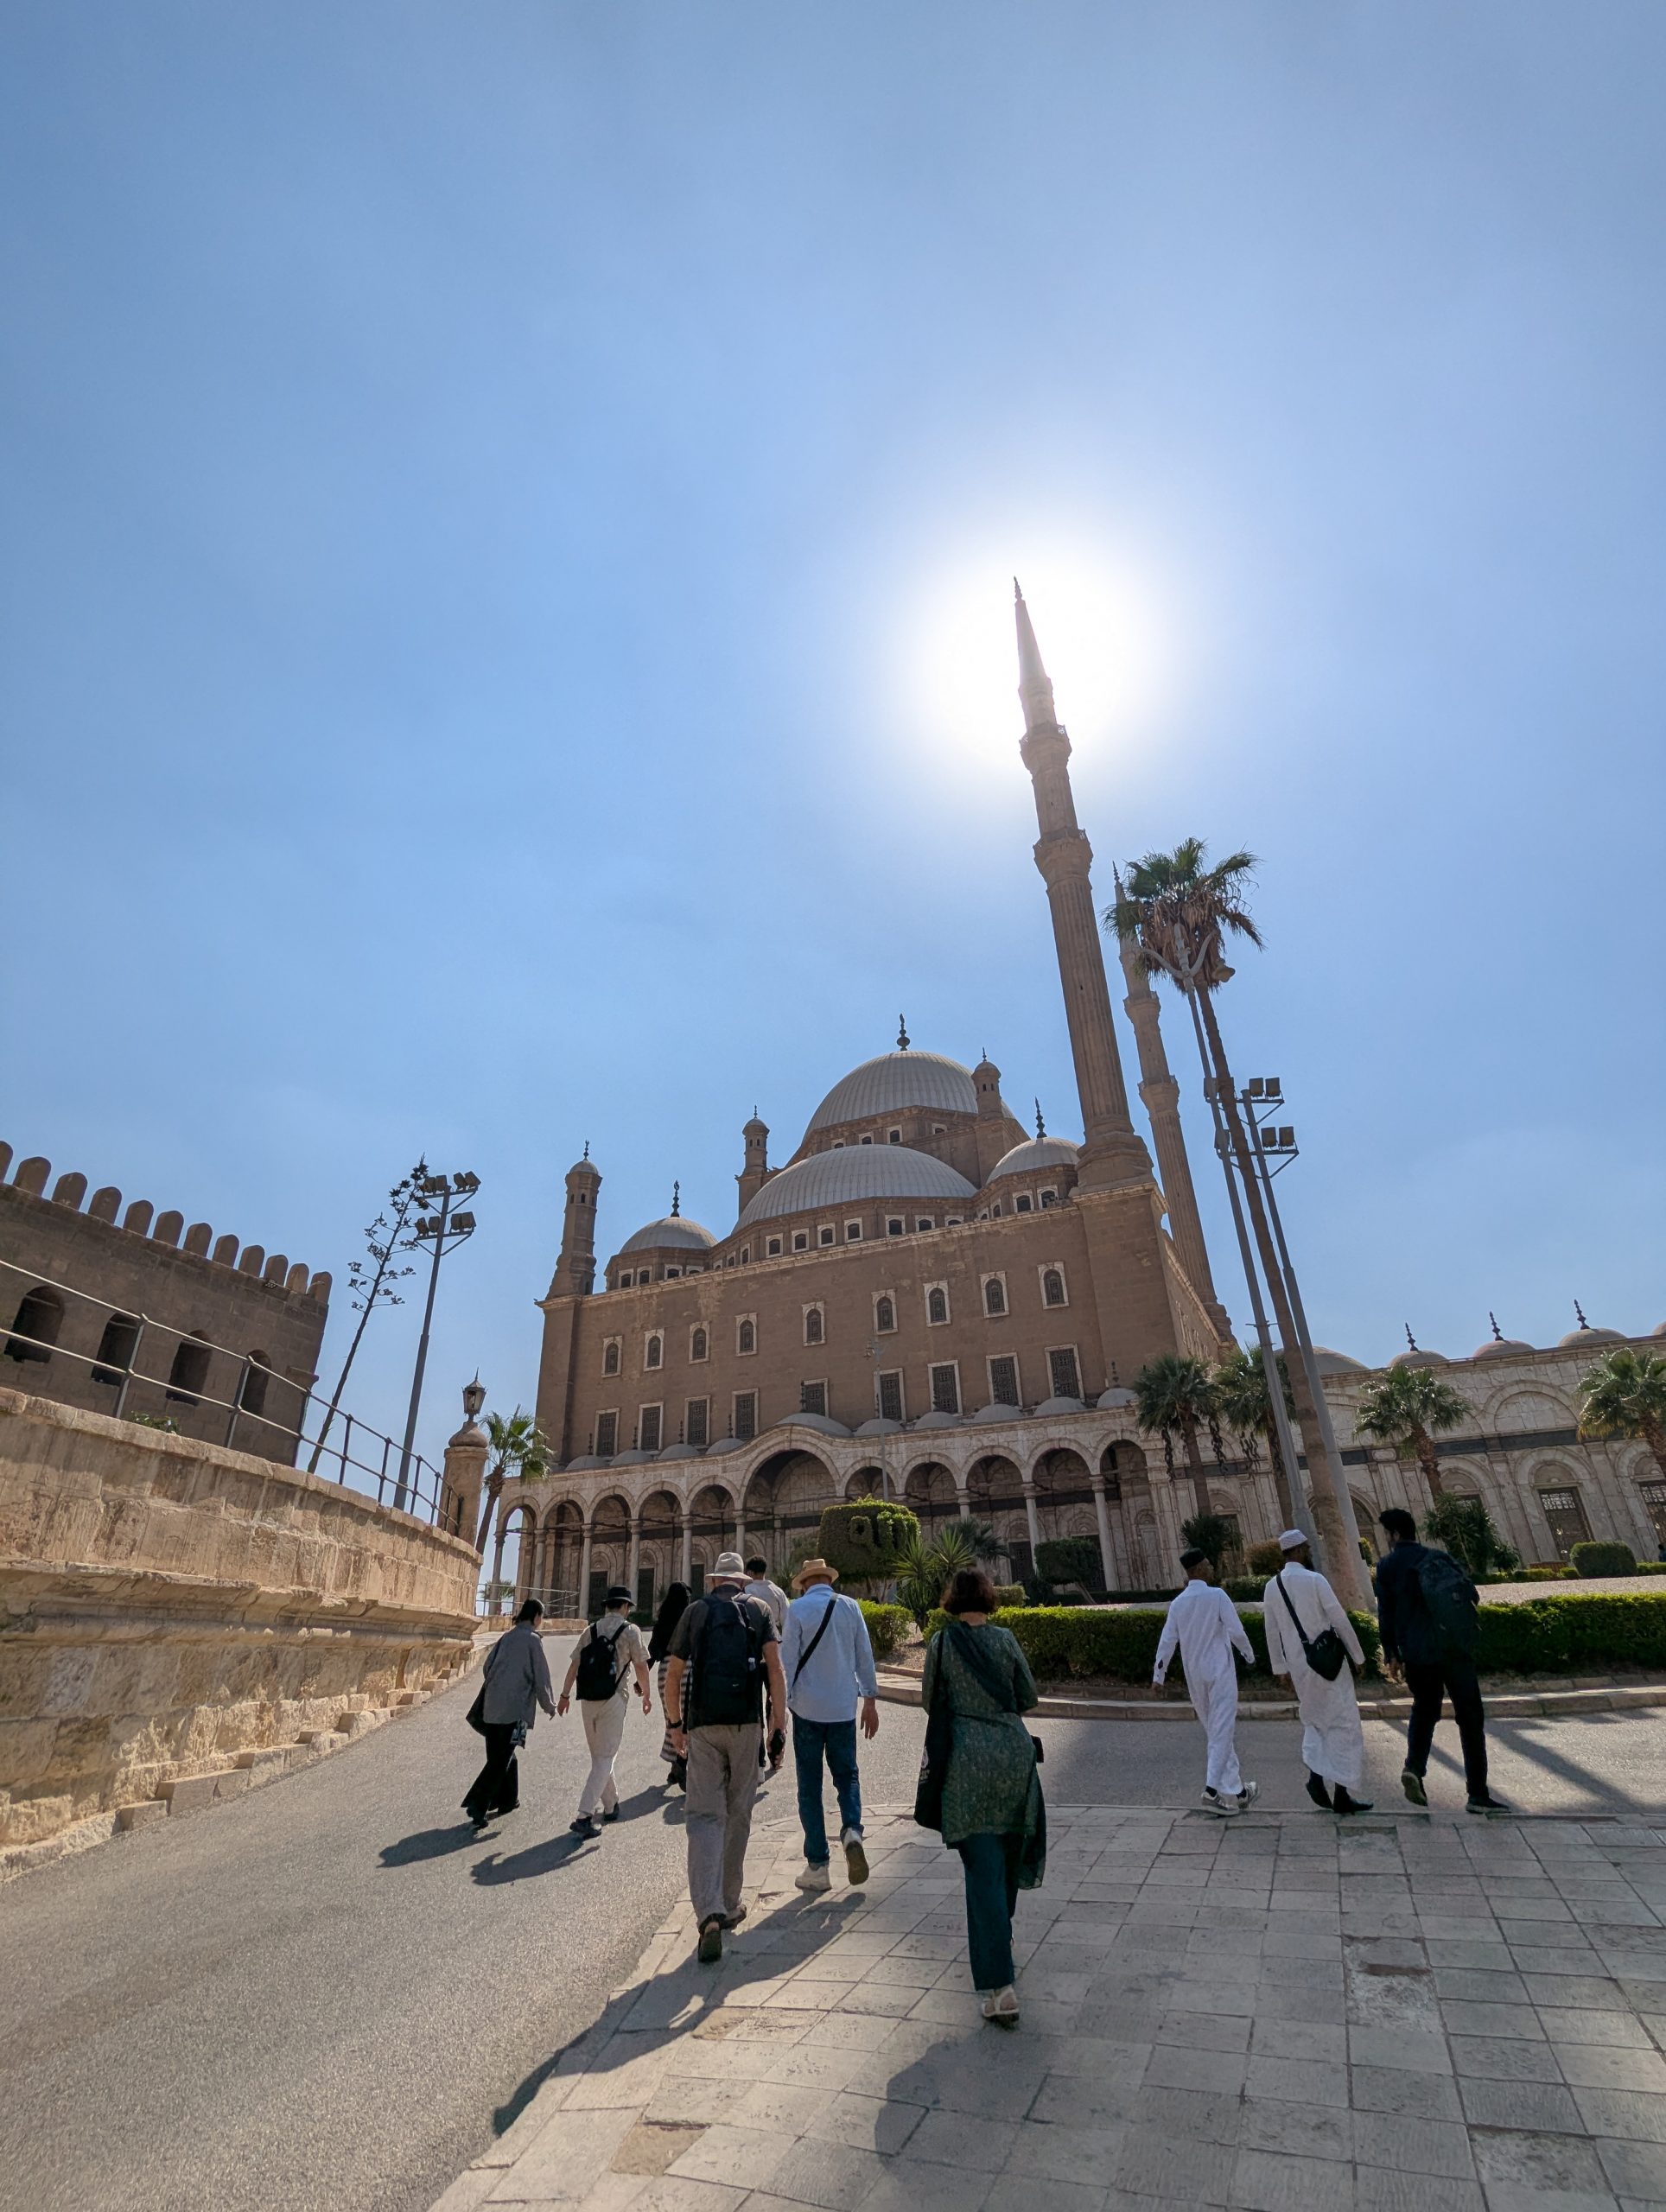 阿裡清真寺外觀
我們參觀的時候有分出入口,導遊說之前都沒在分,所以我們從出口又繞回入口
進清真寺之前要脫鞋或買鞋套,一雙 10 埃磅
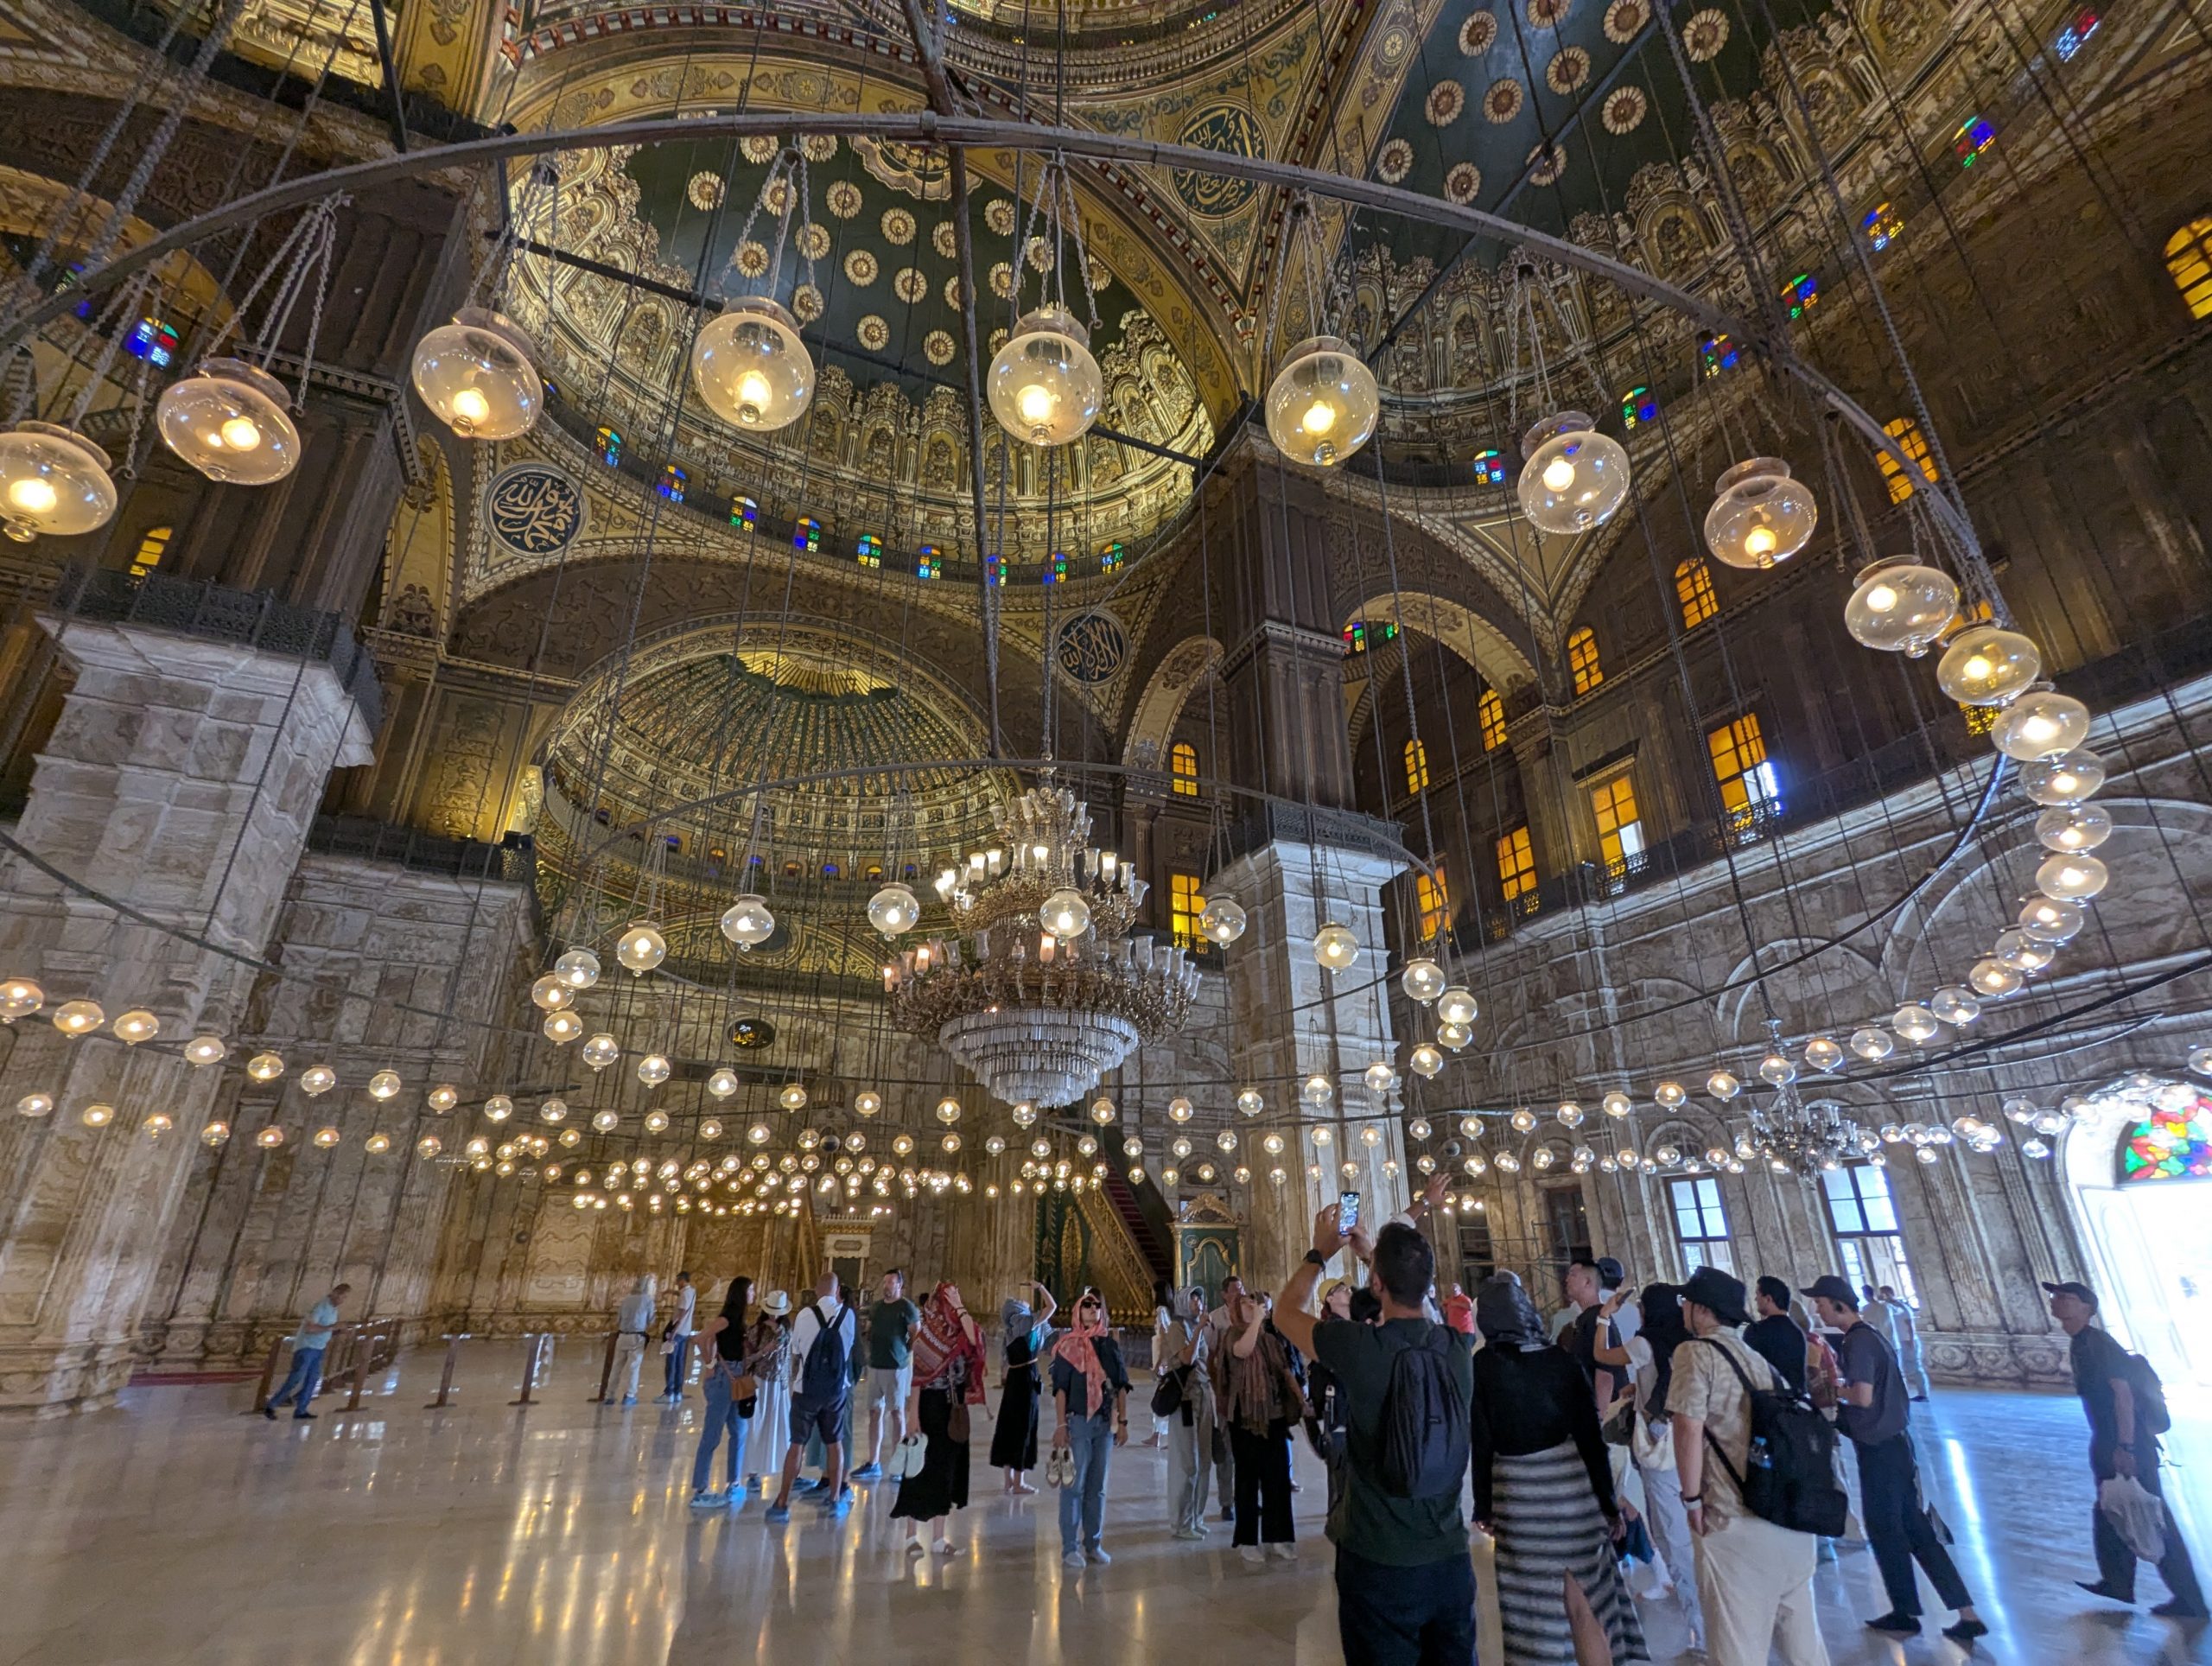 阿裡清真寺內部
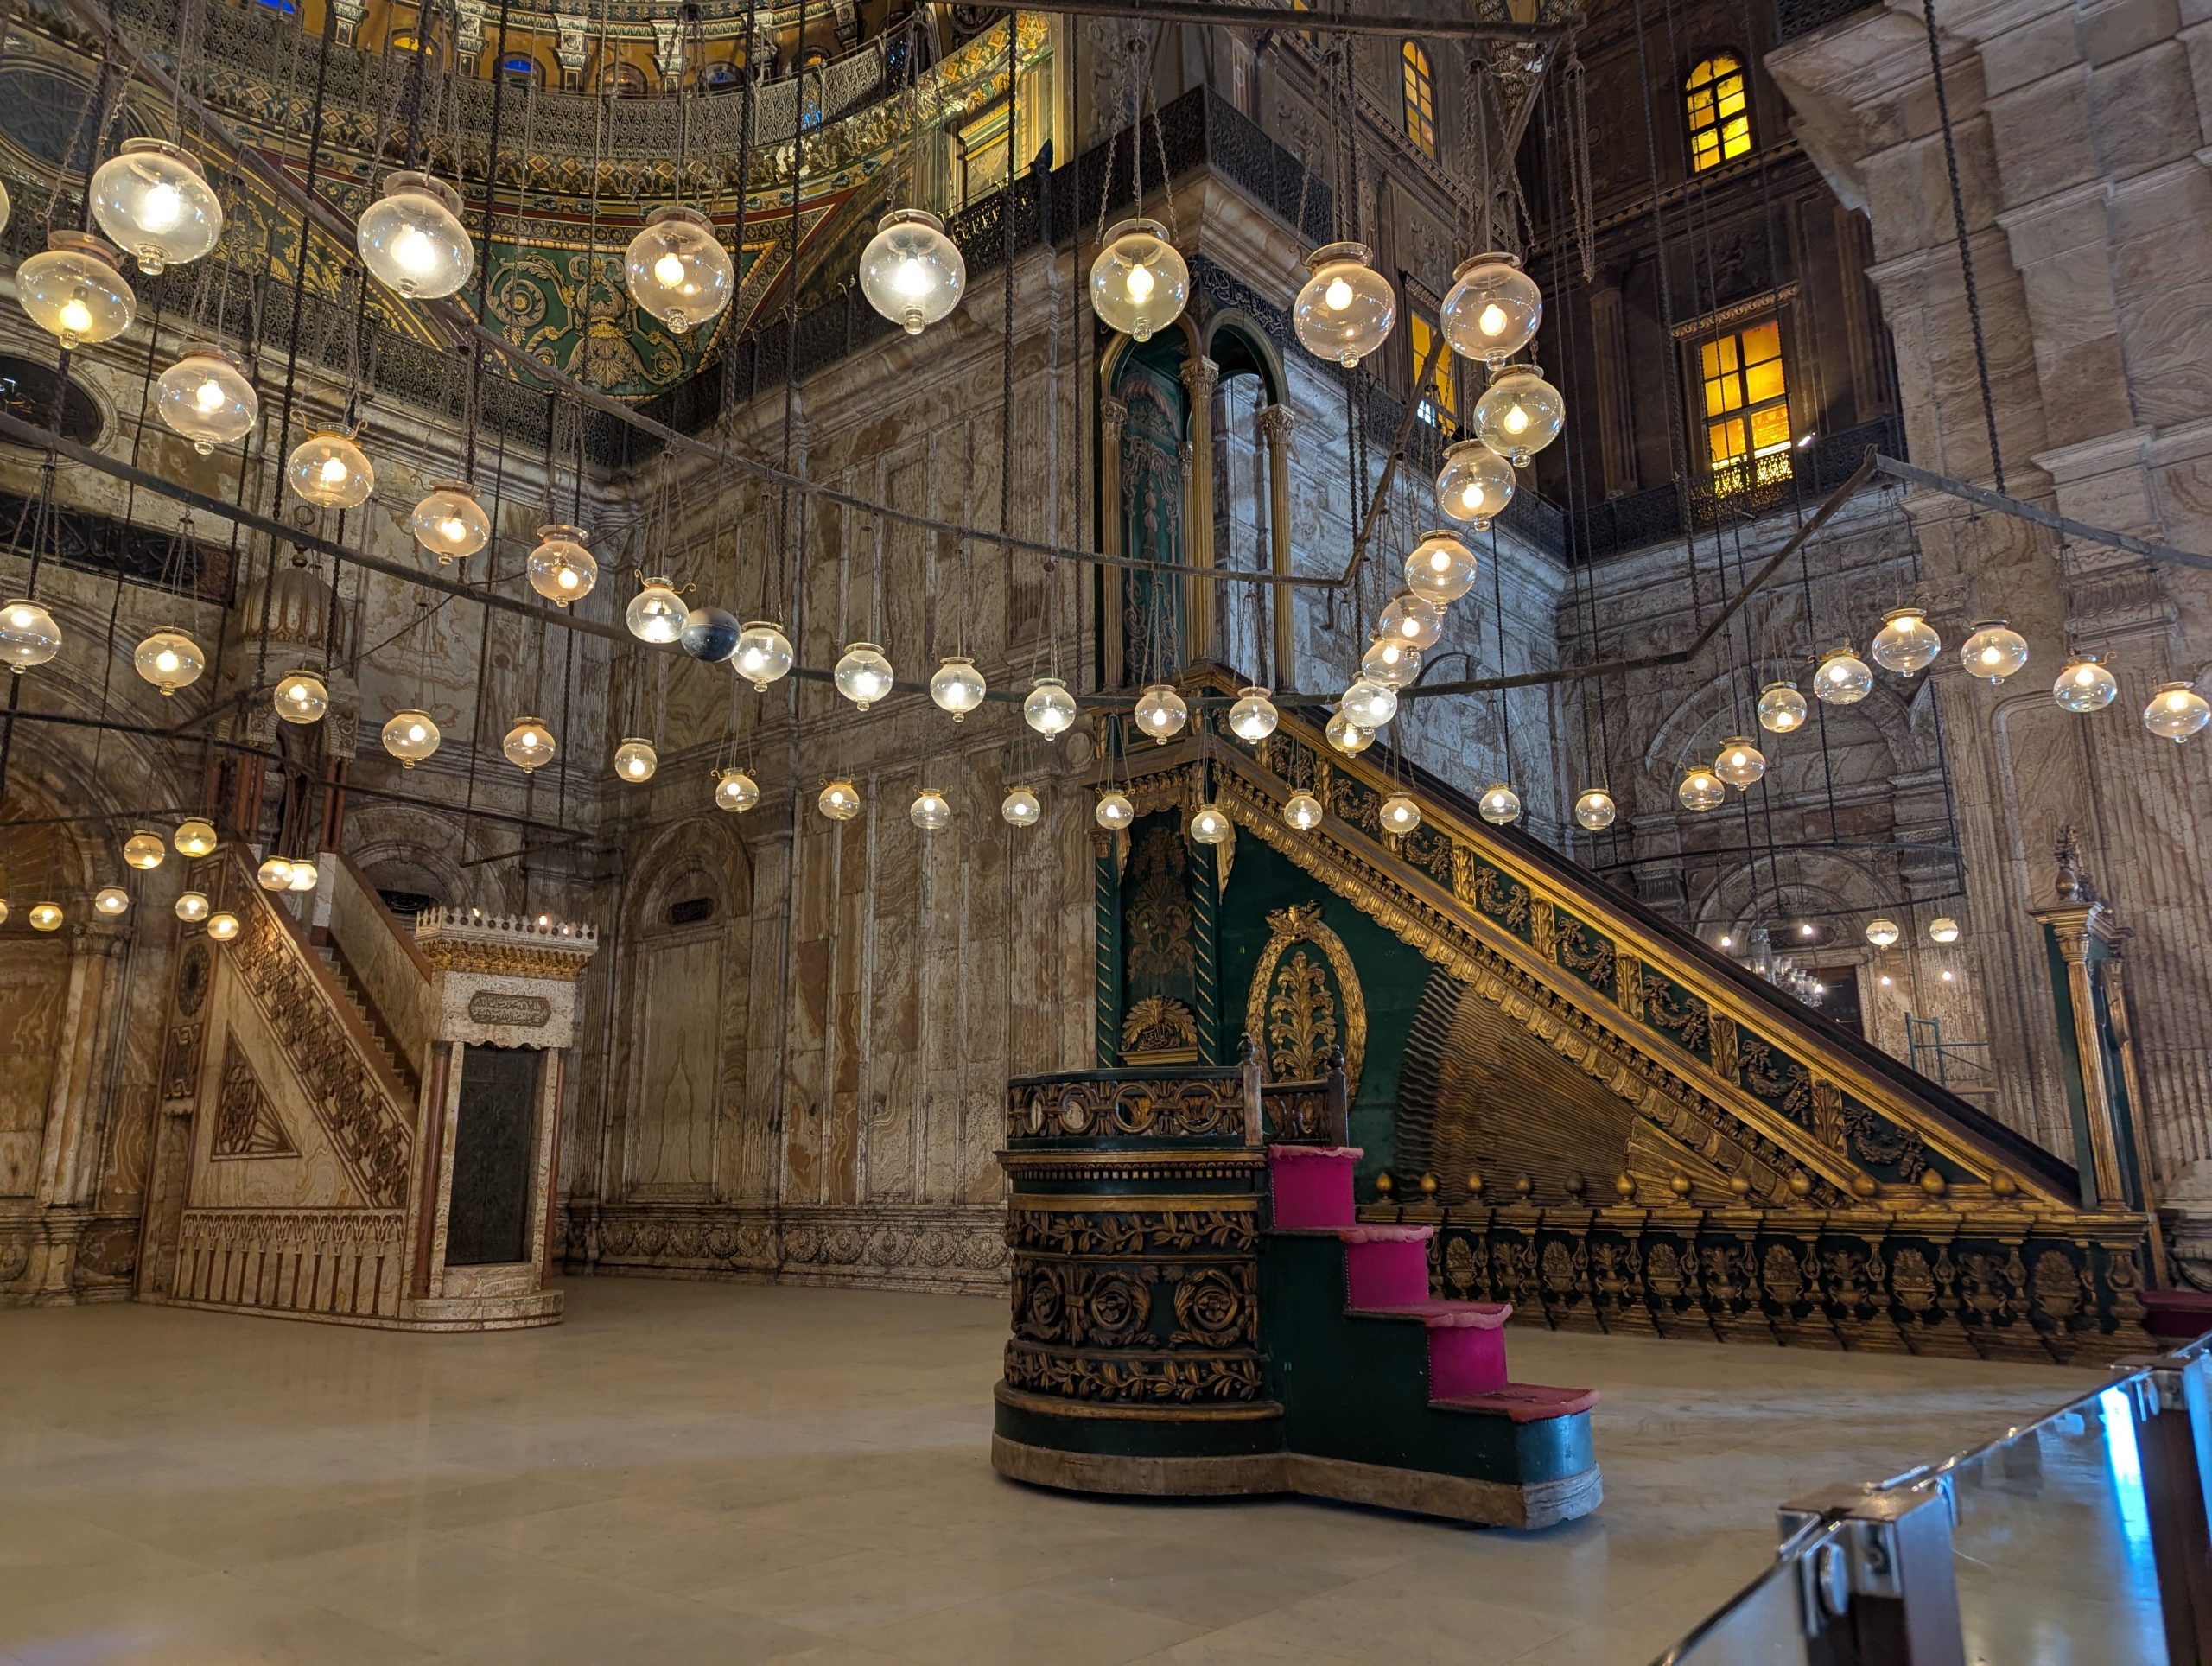 講台
講台
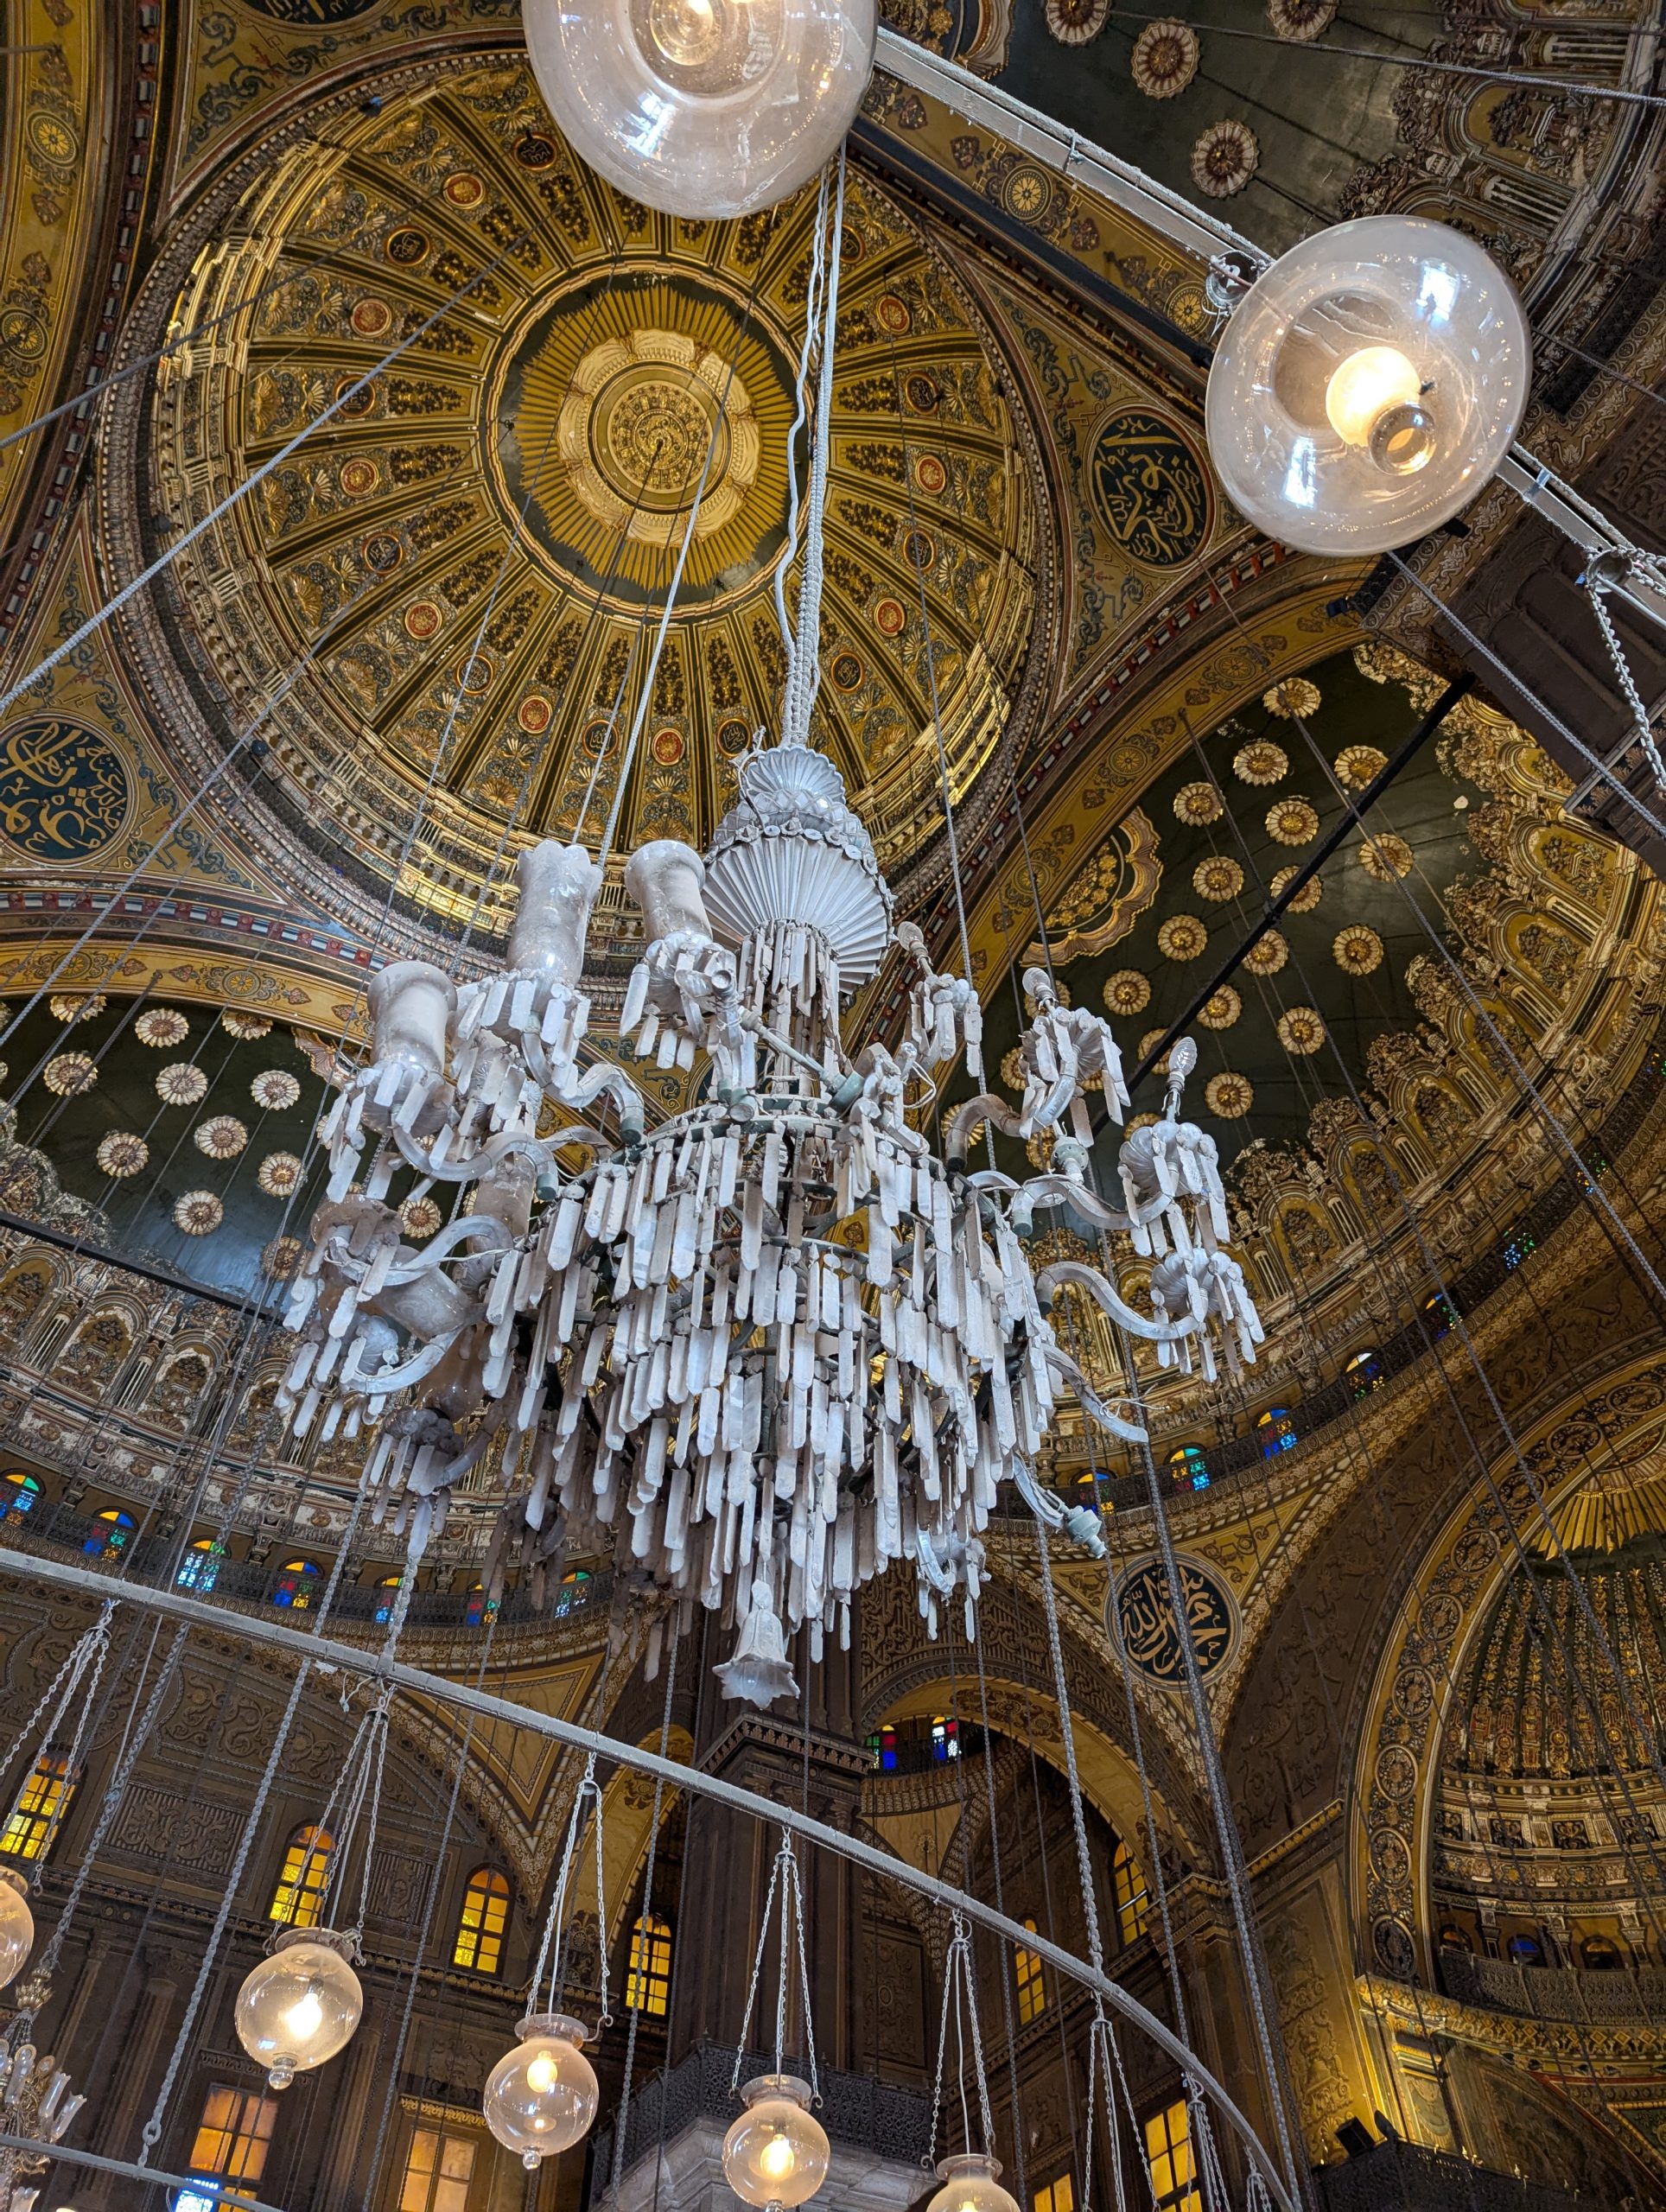 不知道是風鈴還是水晶吊燈
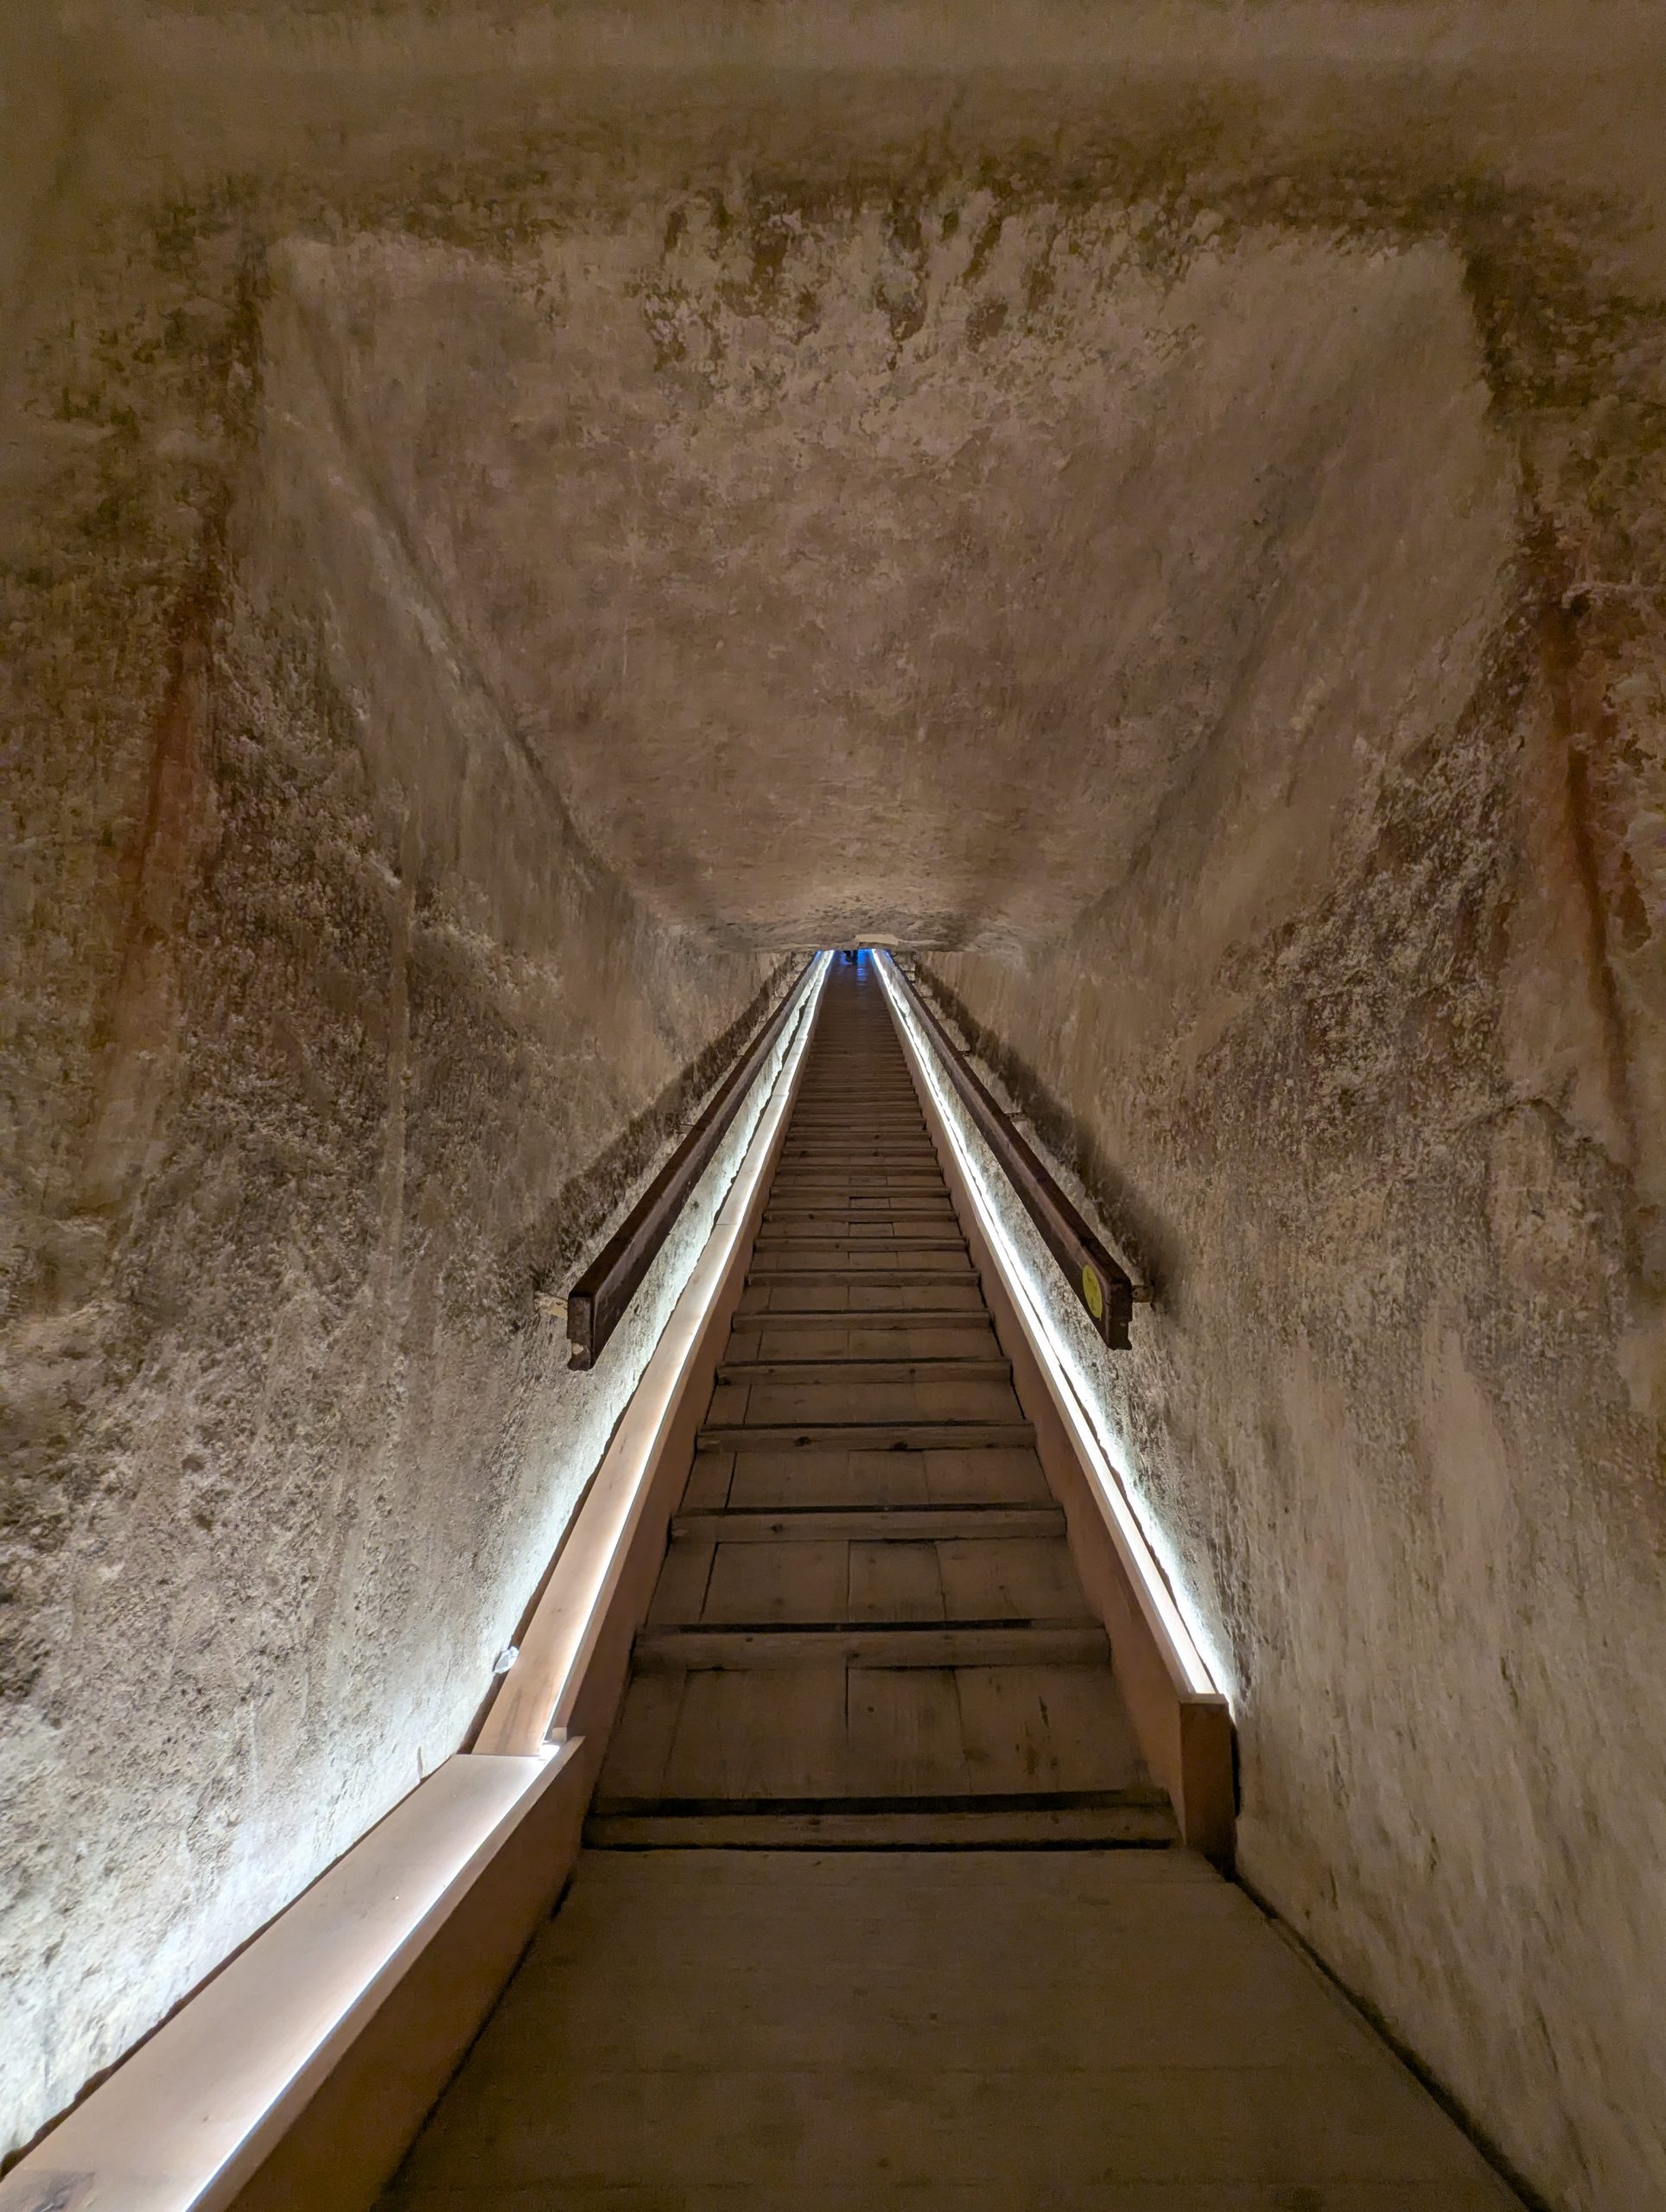
金字塔內部 + 騎駱駝 (1.5hr)
抵達時離關門時間只剩半小時
跟著導遊狂奔到孟卡拉金字塔
金字塔內部進出大概只要 20 分鐘,算短
騎駱駝本身是有趣的體驗,一開始會覺得晃,但晃久了就抓到平衡
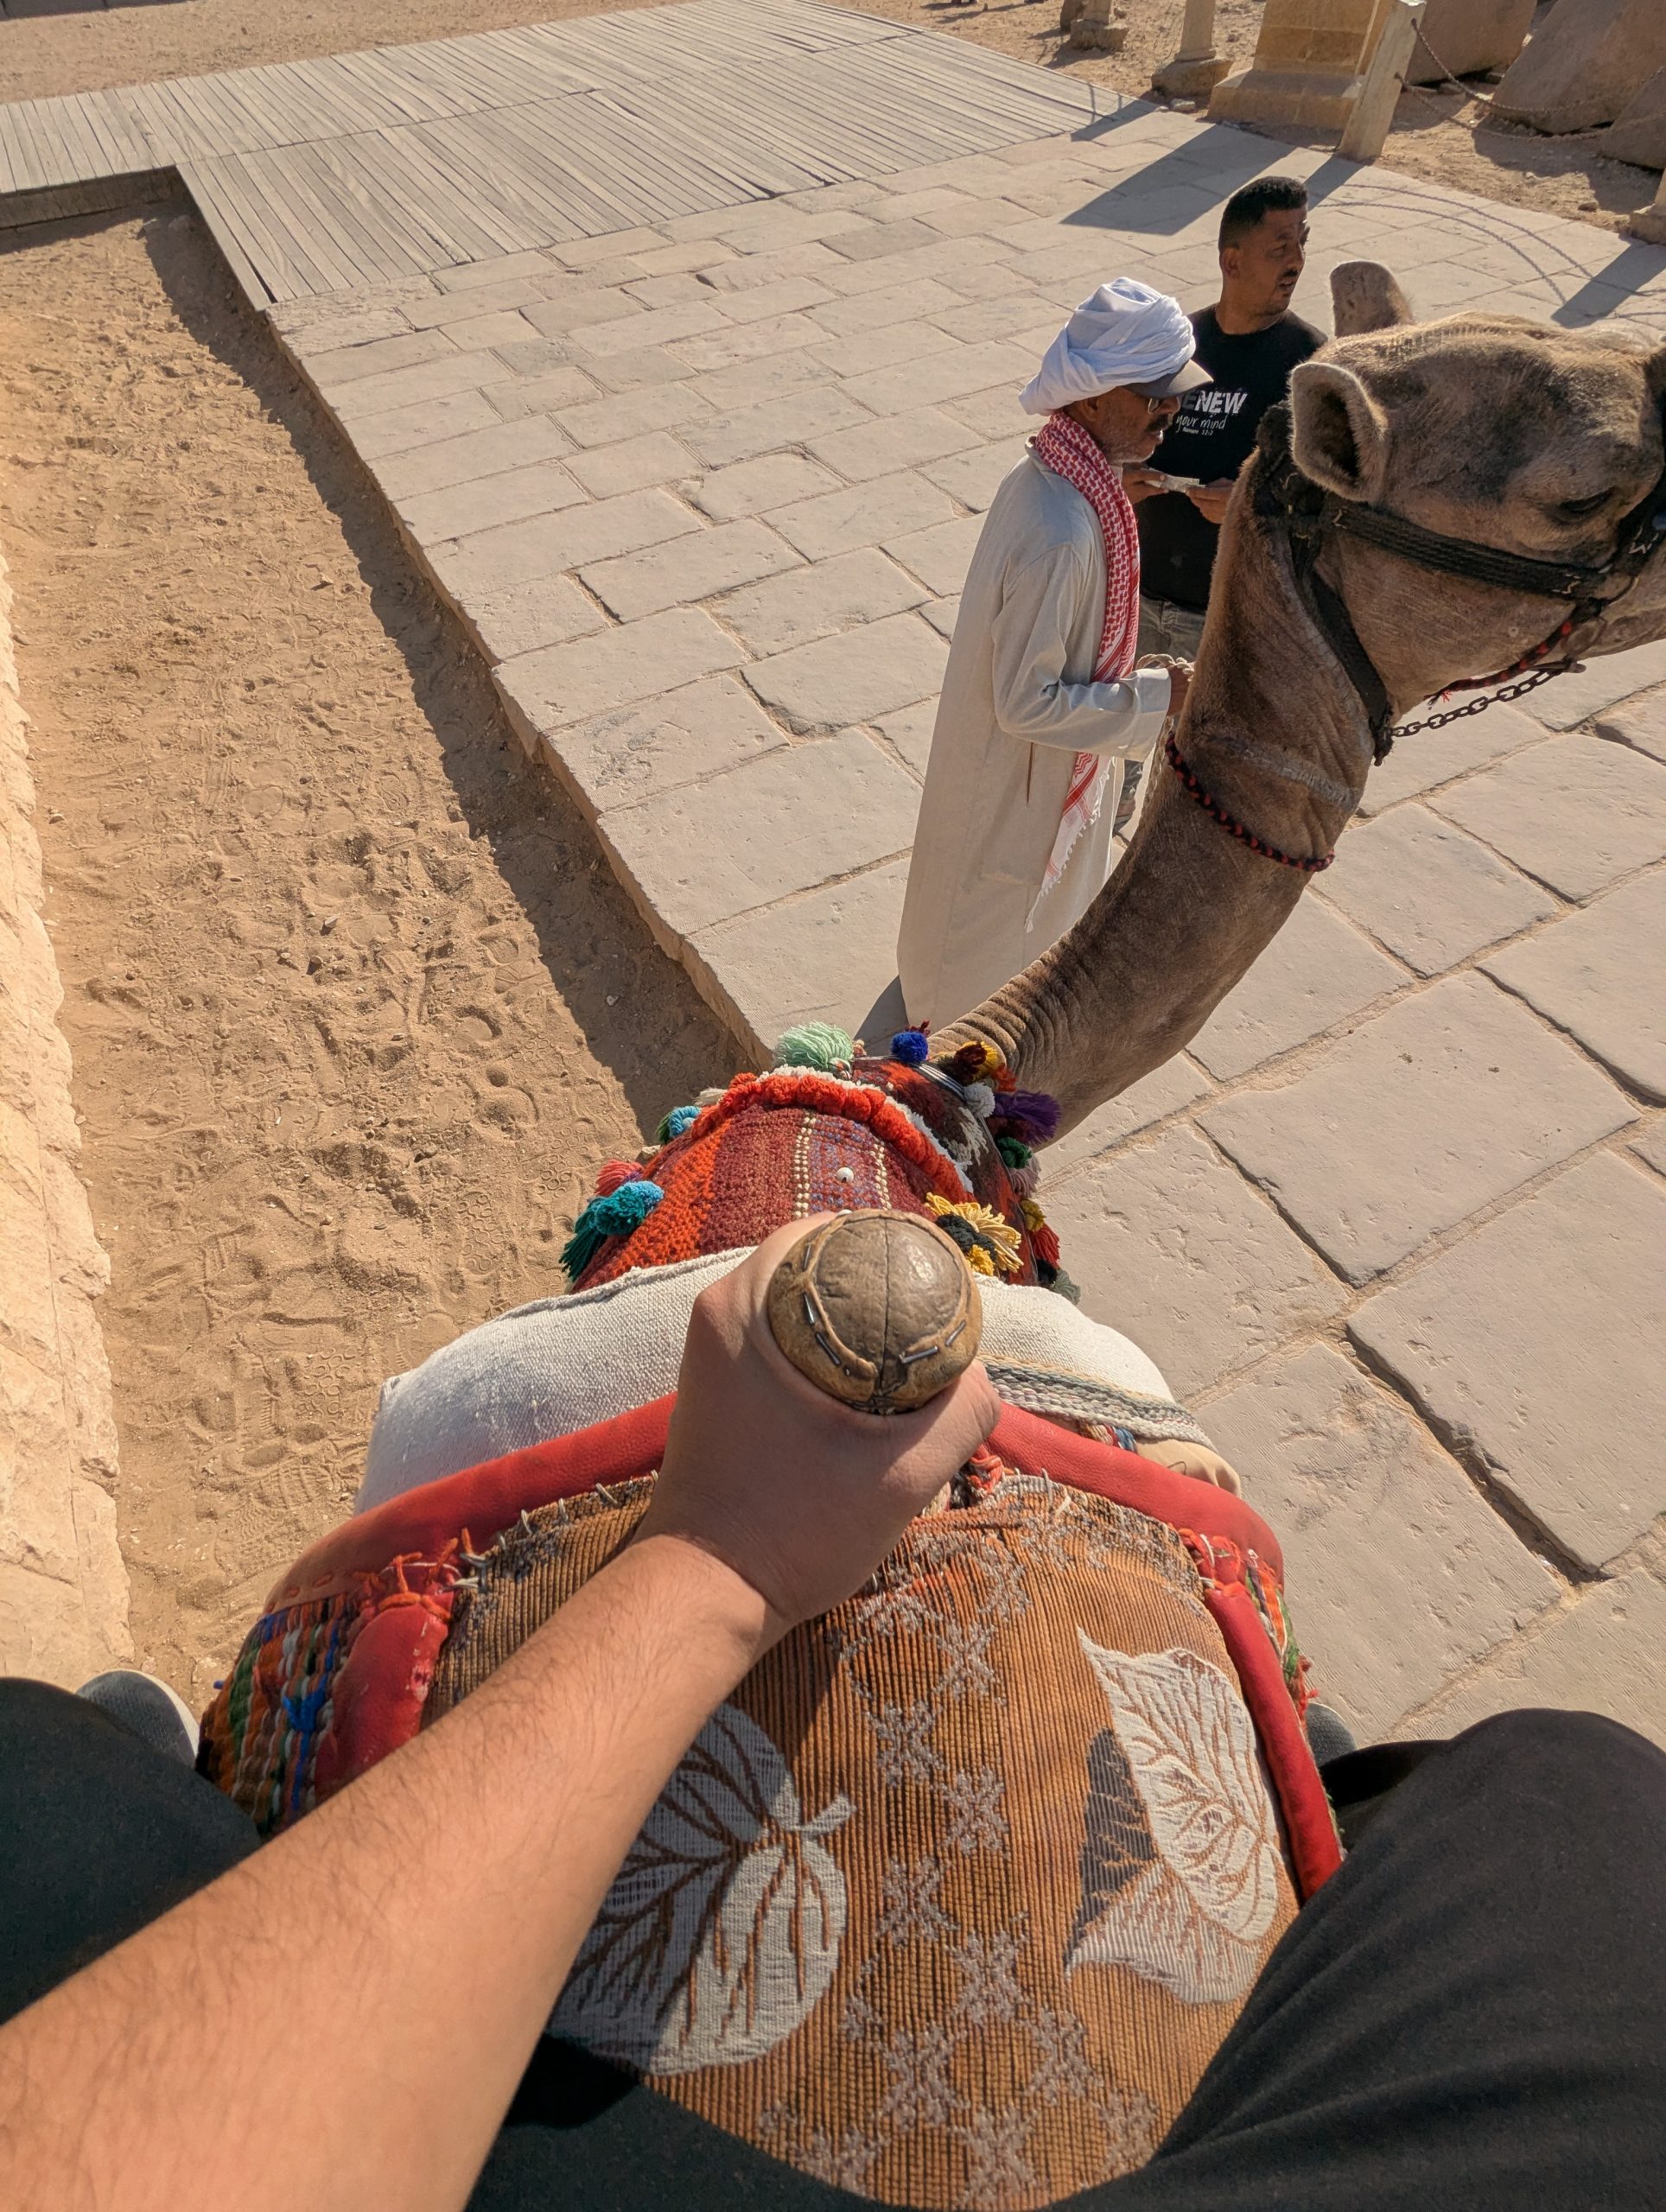
到定點之後兩位帶駱駝的人開始幫我們拍照
後來就把我和另外三位拉開,開始跟我用很兇的態度要小費,而且還作勢不放人
一開始要了一個很高的費用,討價還價降下來
但想一想,行前說明中旅行社有說是可以不用給小費的
之後在群組傳訊息和導遊求助,最後導遊和出租駱駝的人吵架材把剩下的小費拿回來
吵架的過程還引發警察關注,但因為證據不足沒辦法和警察檢舉
後來想一想,在這種狀況直接跟他賴皮說沒錢或是跟他兇回去都可以
在埃及又在觀光區,他們應該沒辦法對觀光課做出暴力行為,最多只能口頭上用各種方式要錢
另外有看到其中一隻駱駝似乎有皮膚問題,有可能是這個駱駝出租商本身就有問題吧 QQ
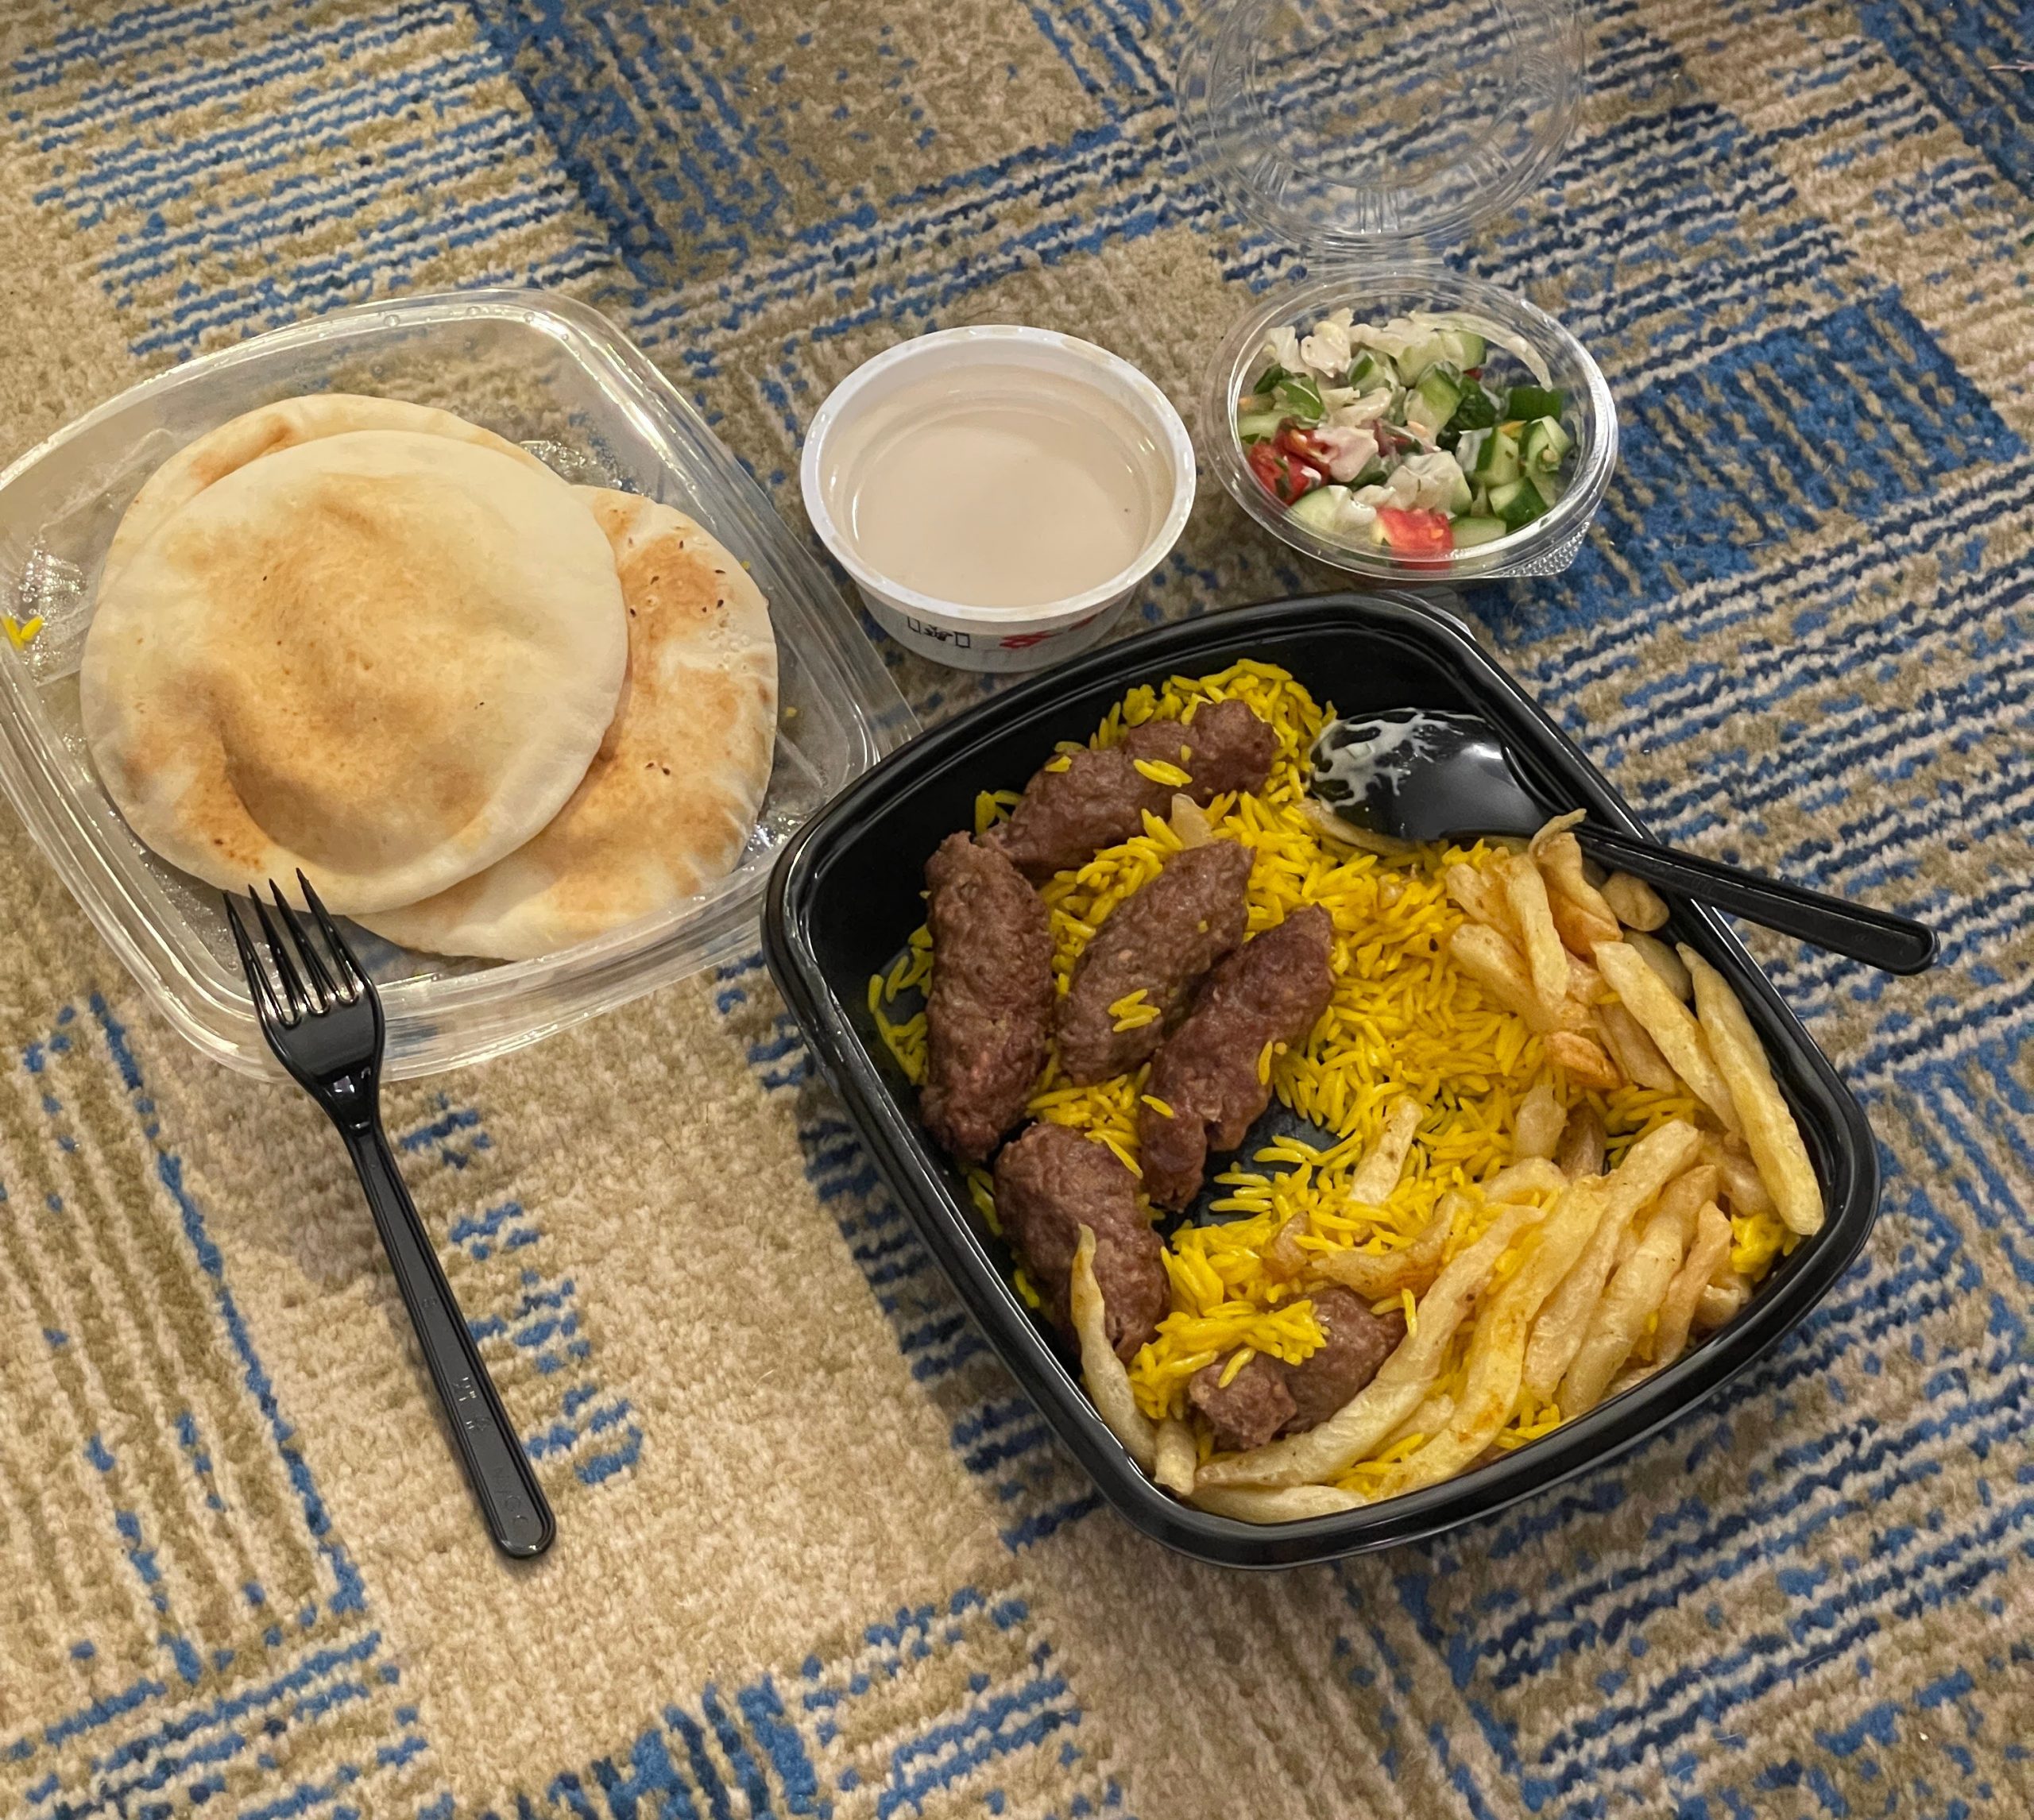
對了,晚餐因為種種因素所以點了外送,份量超大而且是和中午類似的東西 lol
沙漠 (Day 2~3)
在正常的飯店住一晚後,就開始沙漠冒險啦
會先從開羅坐 4 小時的車到巴哈利亞綠洲做中轉
中轉點是一個住家一樓,會把大件行李寄在這裡,並吃午餐
因為接下來的 24 小時會在沙漠中活動,換乘四輪驅動車後行李大小有限,也沒辦法洗澡
所以需要整理一份小型過夜行李
另外不知道為啥遠離市區後,室內到處都是蒼蠅,吃飯的地方、廁所都是
接下來再坐車參觀黑白沙漠、小雞和兔子的風化石頭
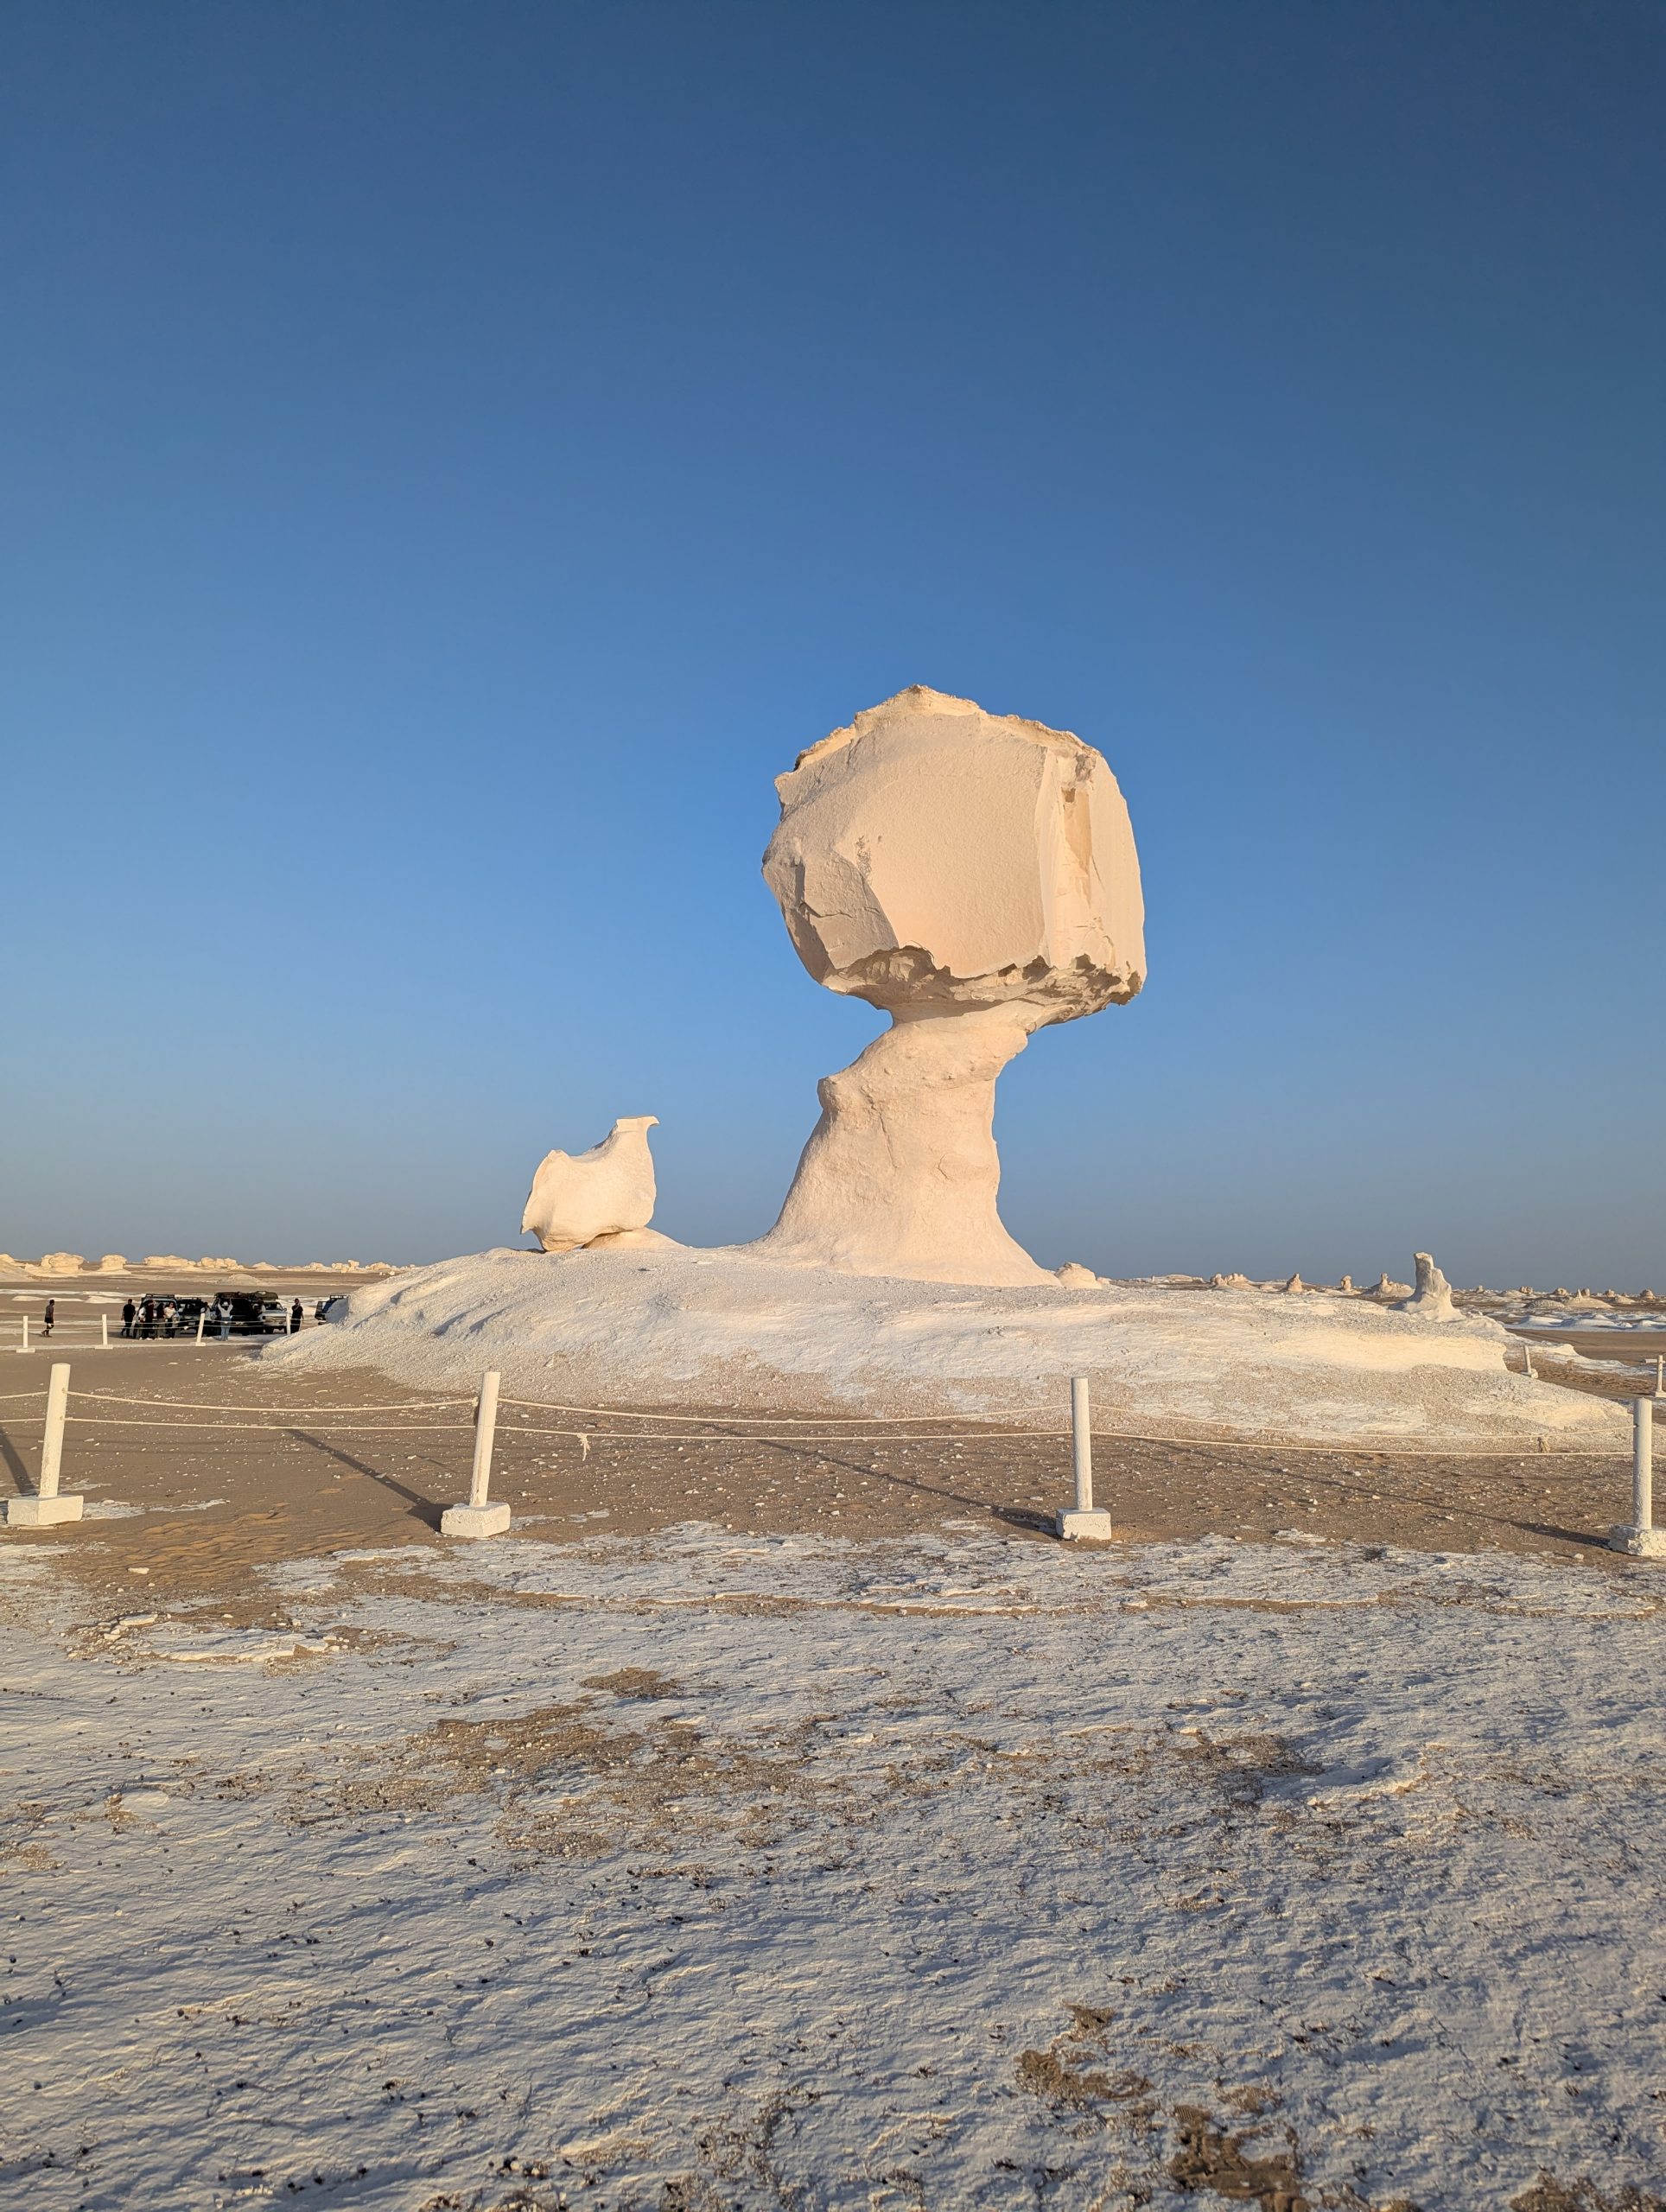 這塊石頭一直覺得很像女王頭 (X
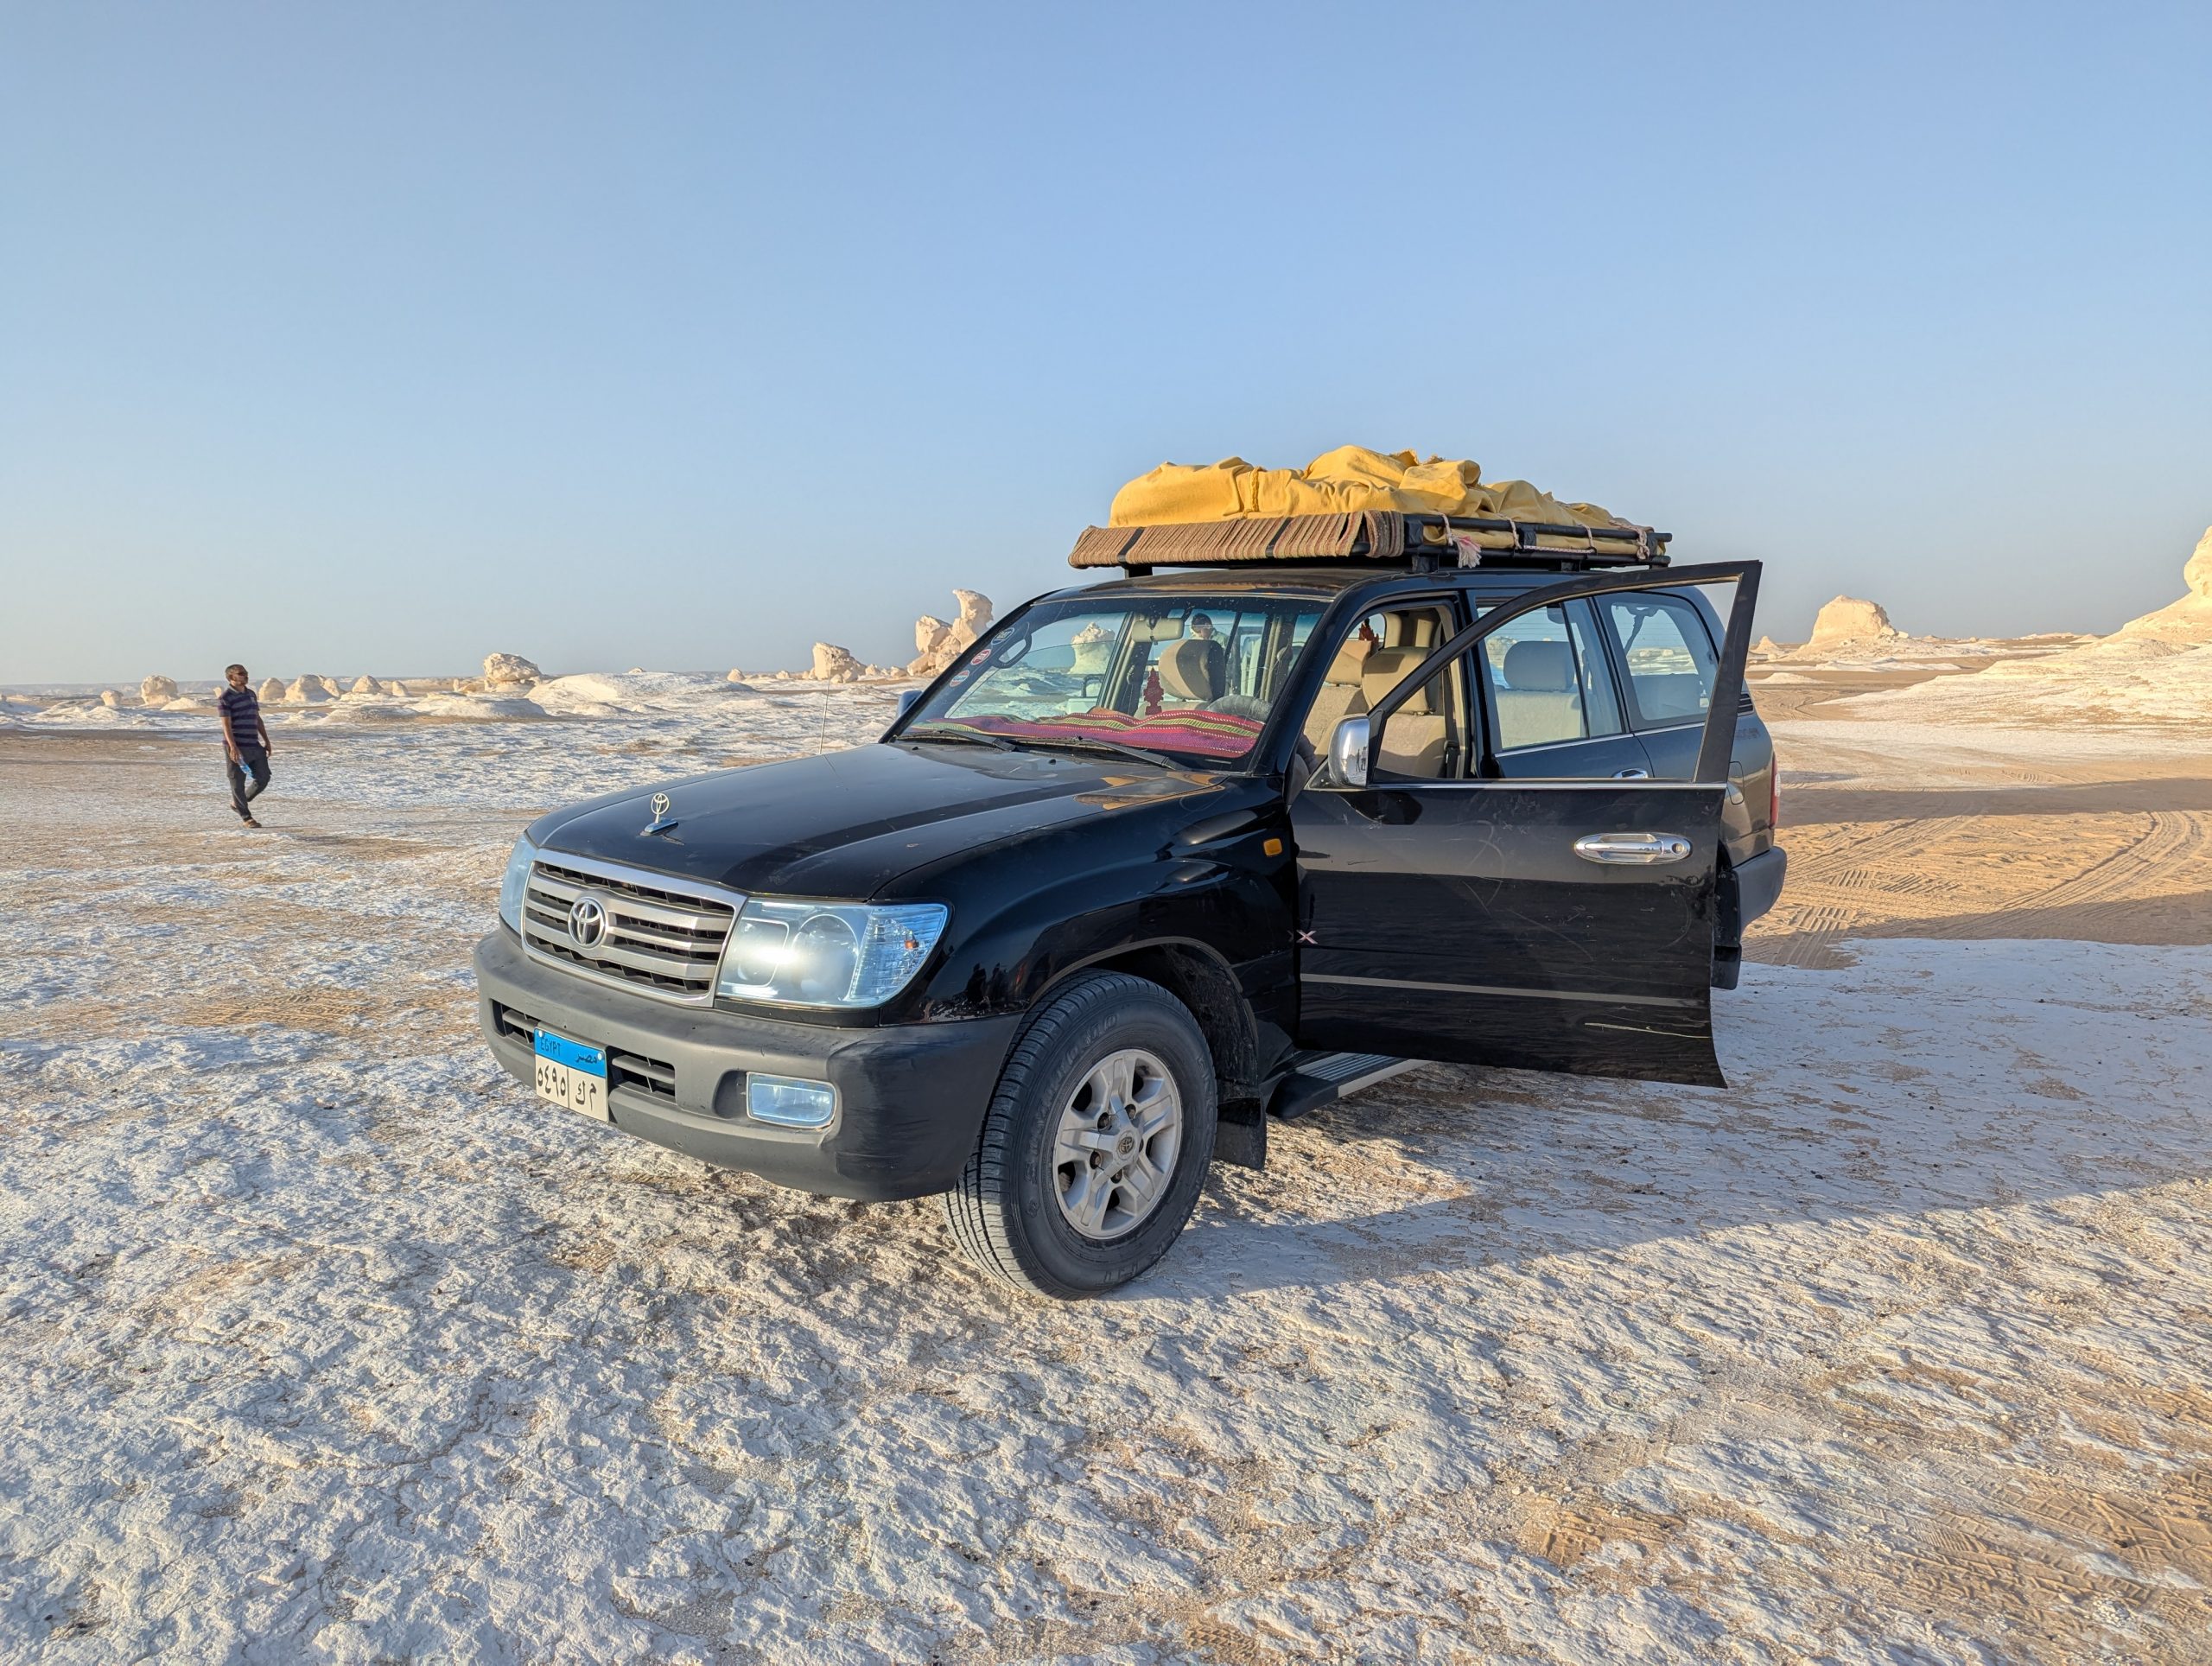 沙漠車輛示意
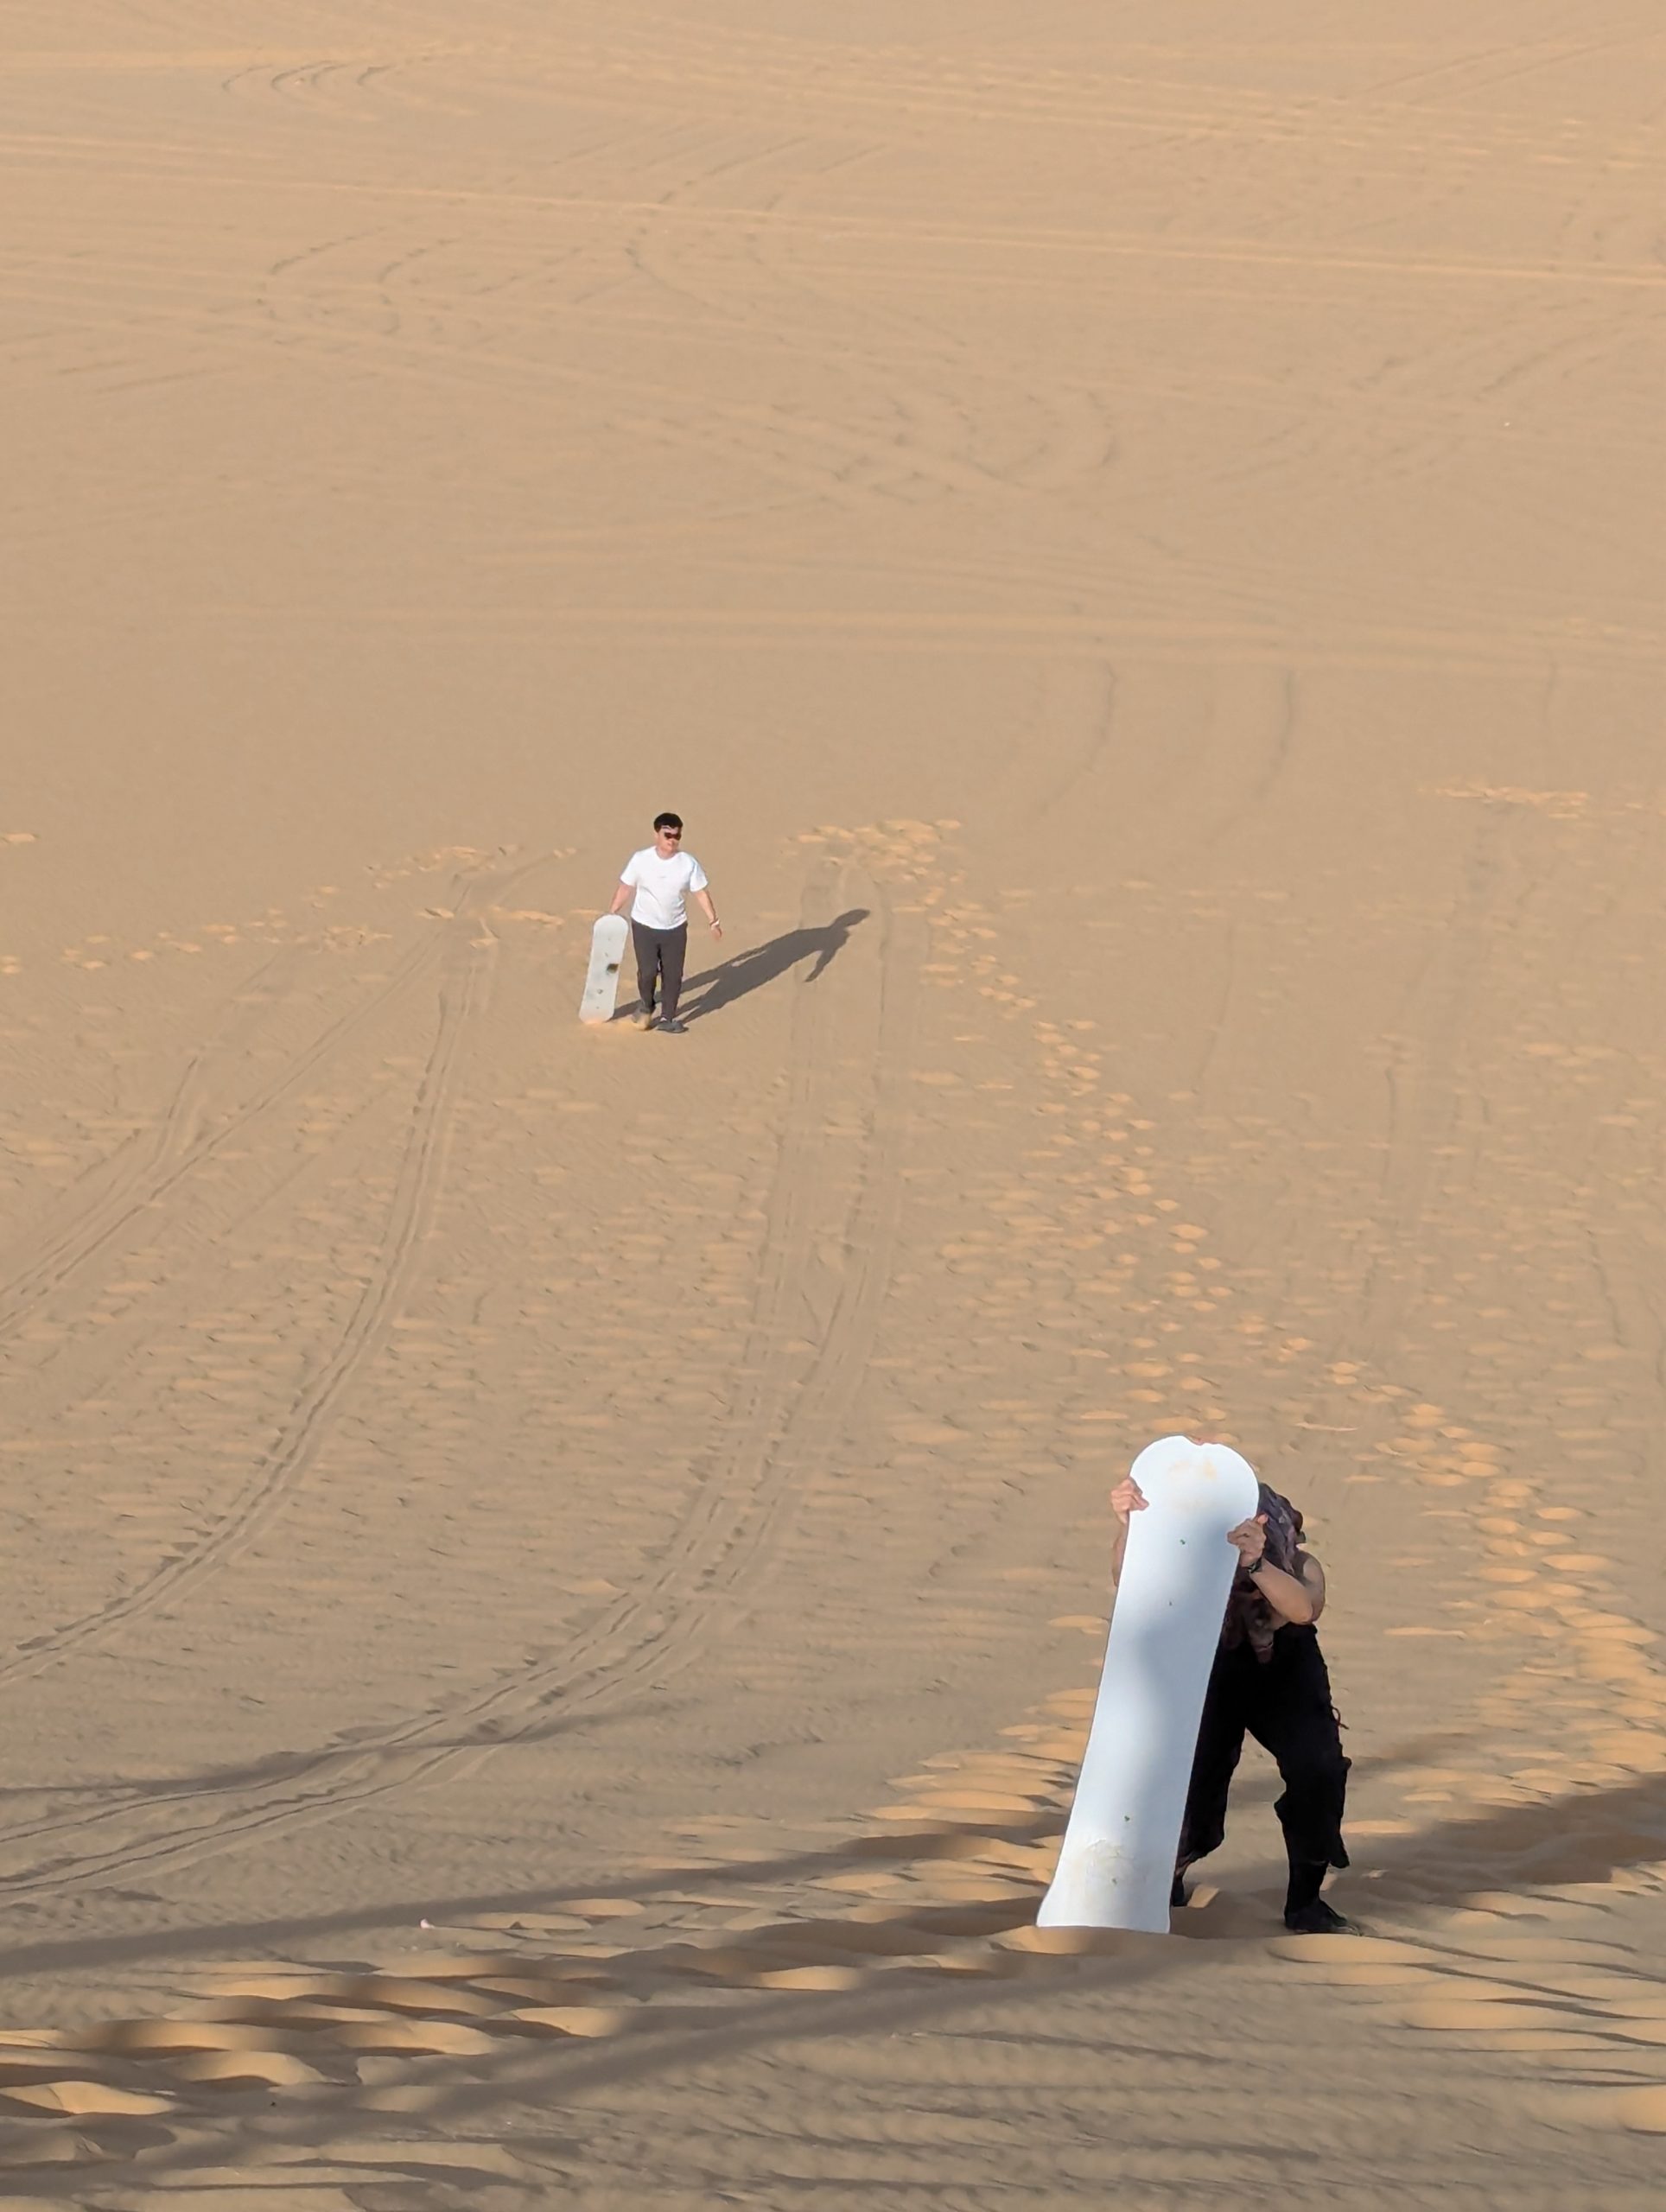
滑沙,拿滑板從沙丘上滑下去,下去有多爽上來就有多累 XD
最後是沙漠露營
晚餐部份沙漠這邊的團隊會幫忙準備
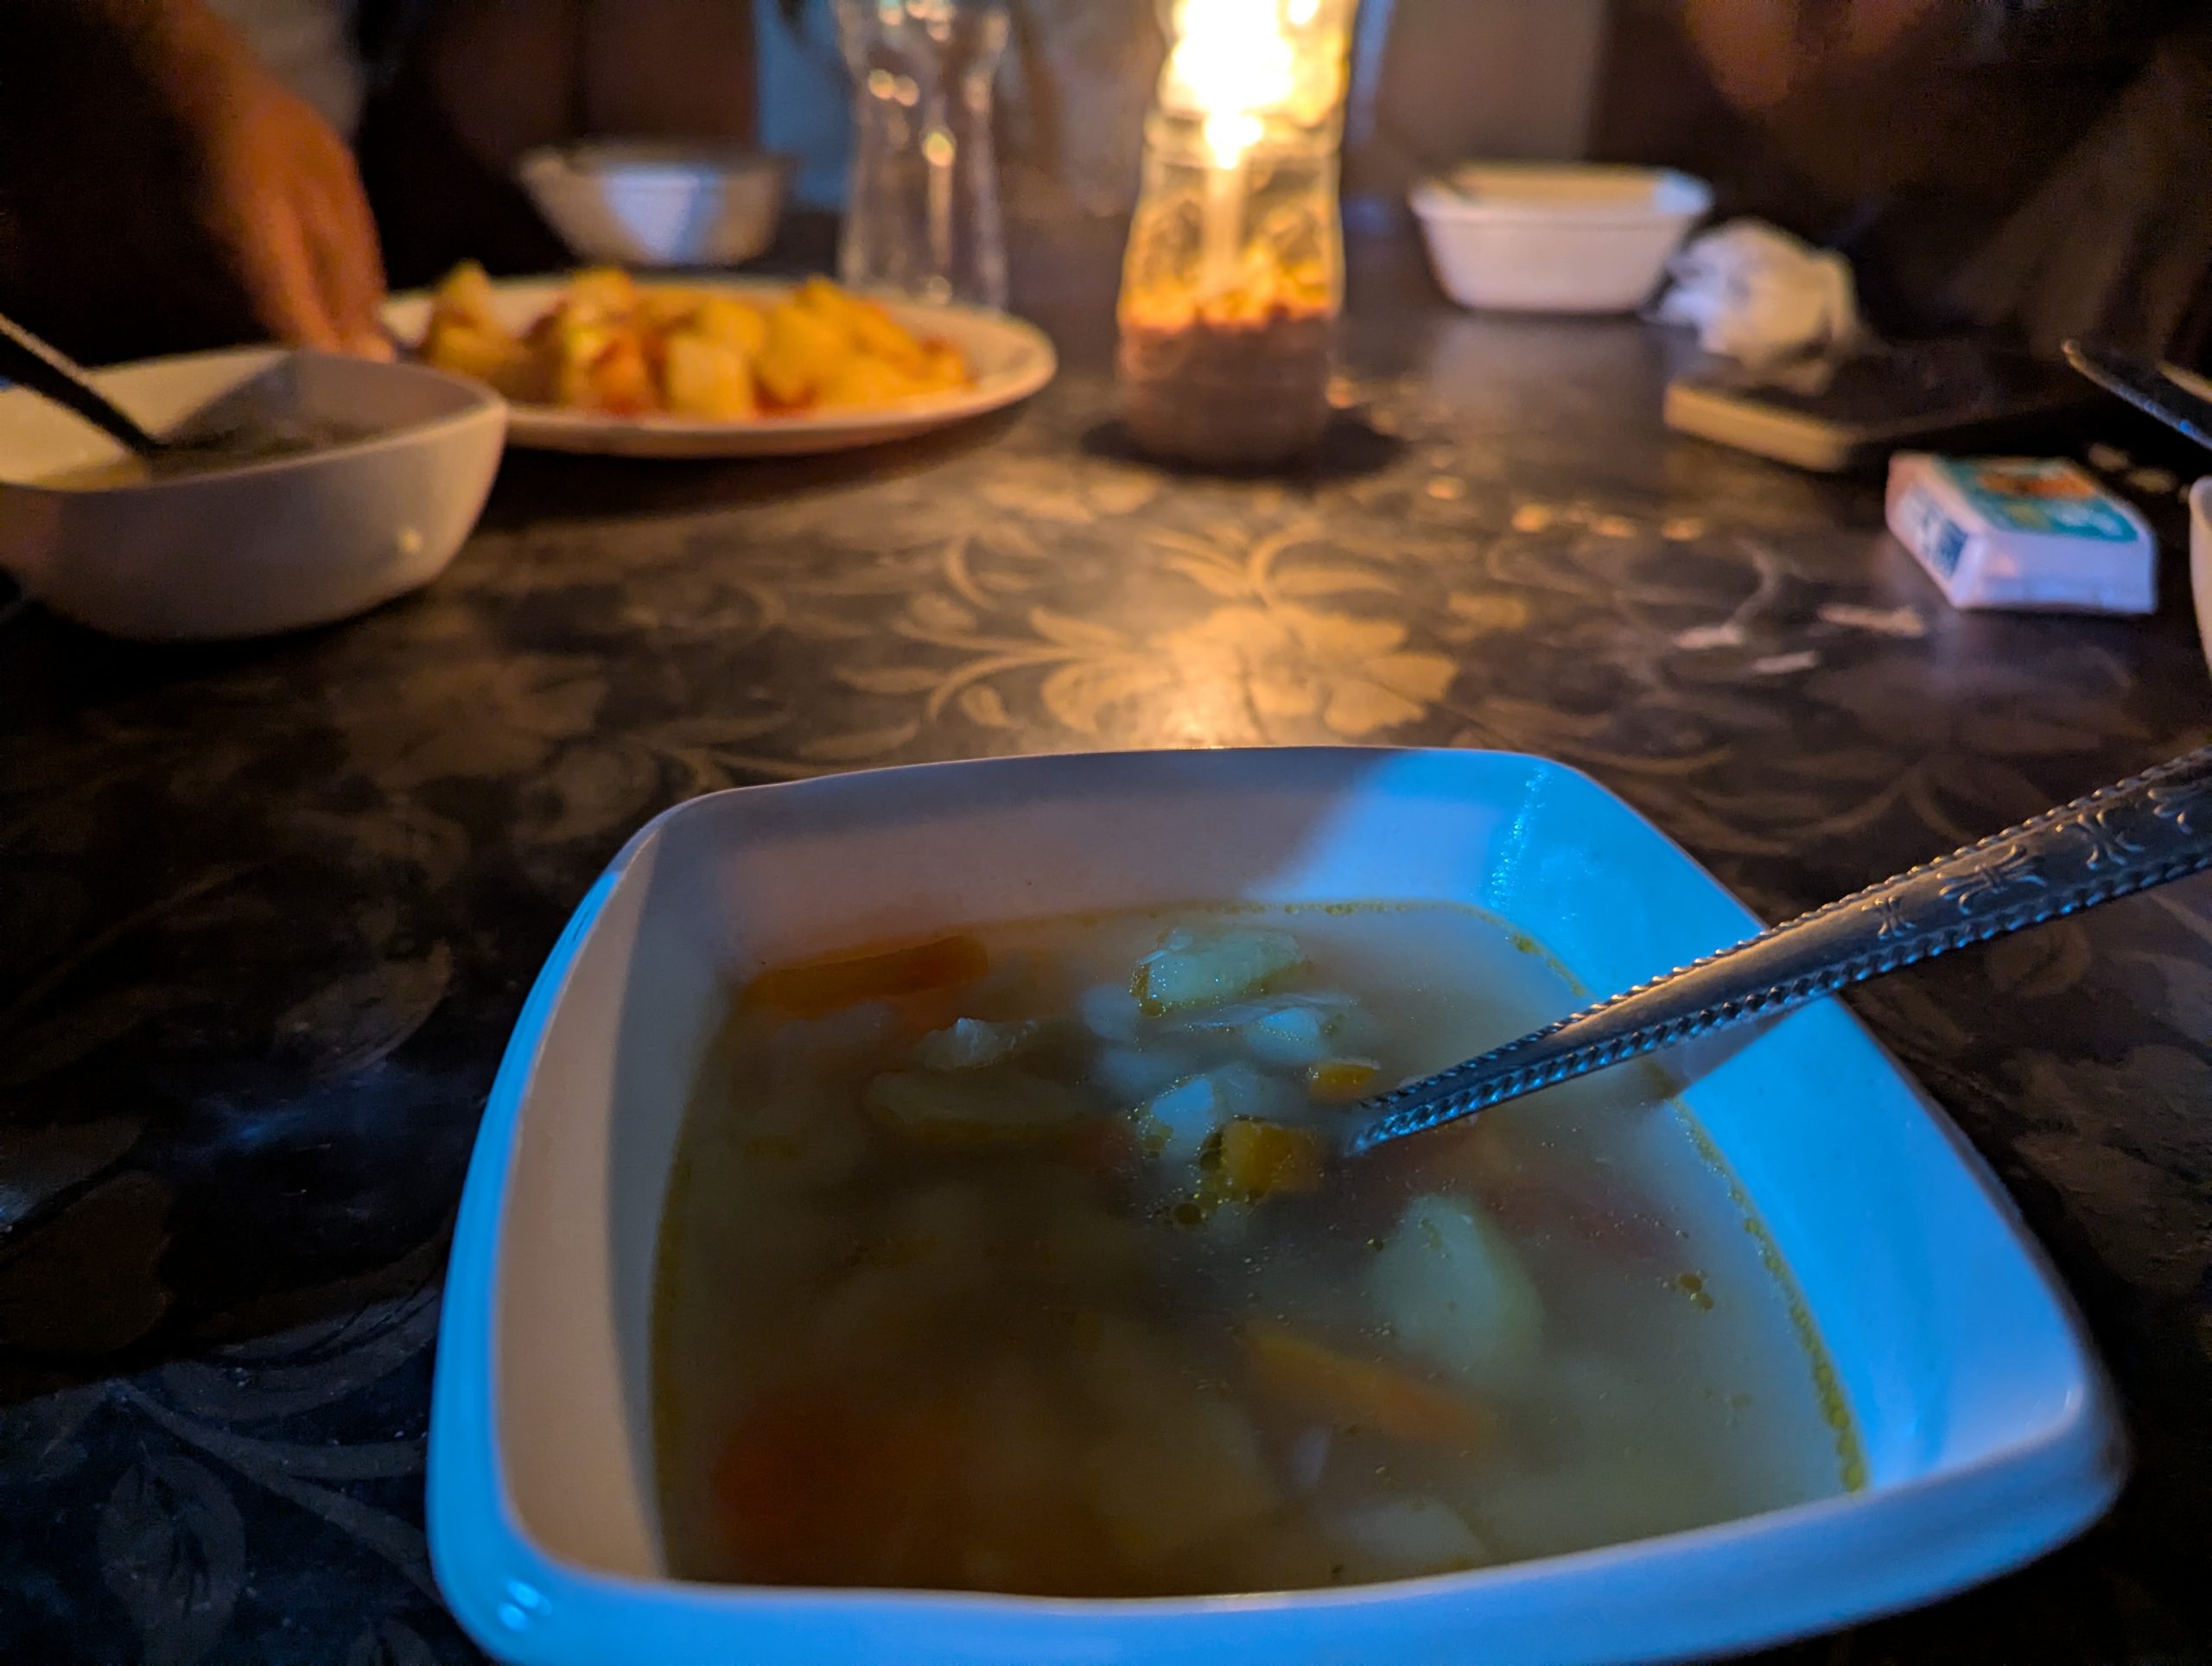
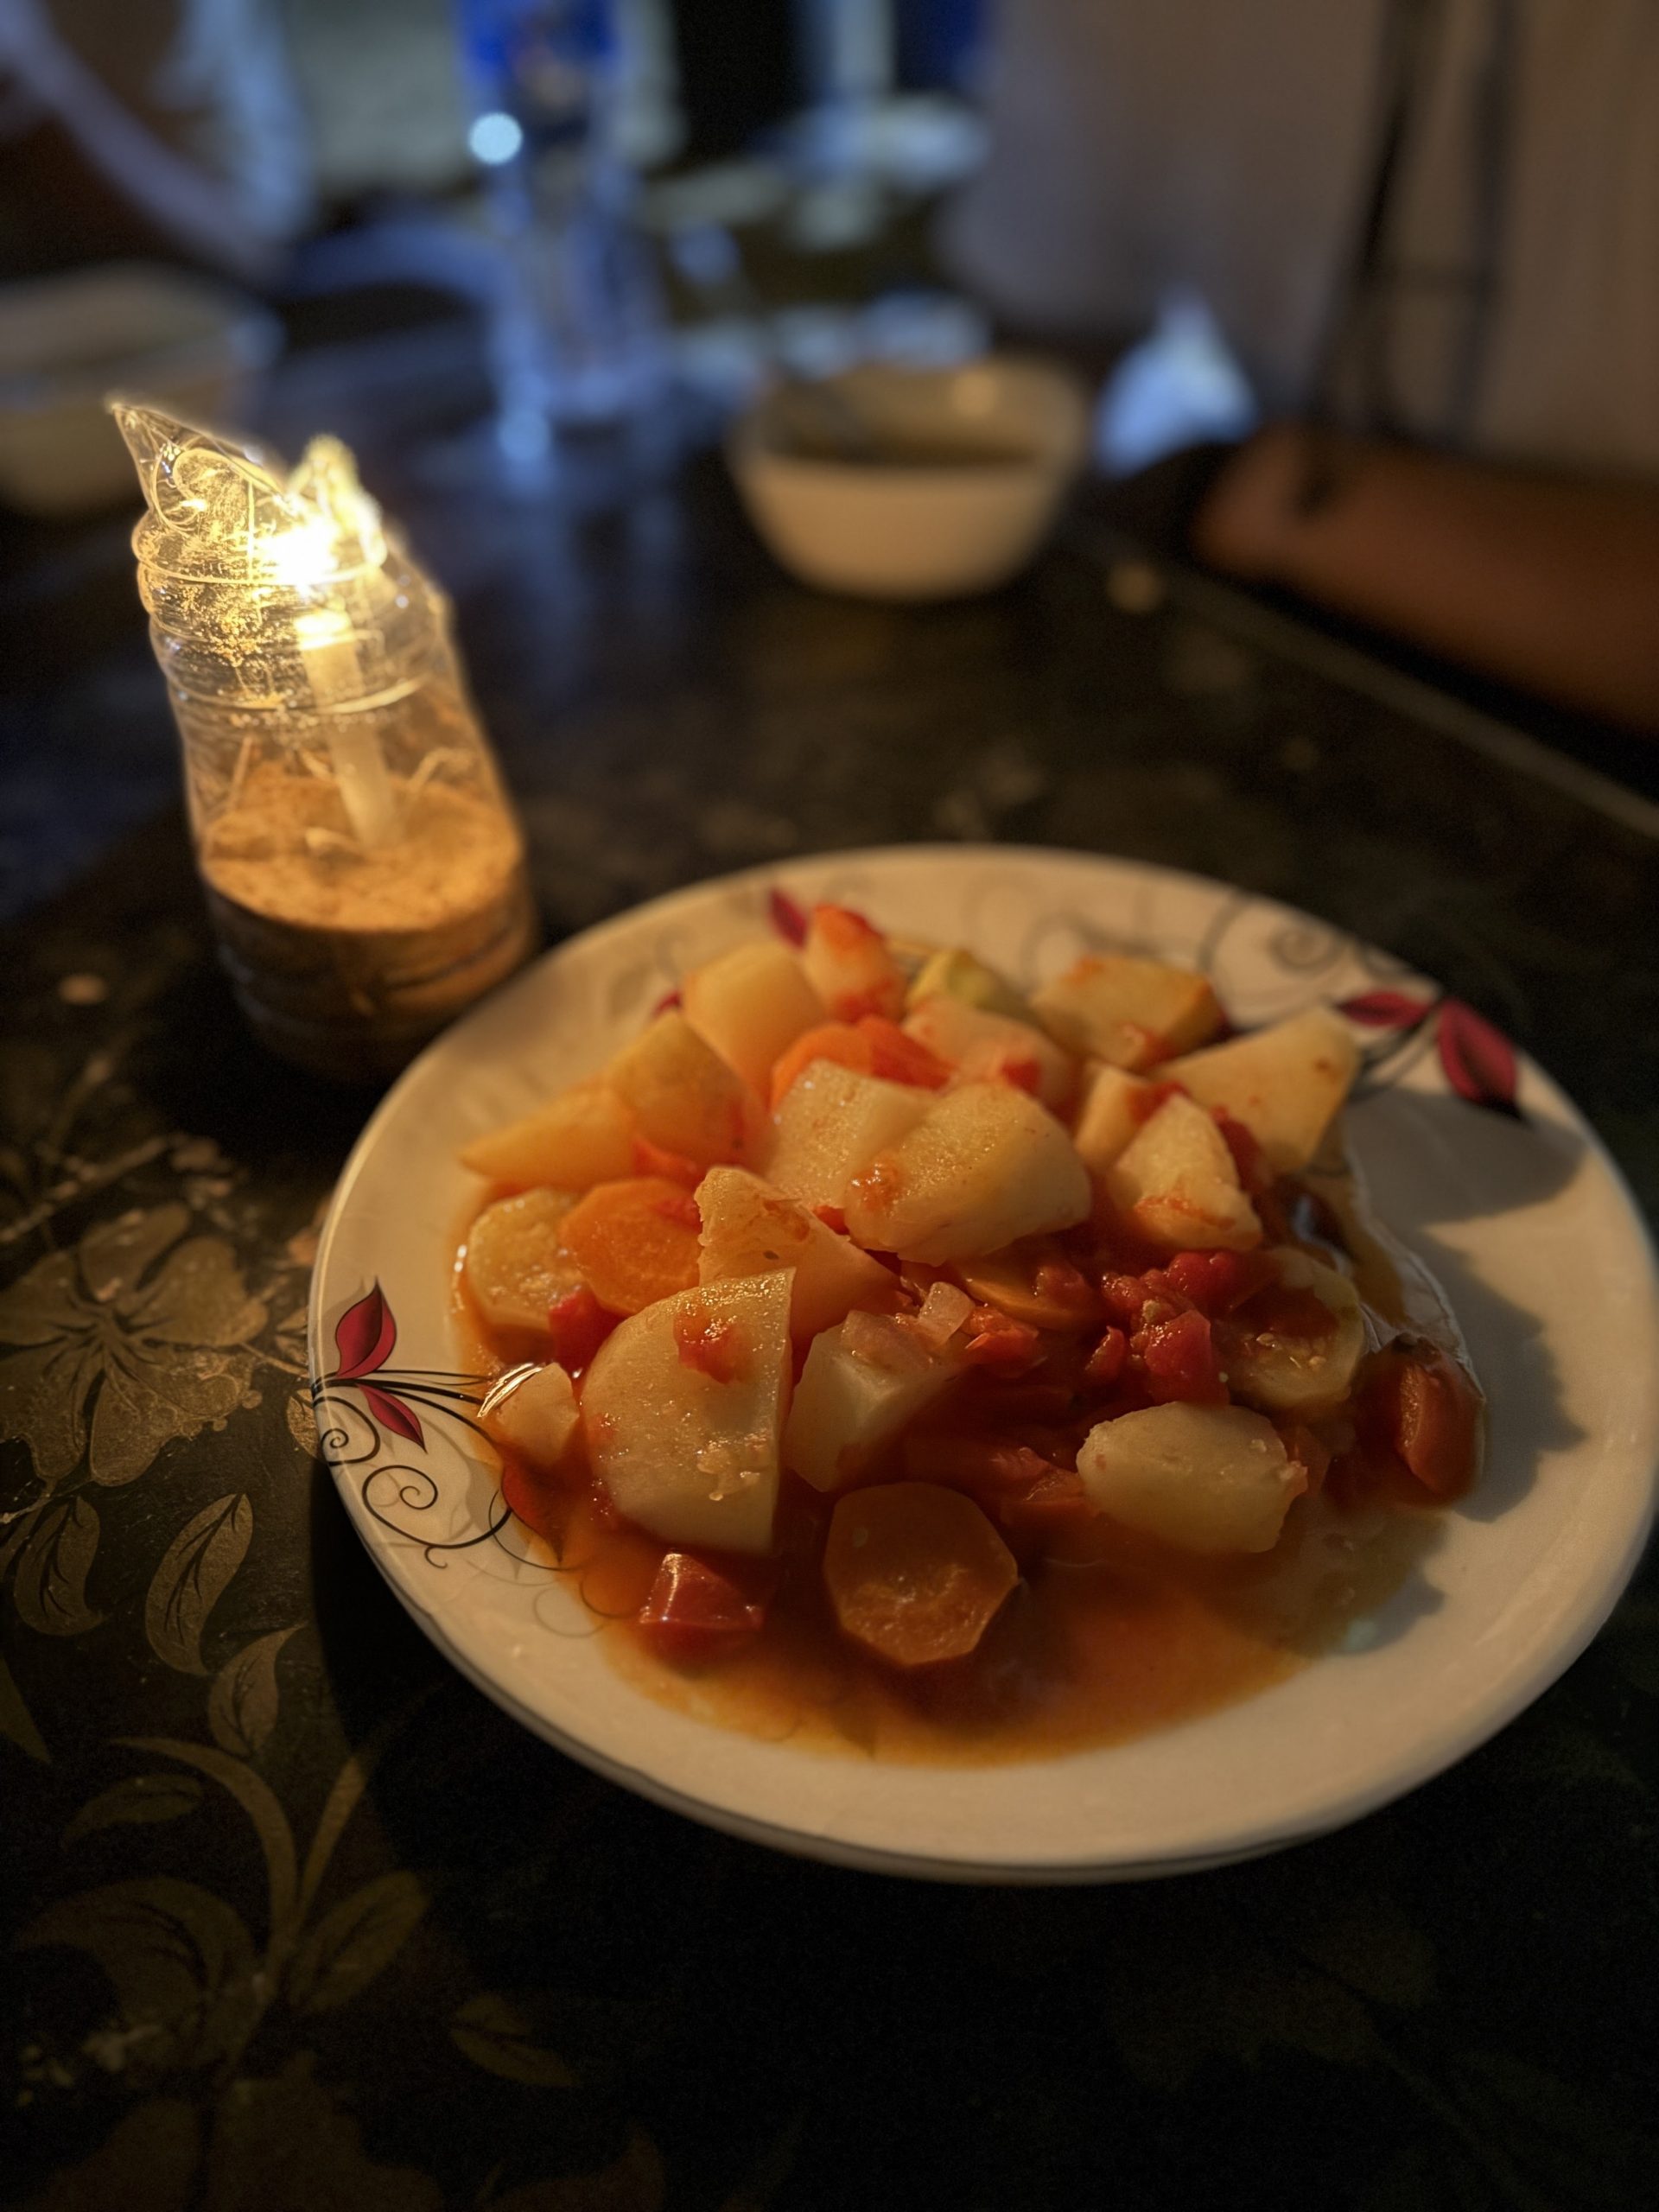
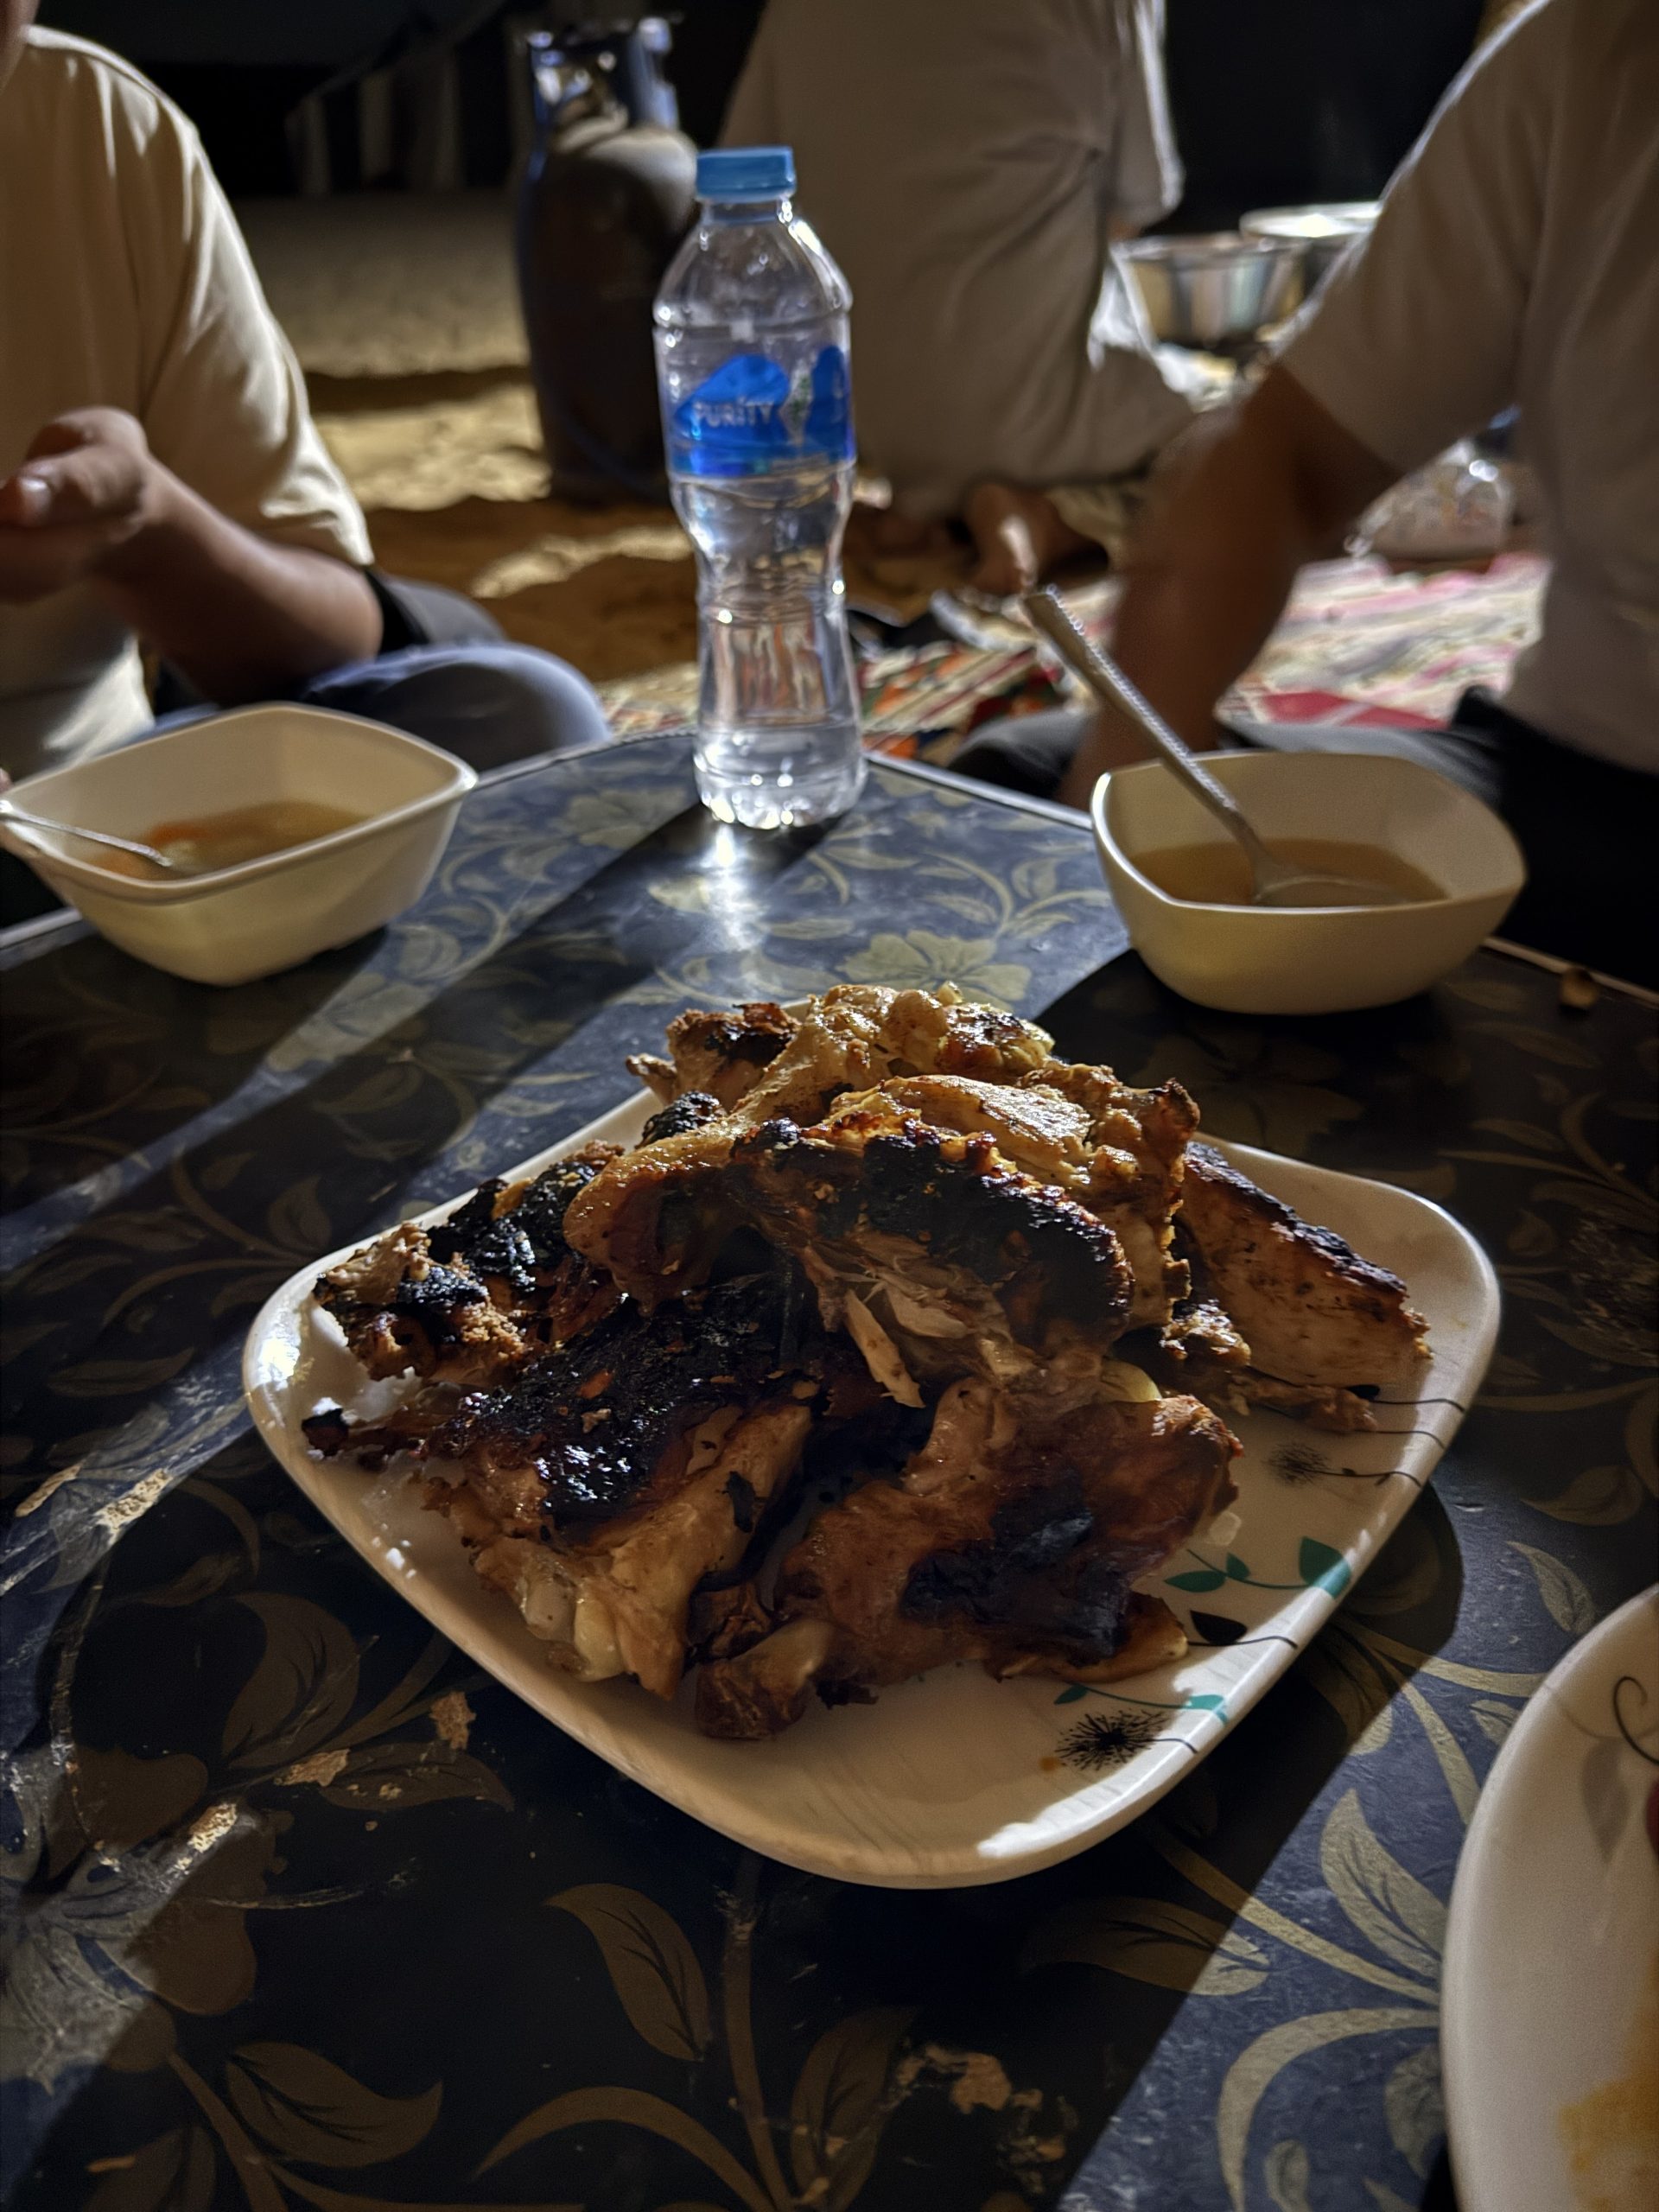
馬鈴薯、烤雞,好像還有餅
住宿部份
帳篷防風,但睡的地方就比較像野營,睡墊加睡袋沒枕頭的組合
睡袋也算暖,可以抵抗晚上 17 度的低溫
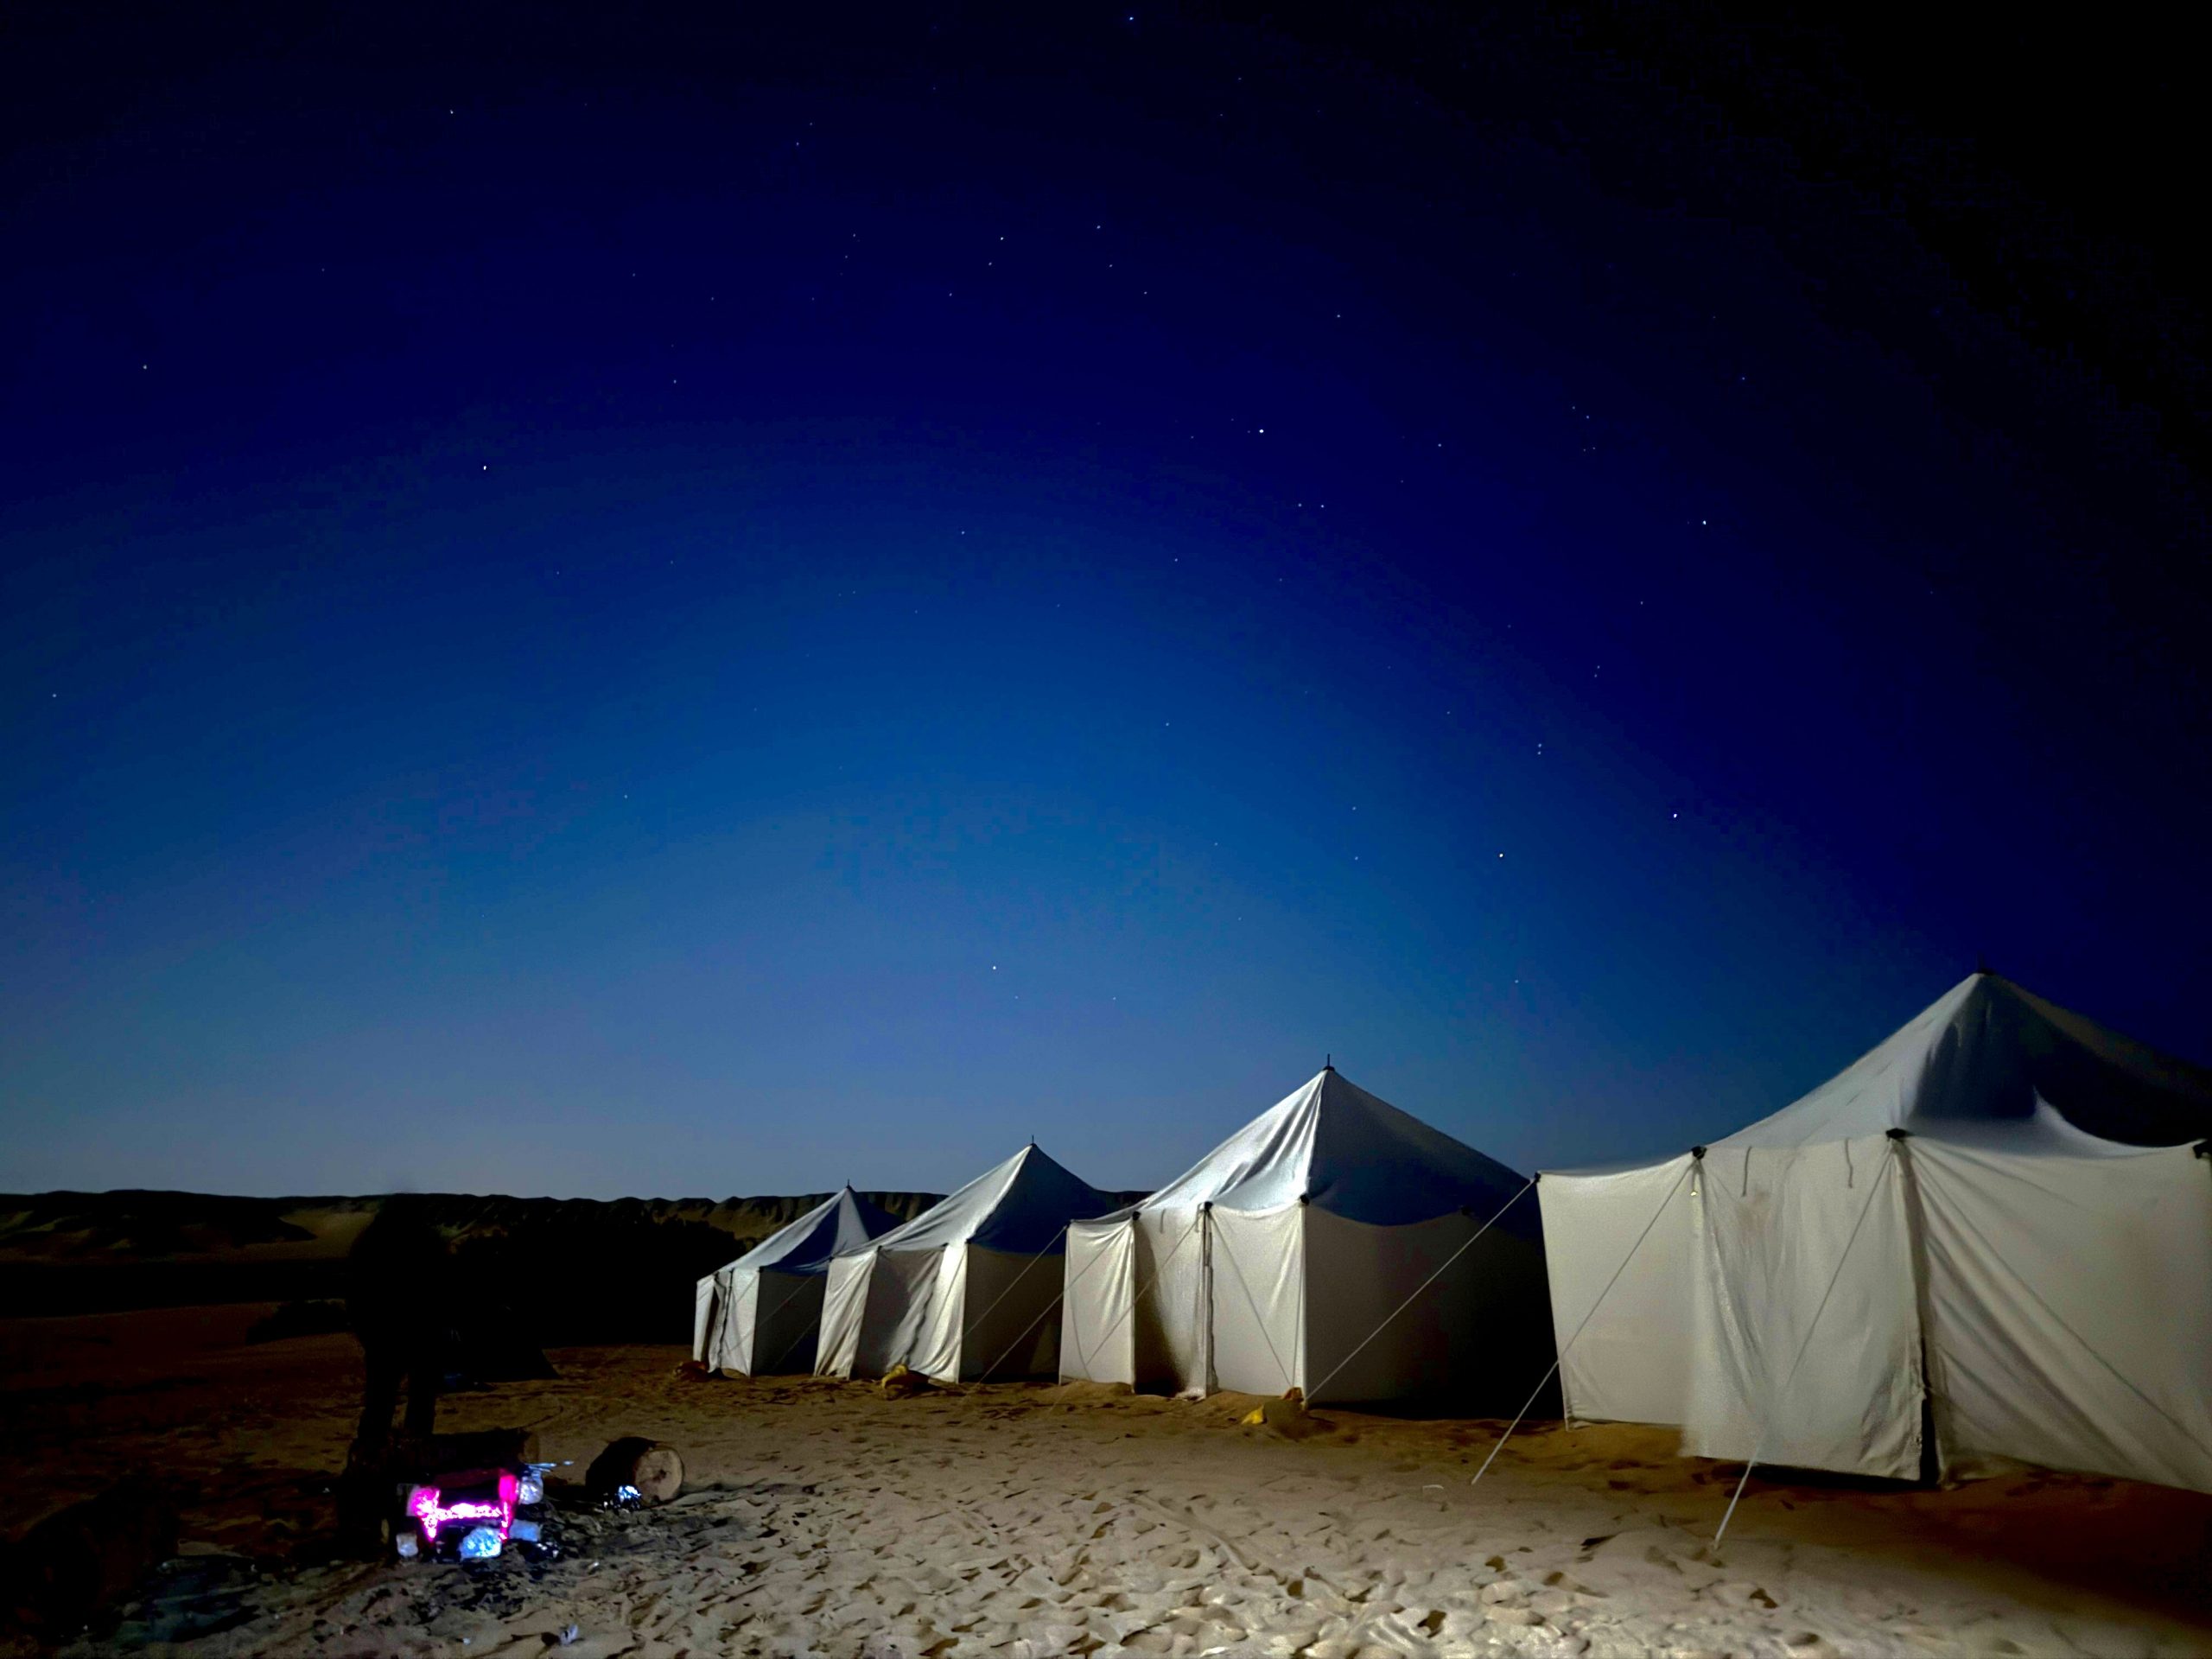
帳篷外部
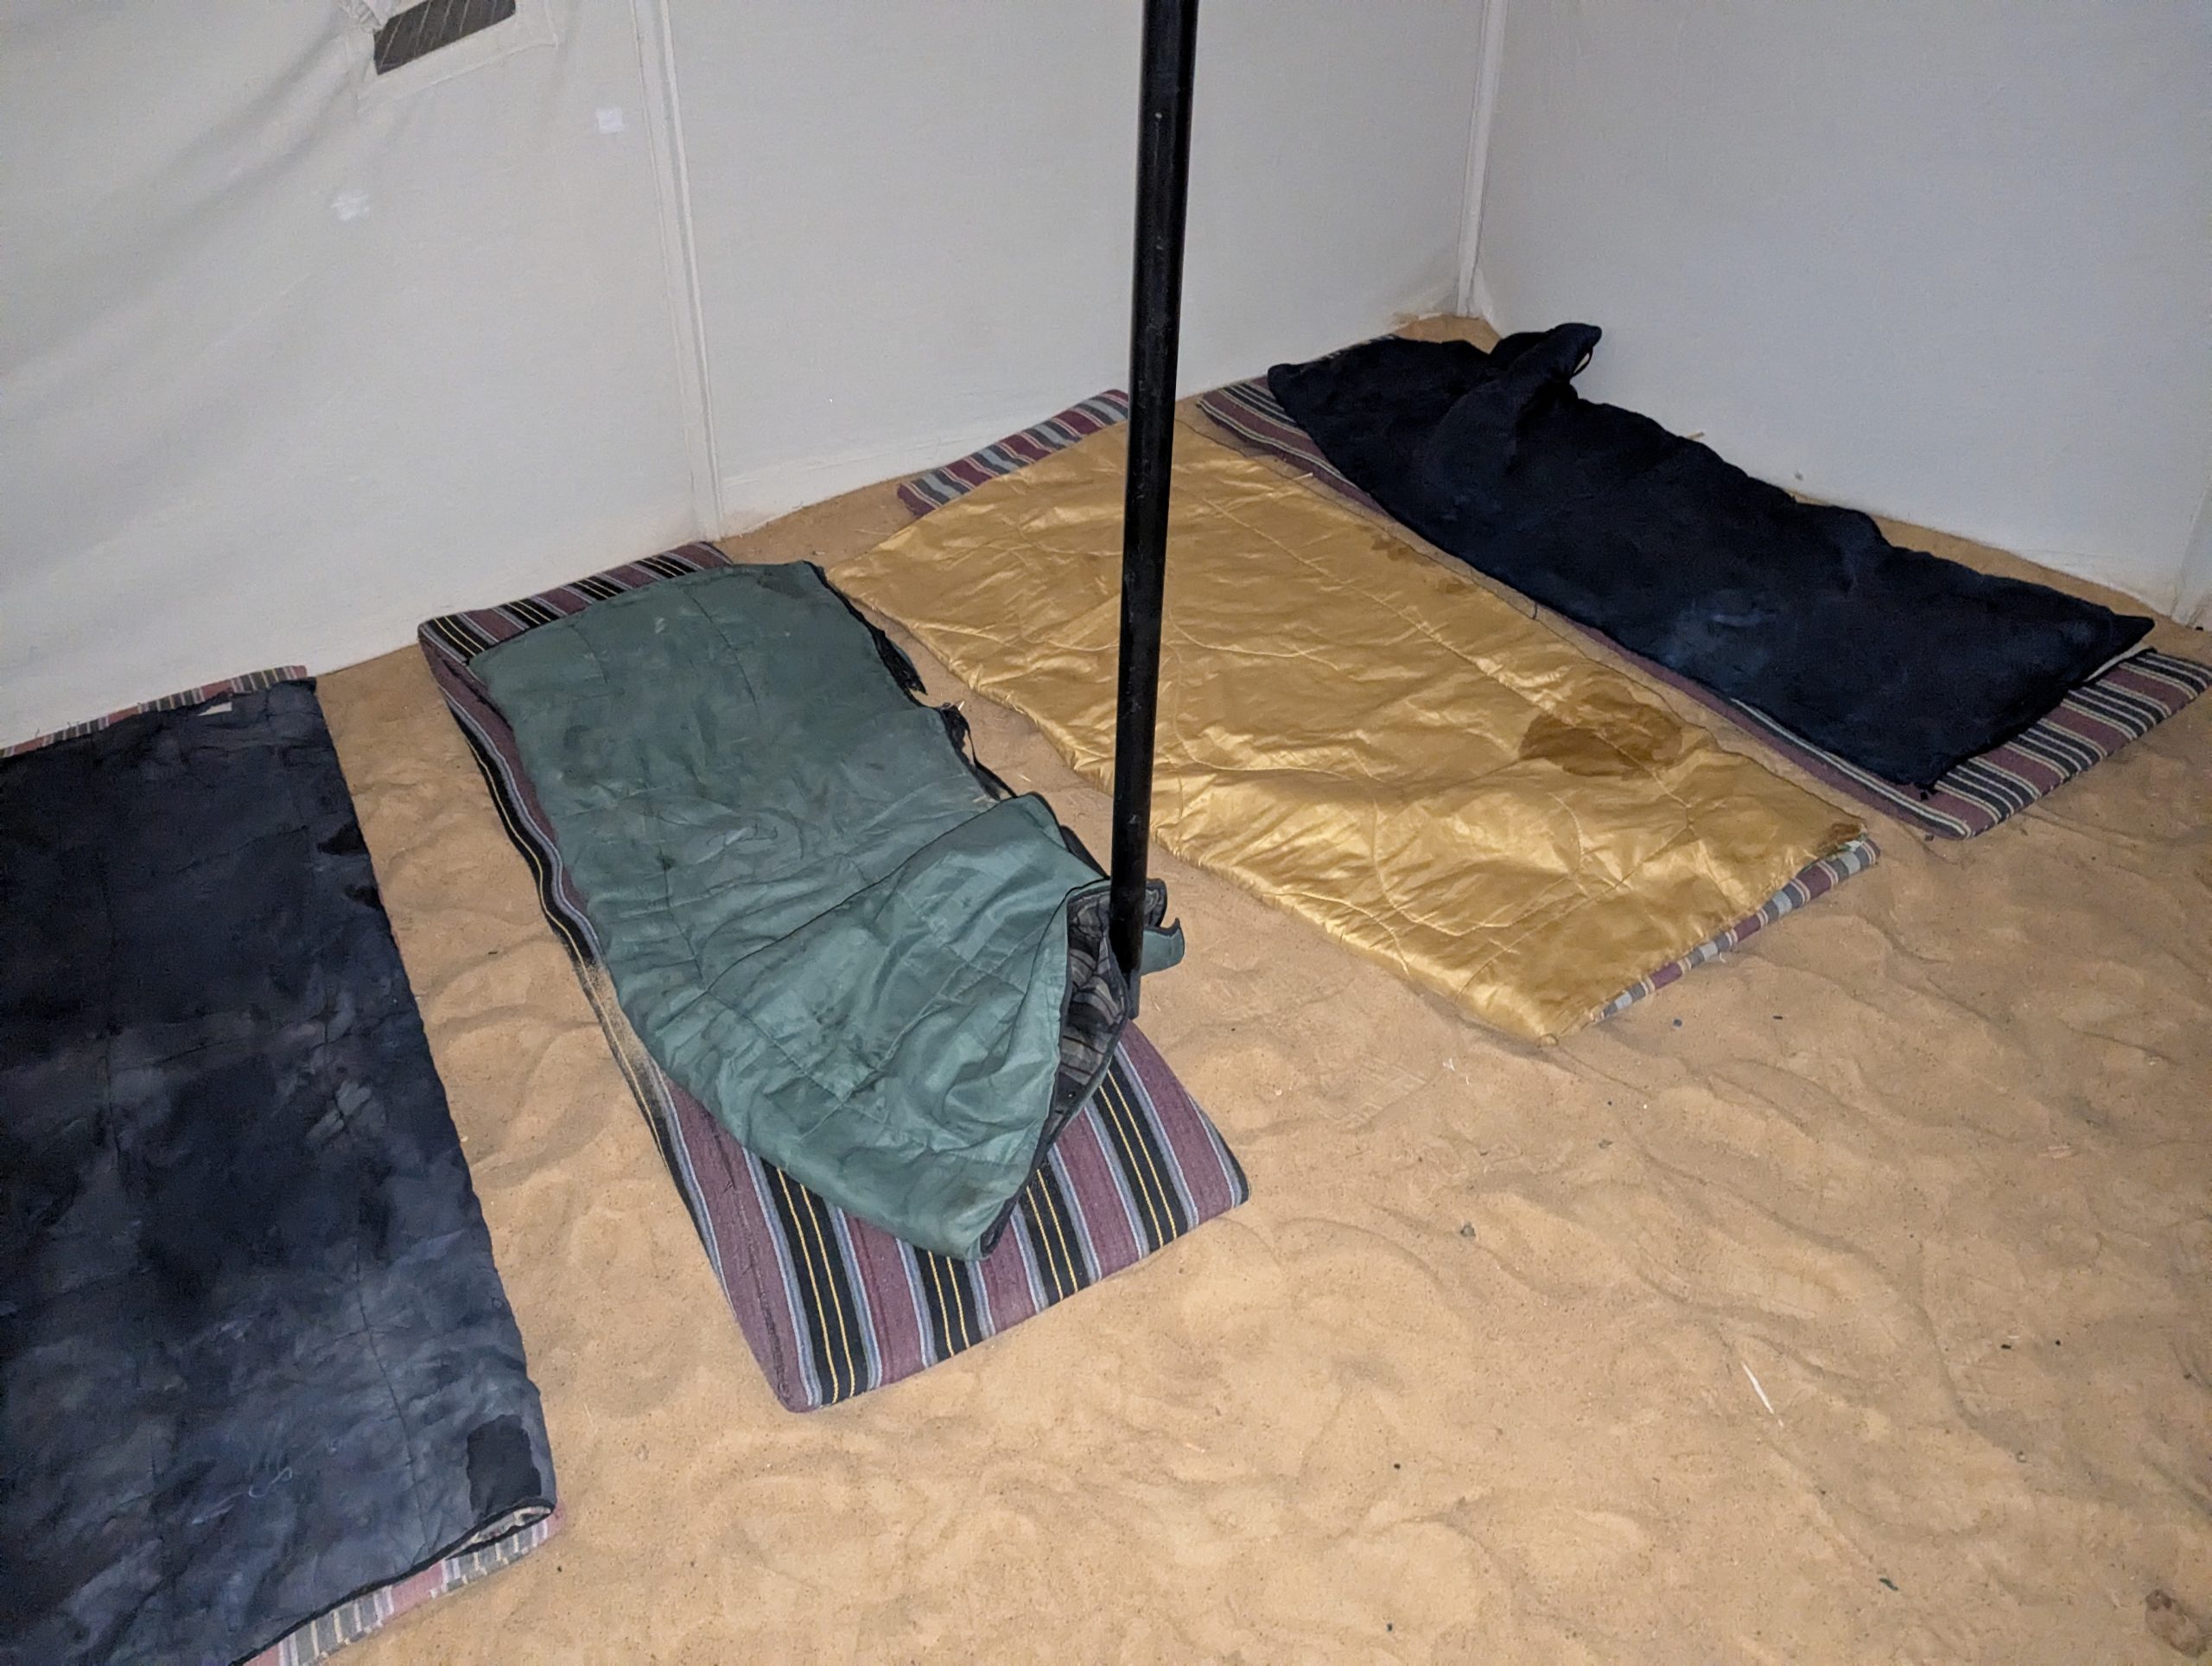
帳篷內部
因為埃及沒雲,沙漠光害只剩月亮,所以可以看到很多星星
(沒圖,因為 Pixel 開星空模式一直拍不出來 QAQ)
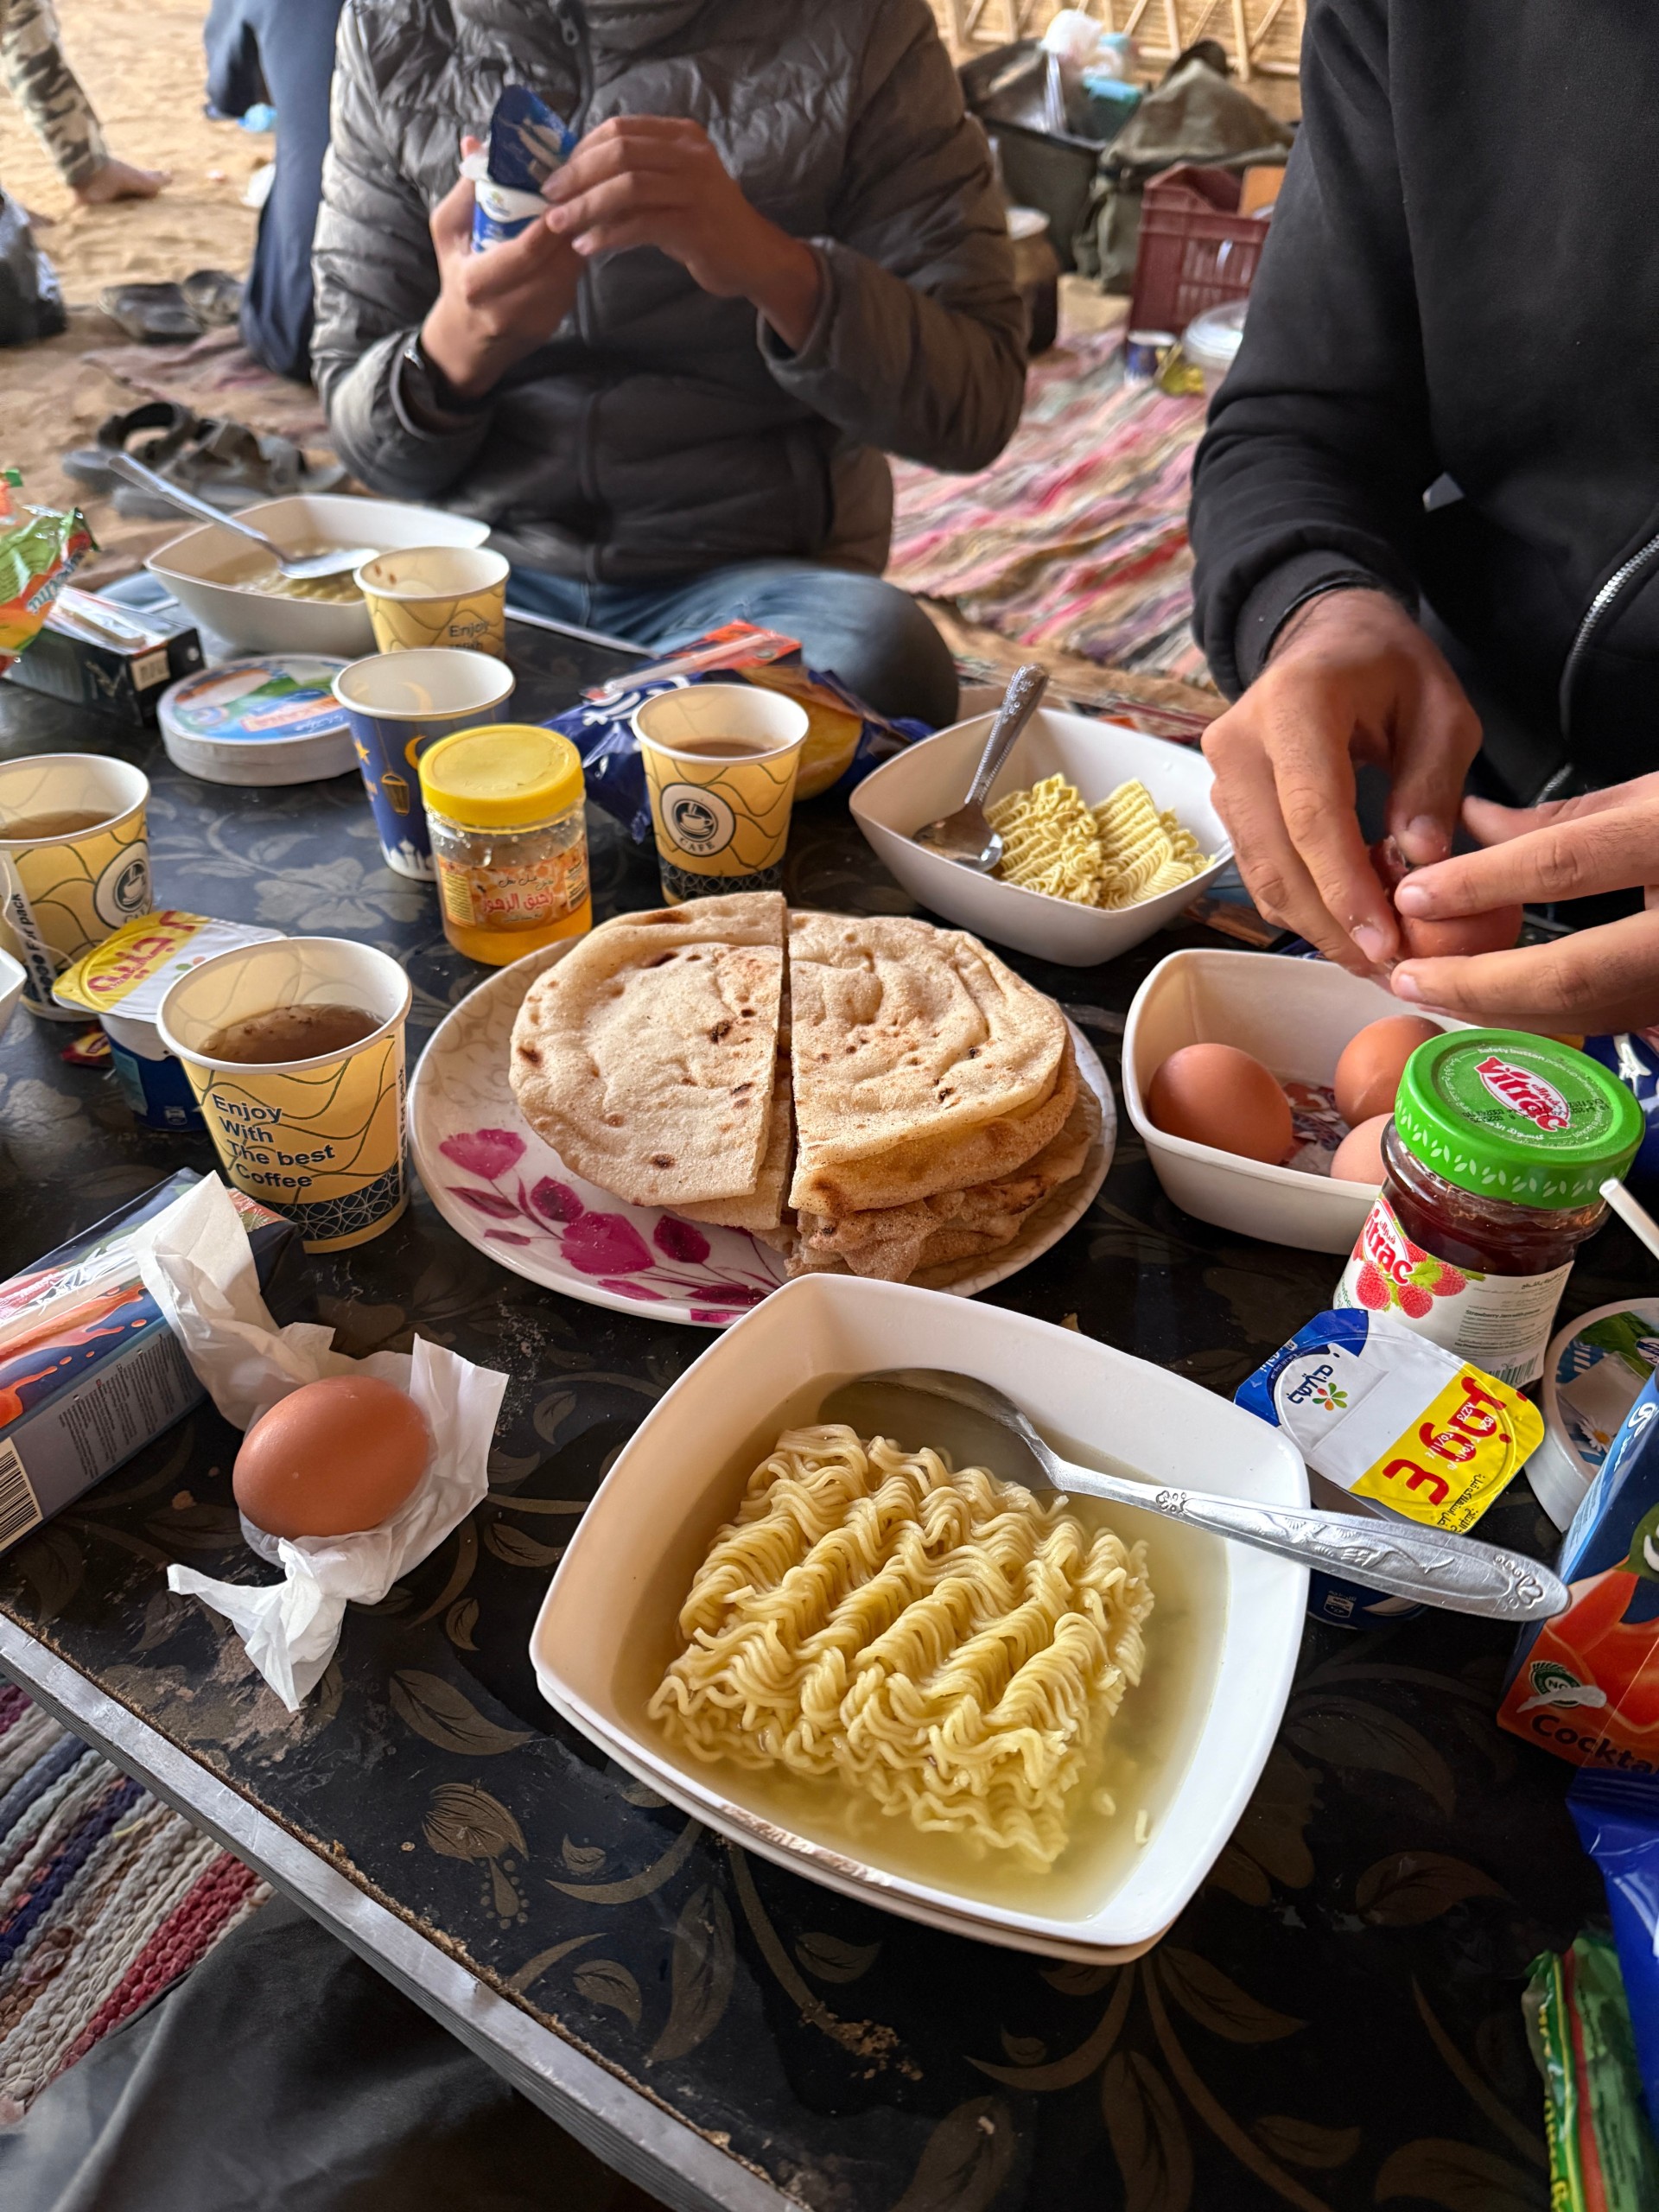
早餐
早起看日出
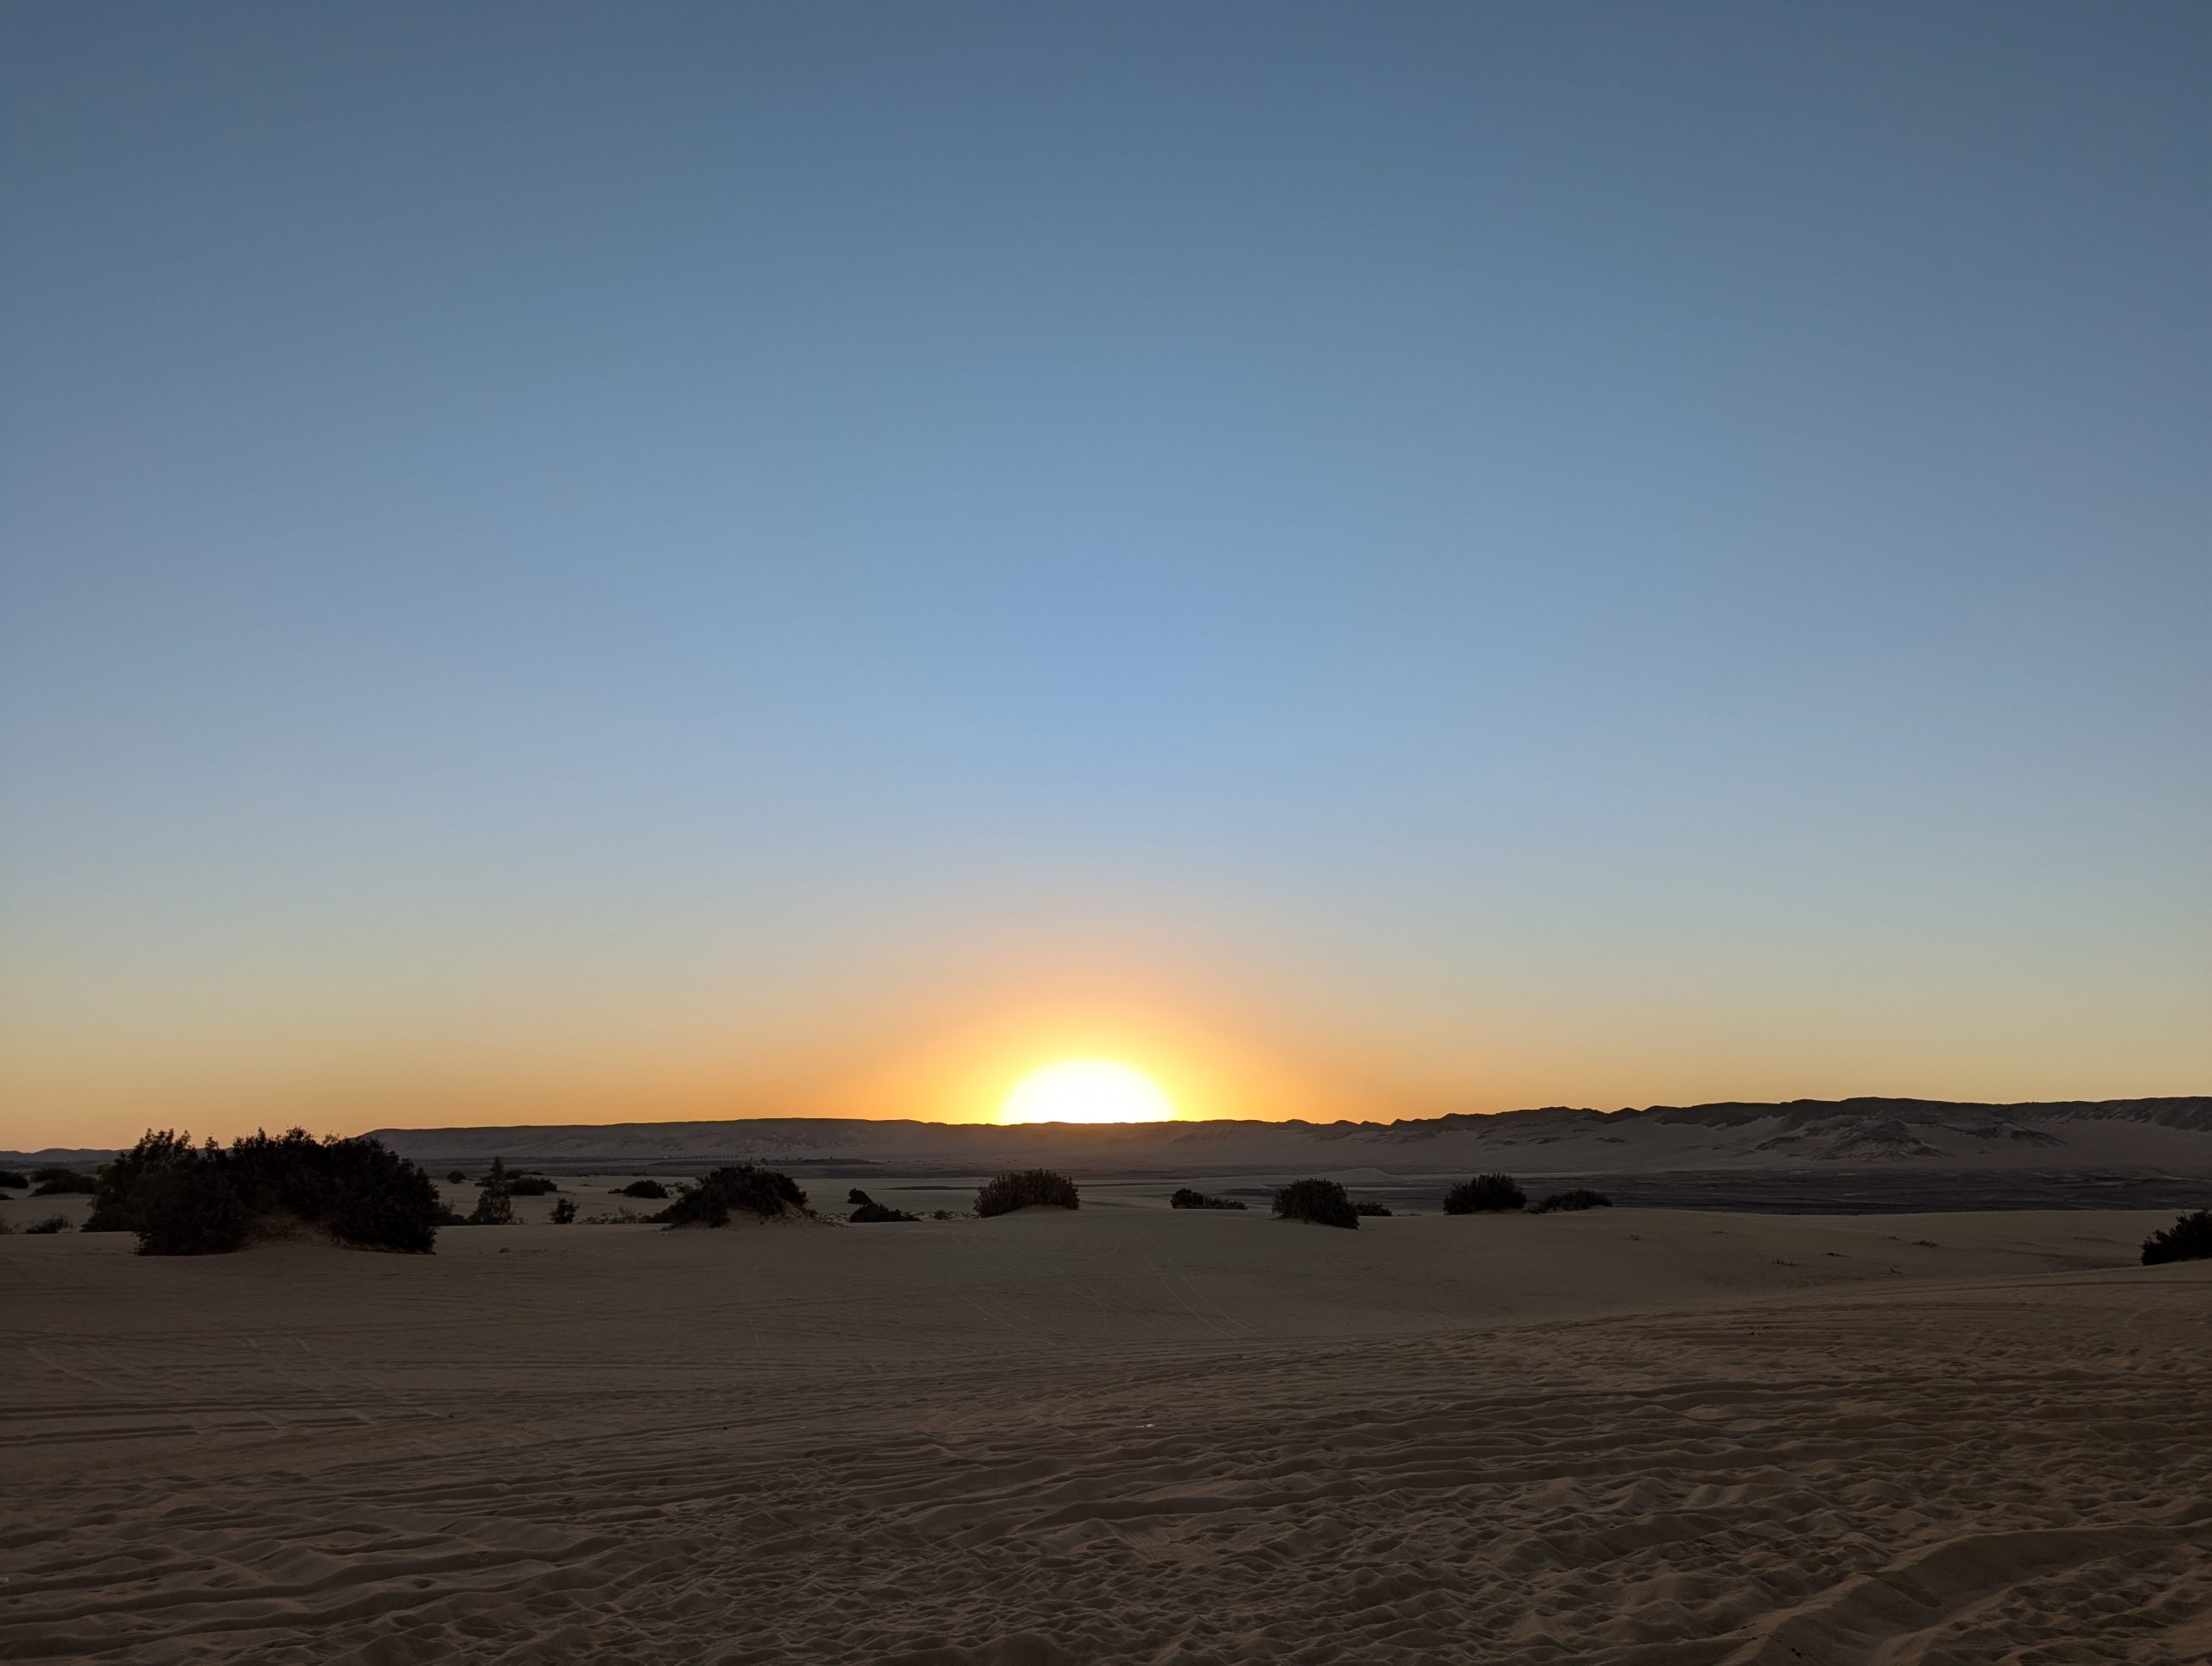
收拾整理後,回綠洲中繼站拿大件行李換乘小巴,再開 4 小時回開羅,吃午餐+一小時洗澡整理
BTW 沙漠的氣候是真的乾,去玩沙漠之後嘴唇裂了幾天才恢復
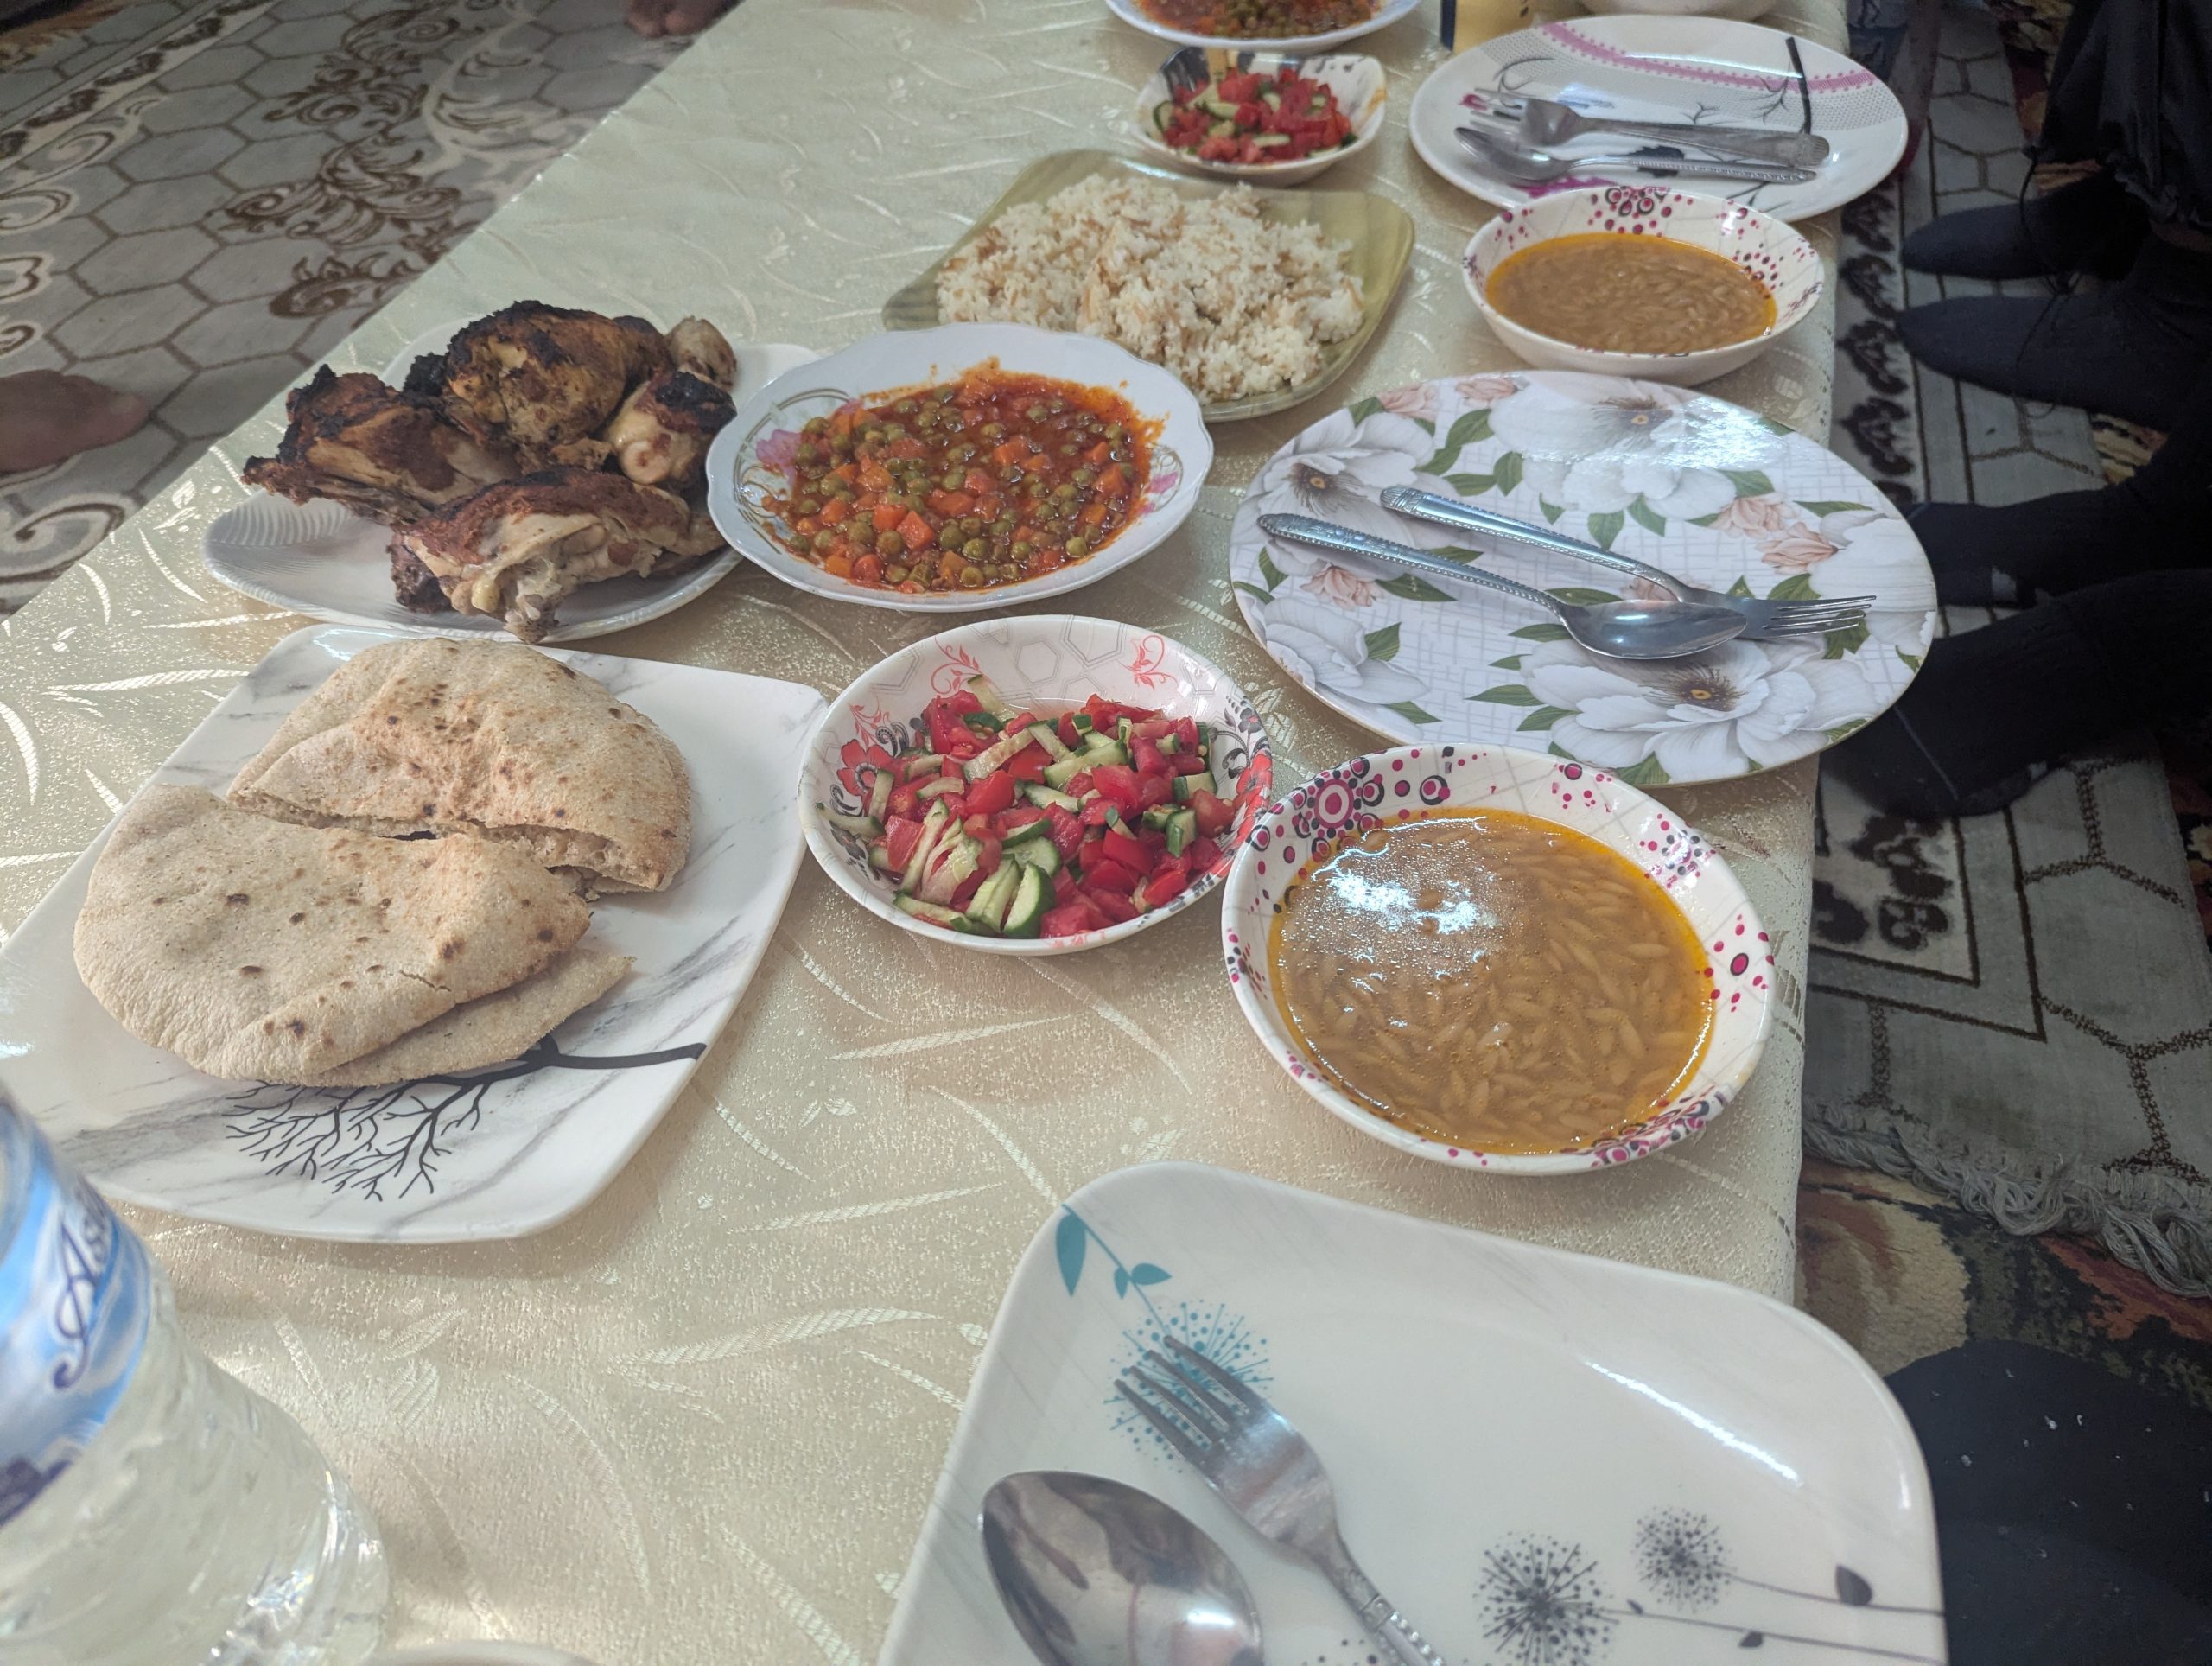
 午餐又是熟悉的食物
洗澡整理完前往哈莉莉市集
因為停留時間不長,所以我們只有走其中一條街
路上兩排都是推銷的小販,壓力很大
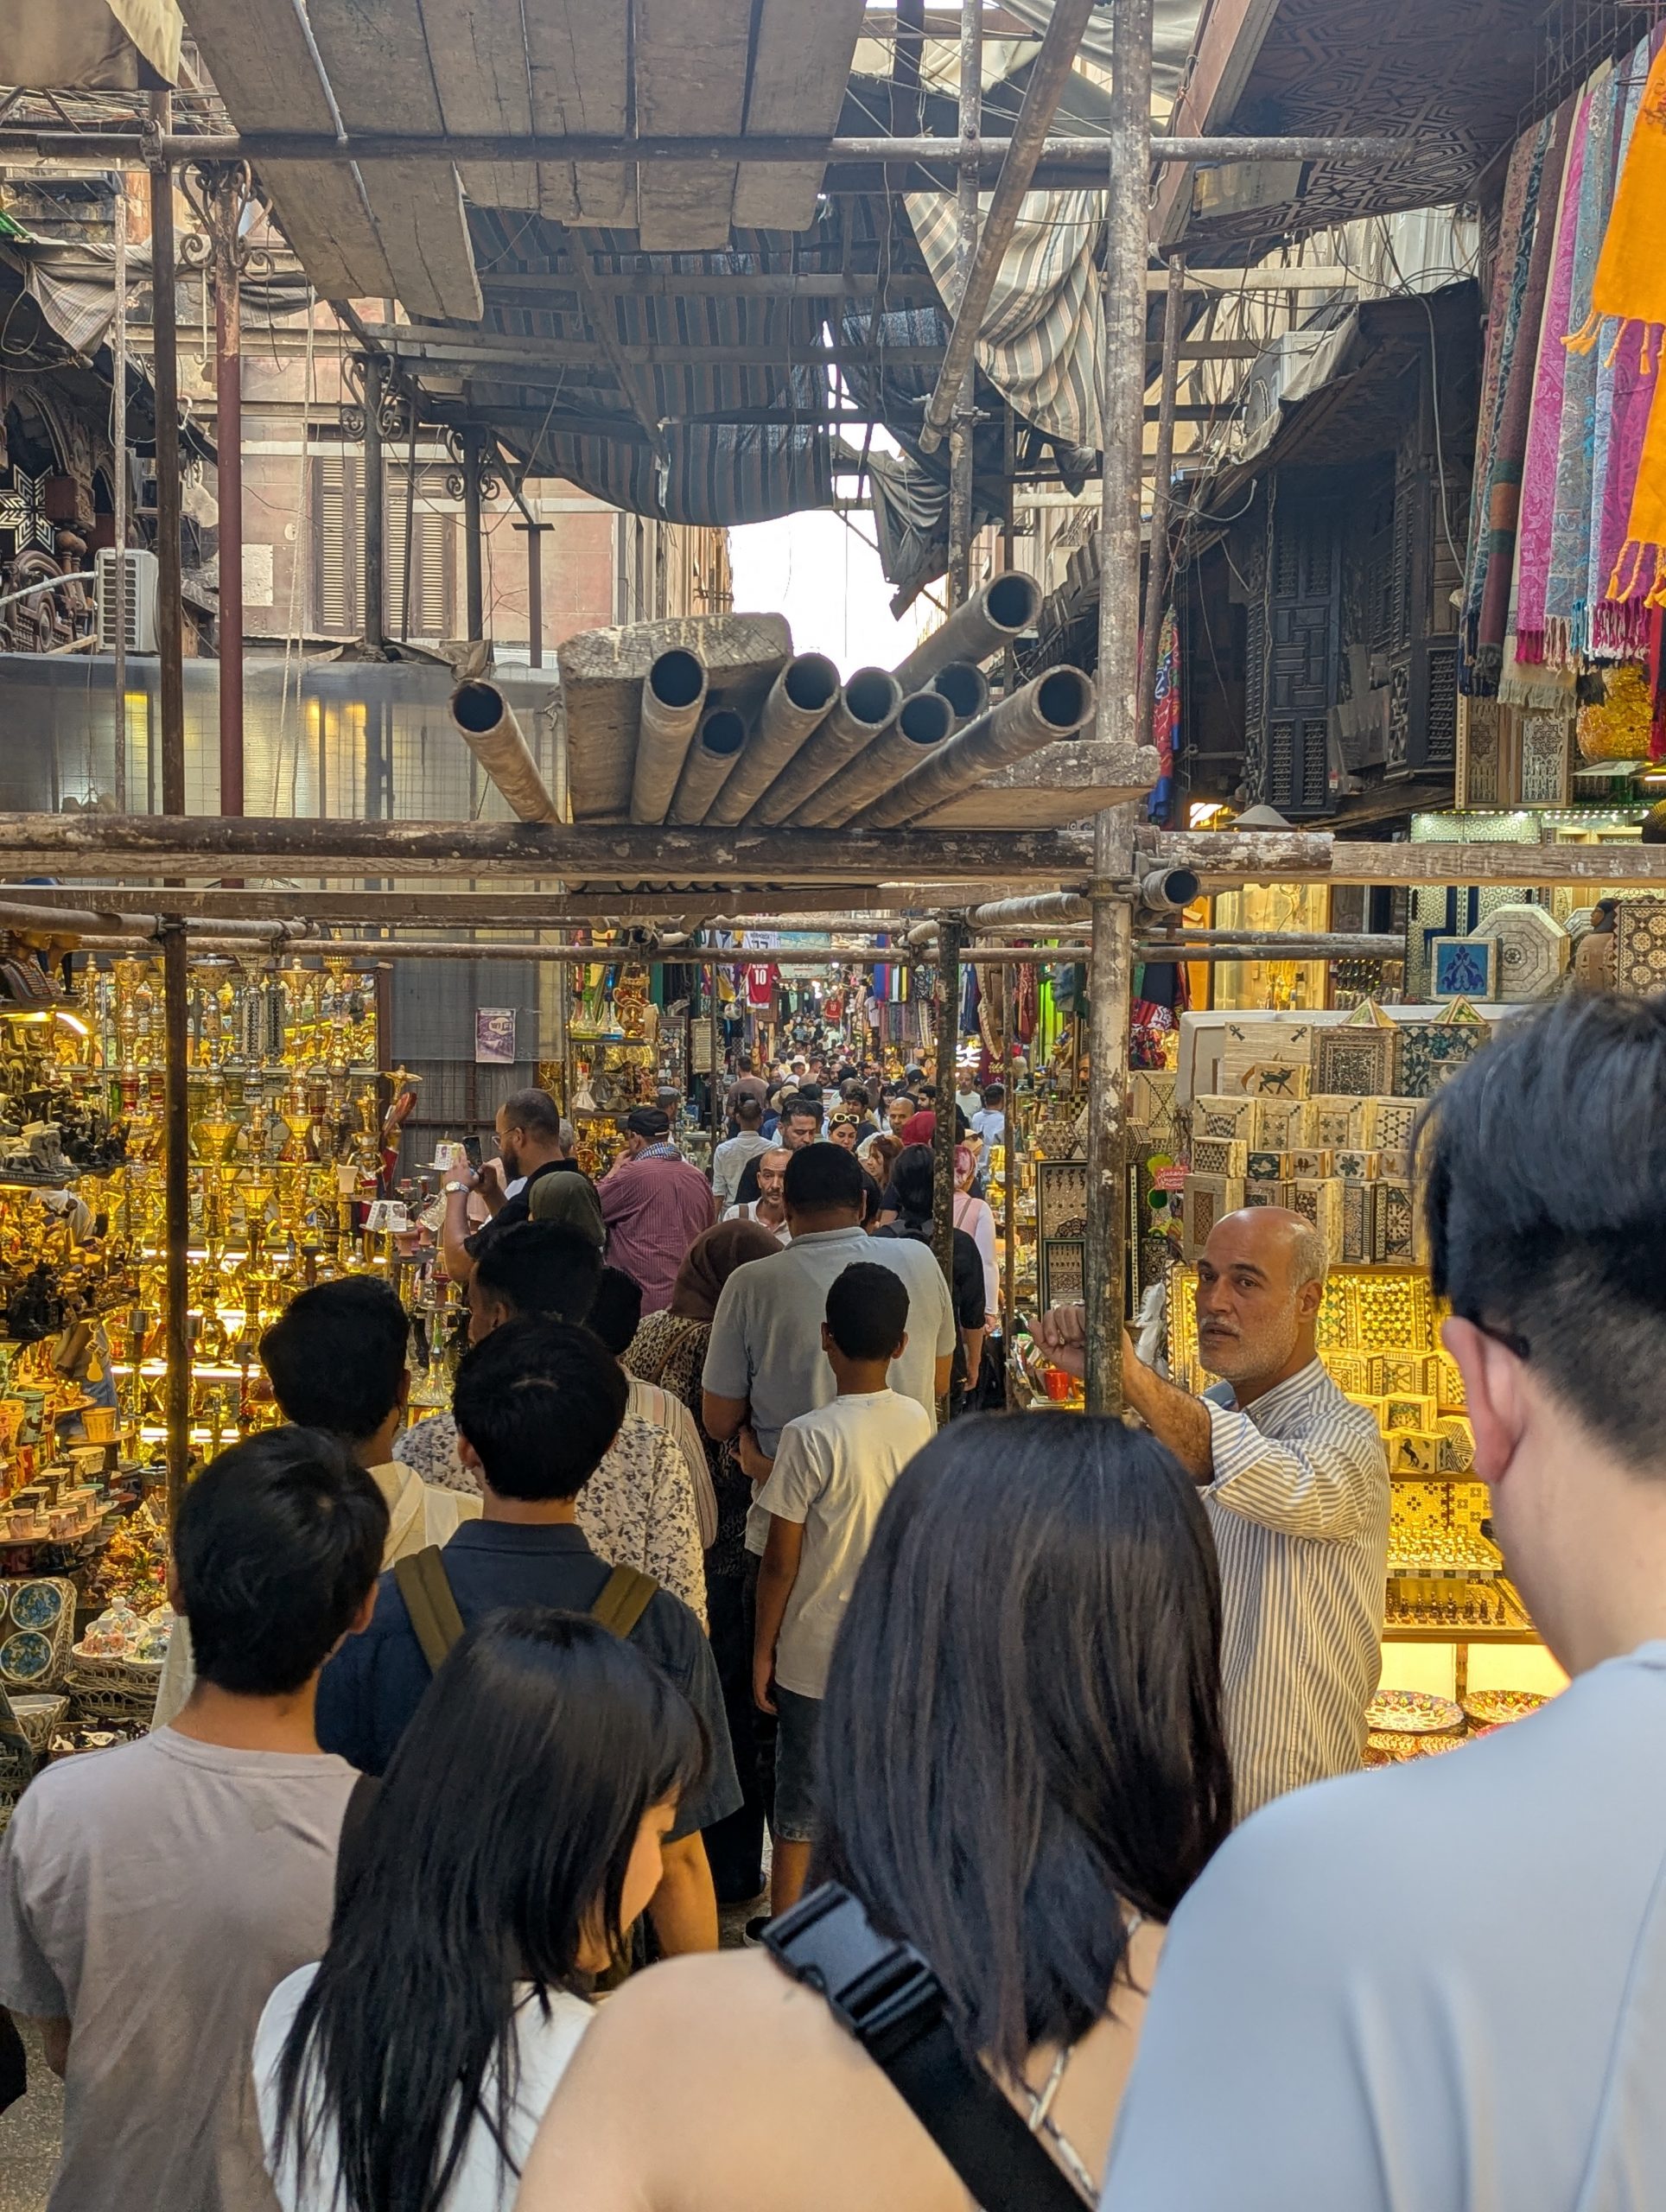
對有興趣殺價的人可以試試看,這邊可以殺得很快樂 (?
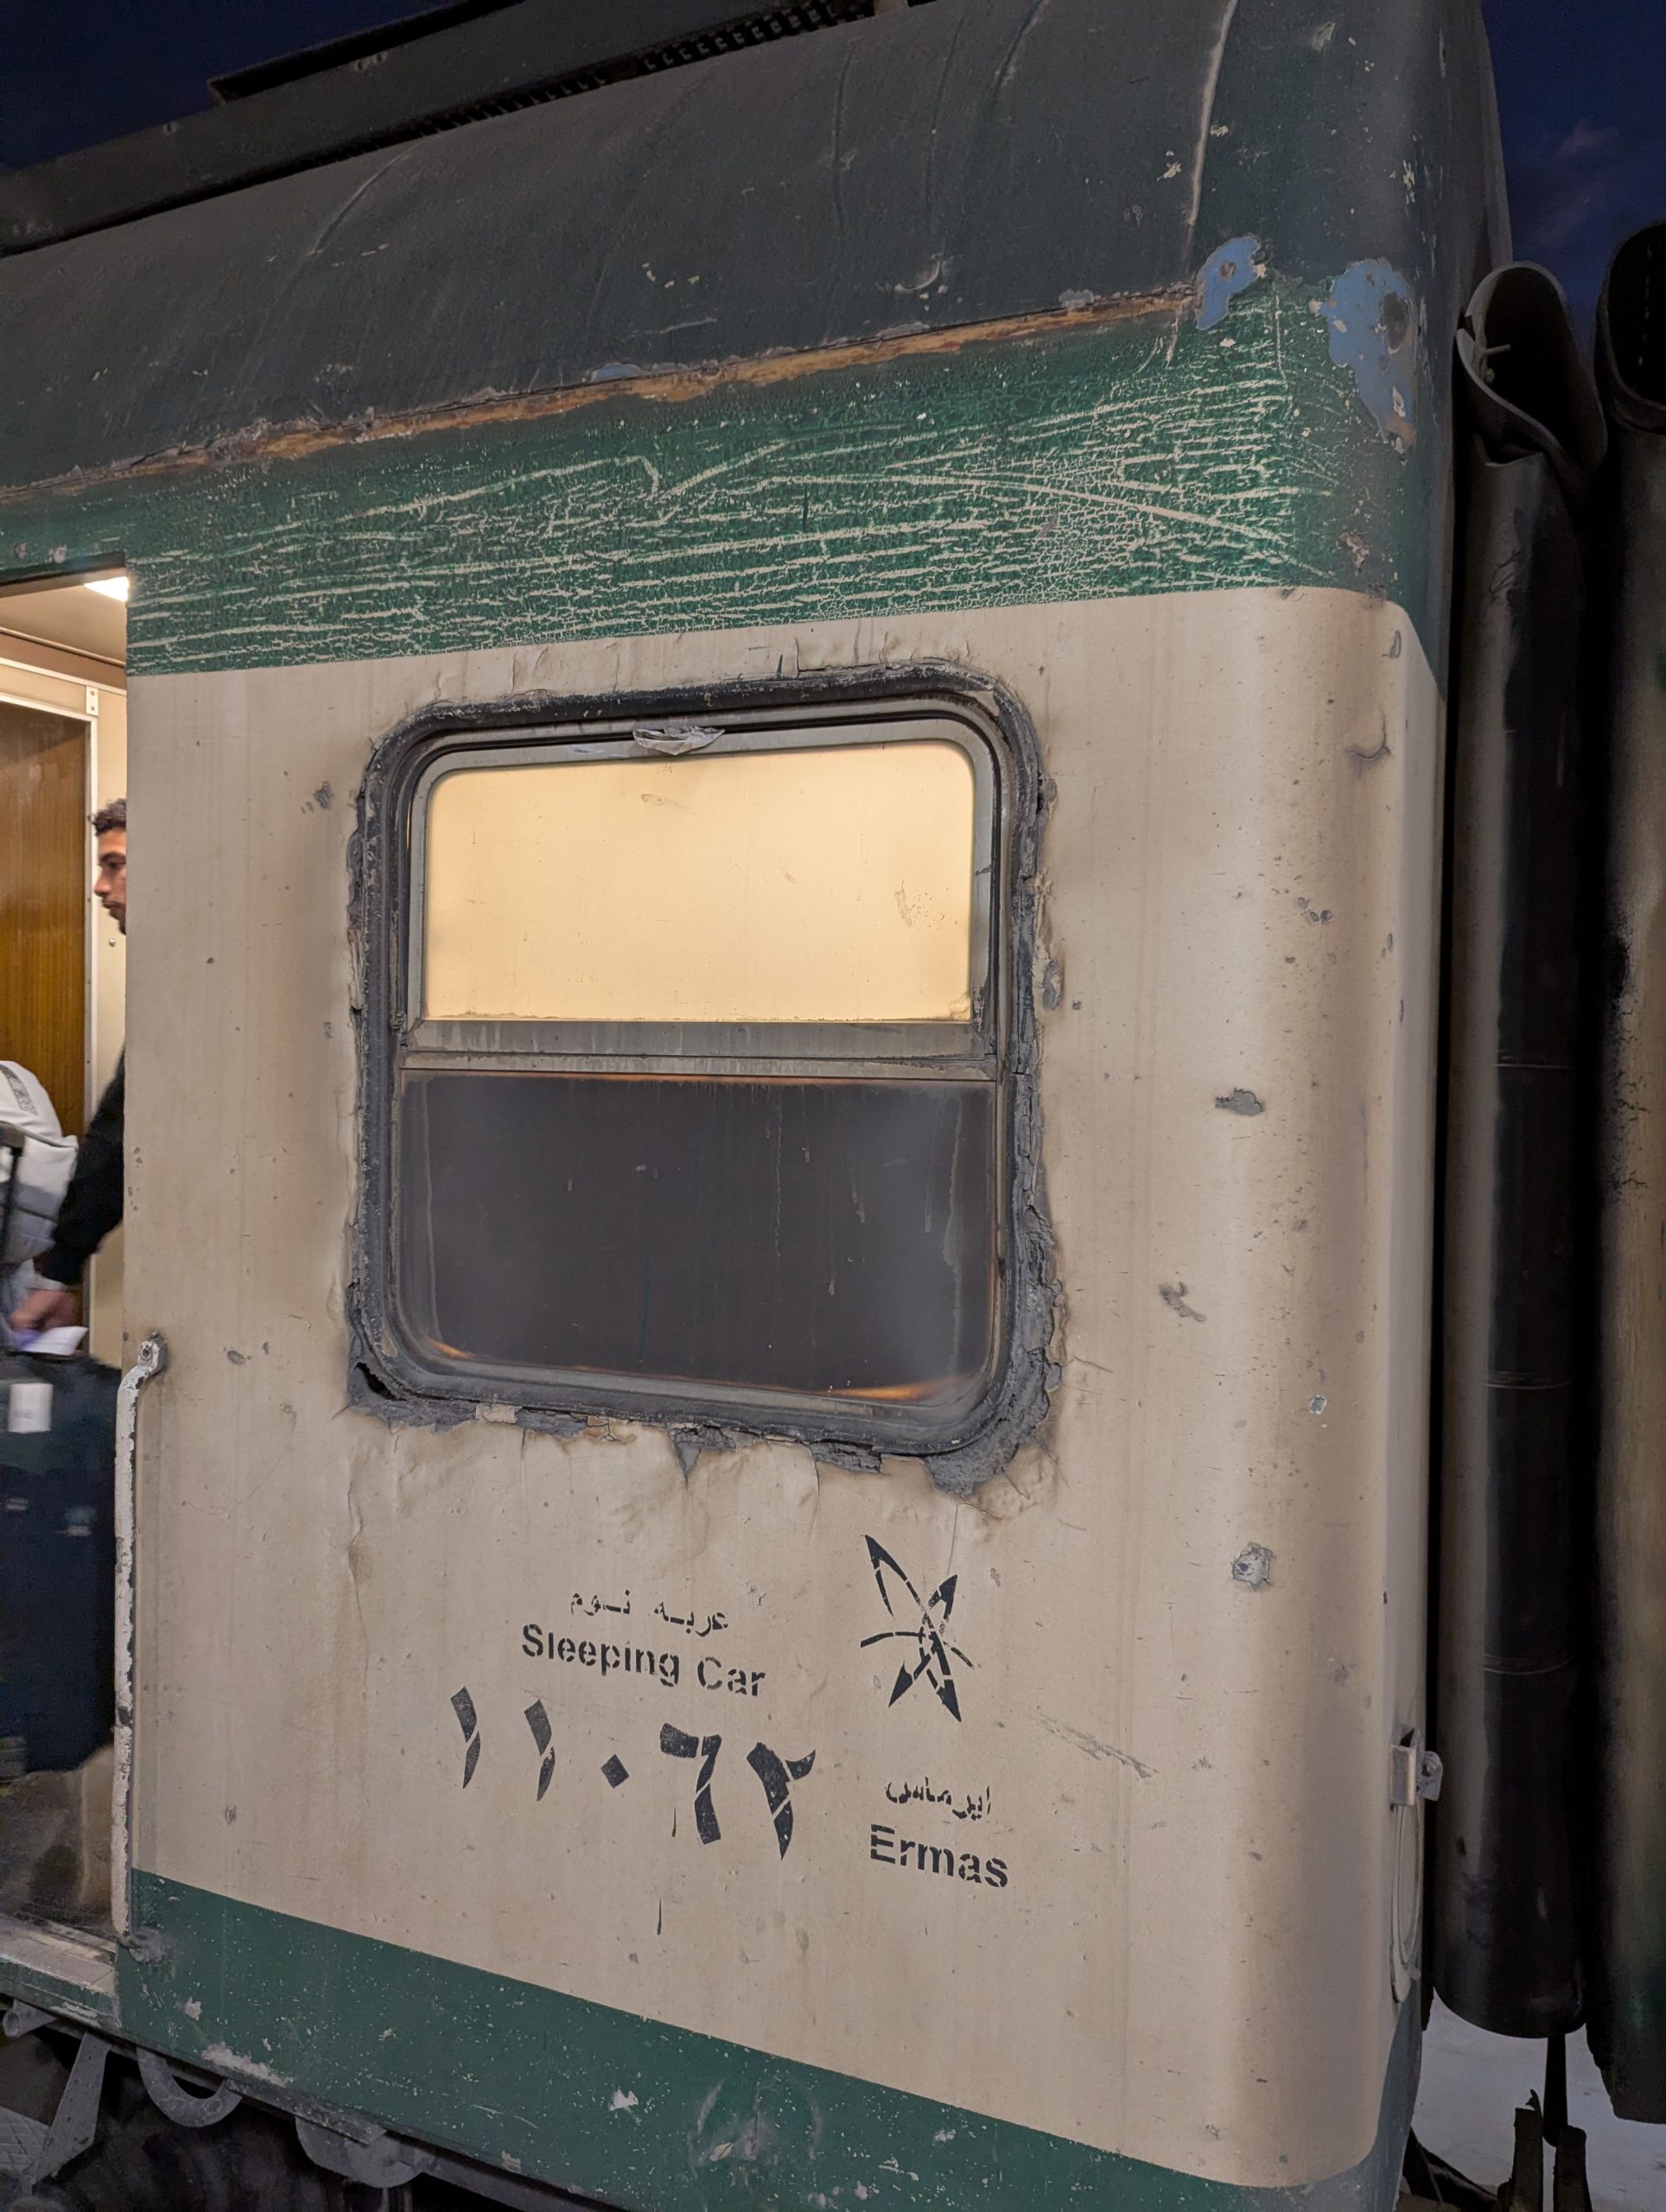
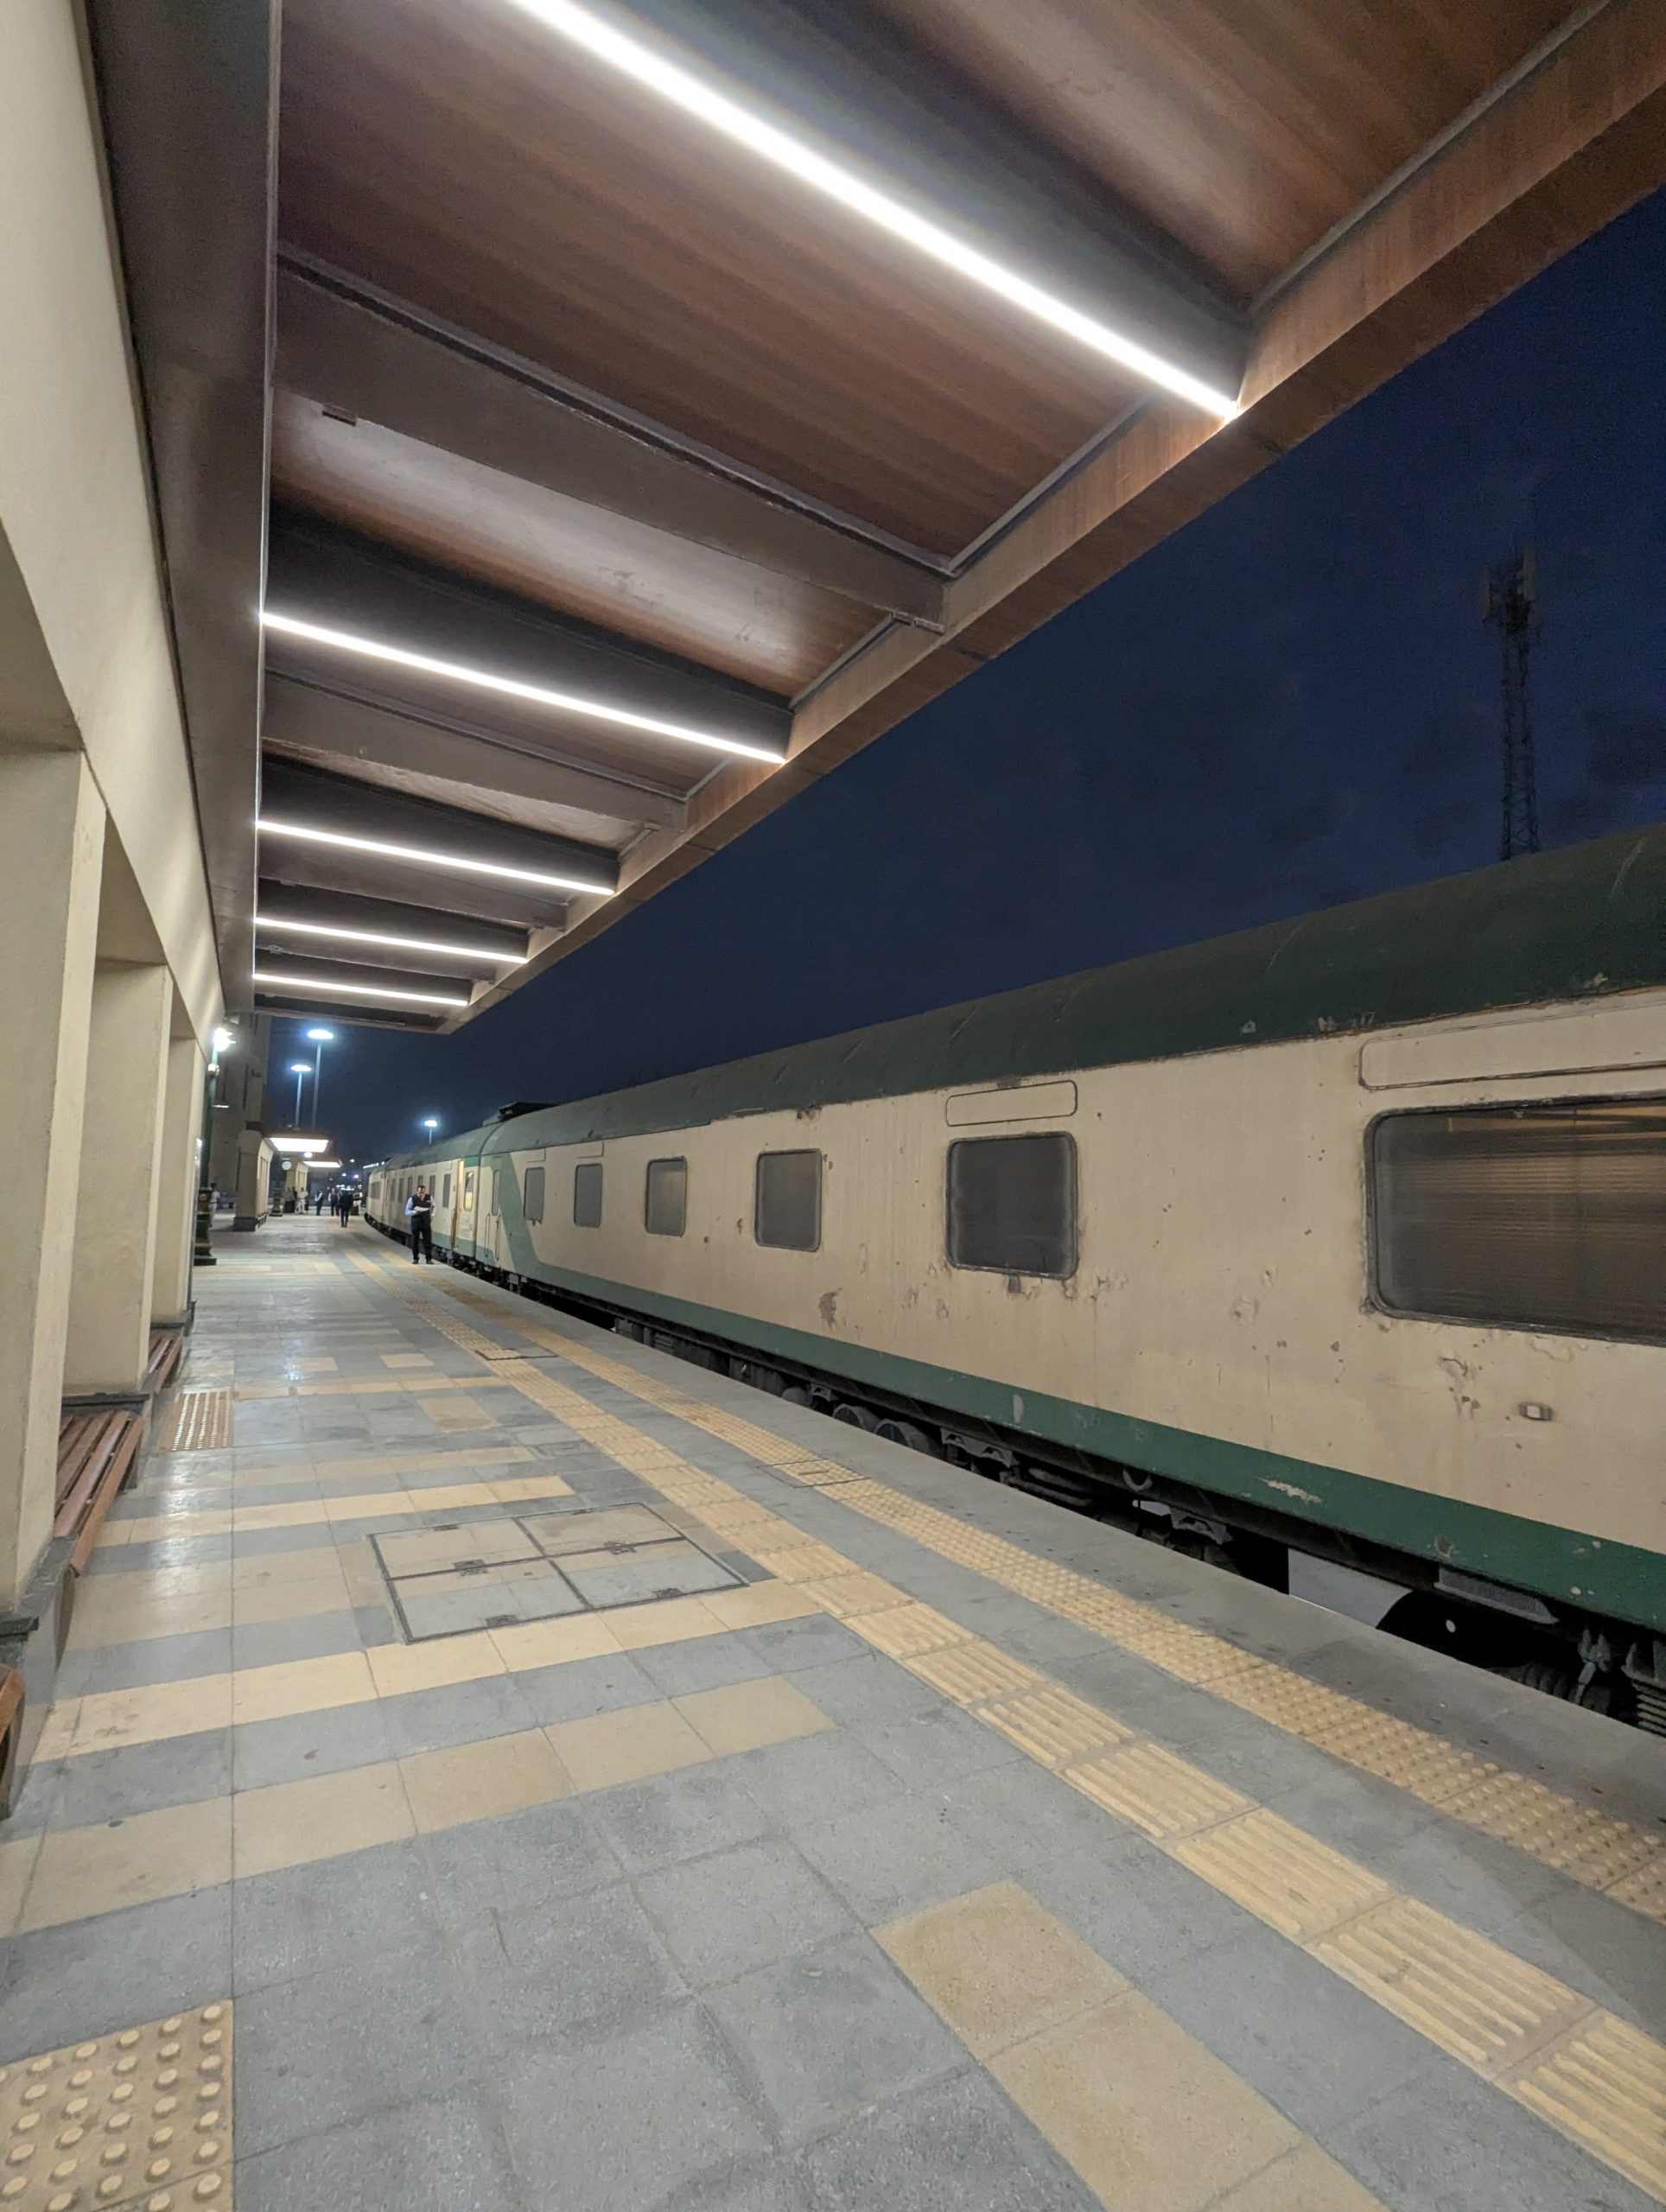
夜鋪火車 (Day 3 住宿)
開羅車站蓋的蠻漂亮的
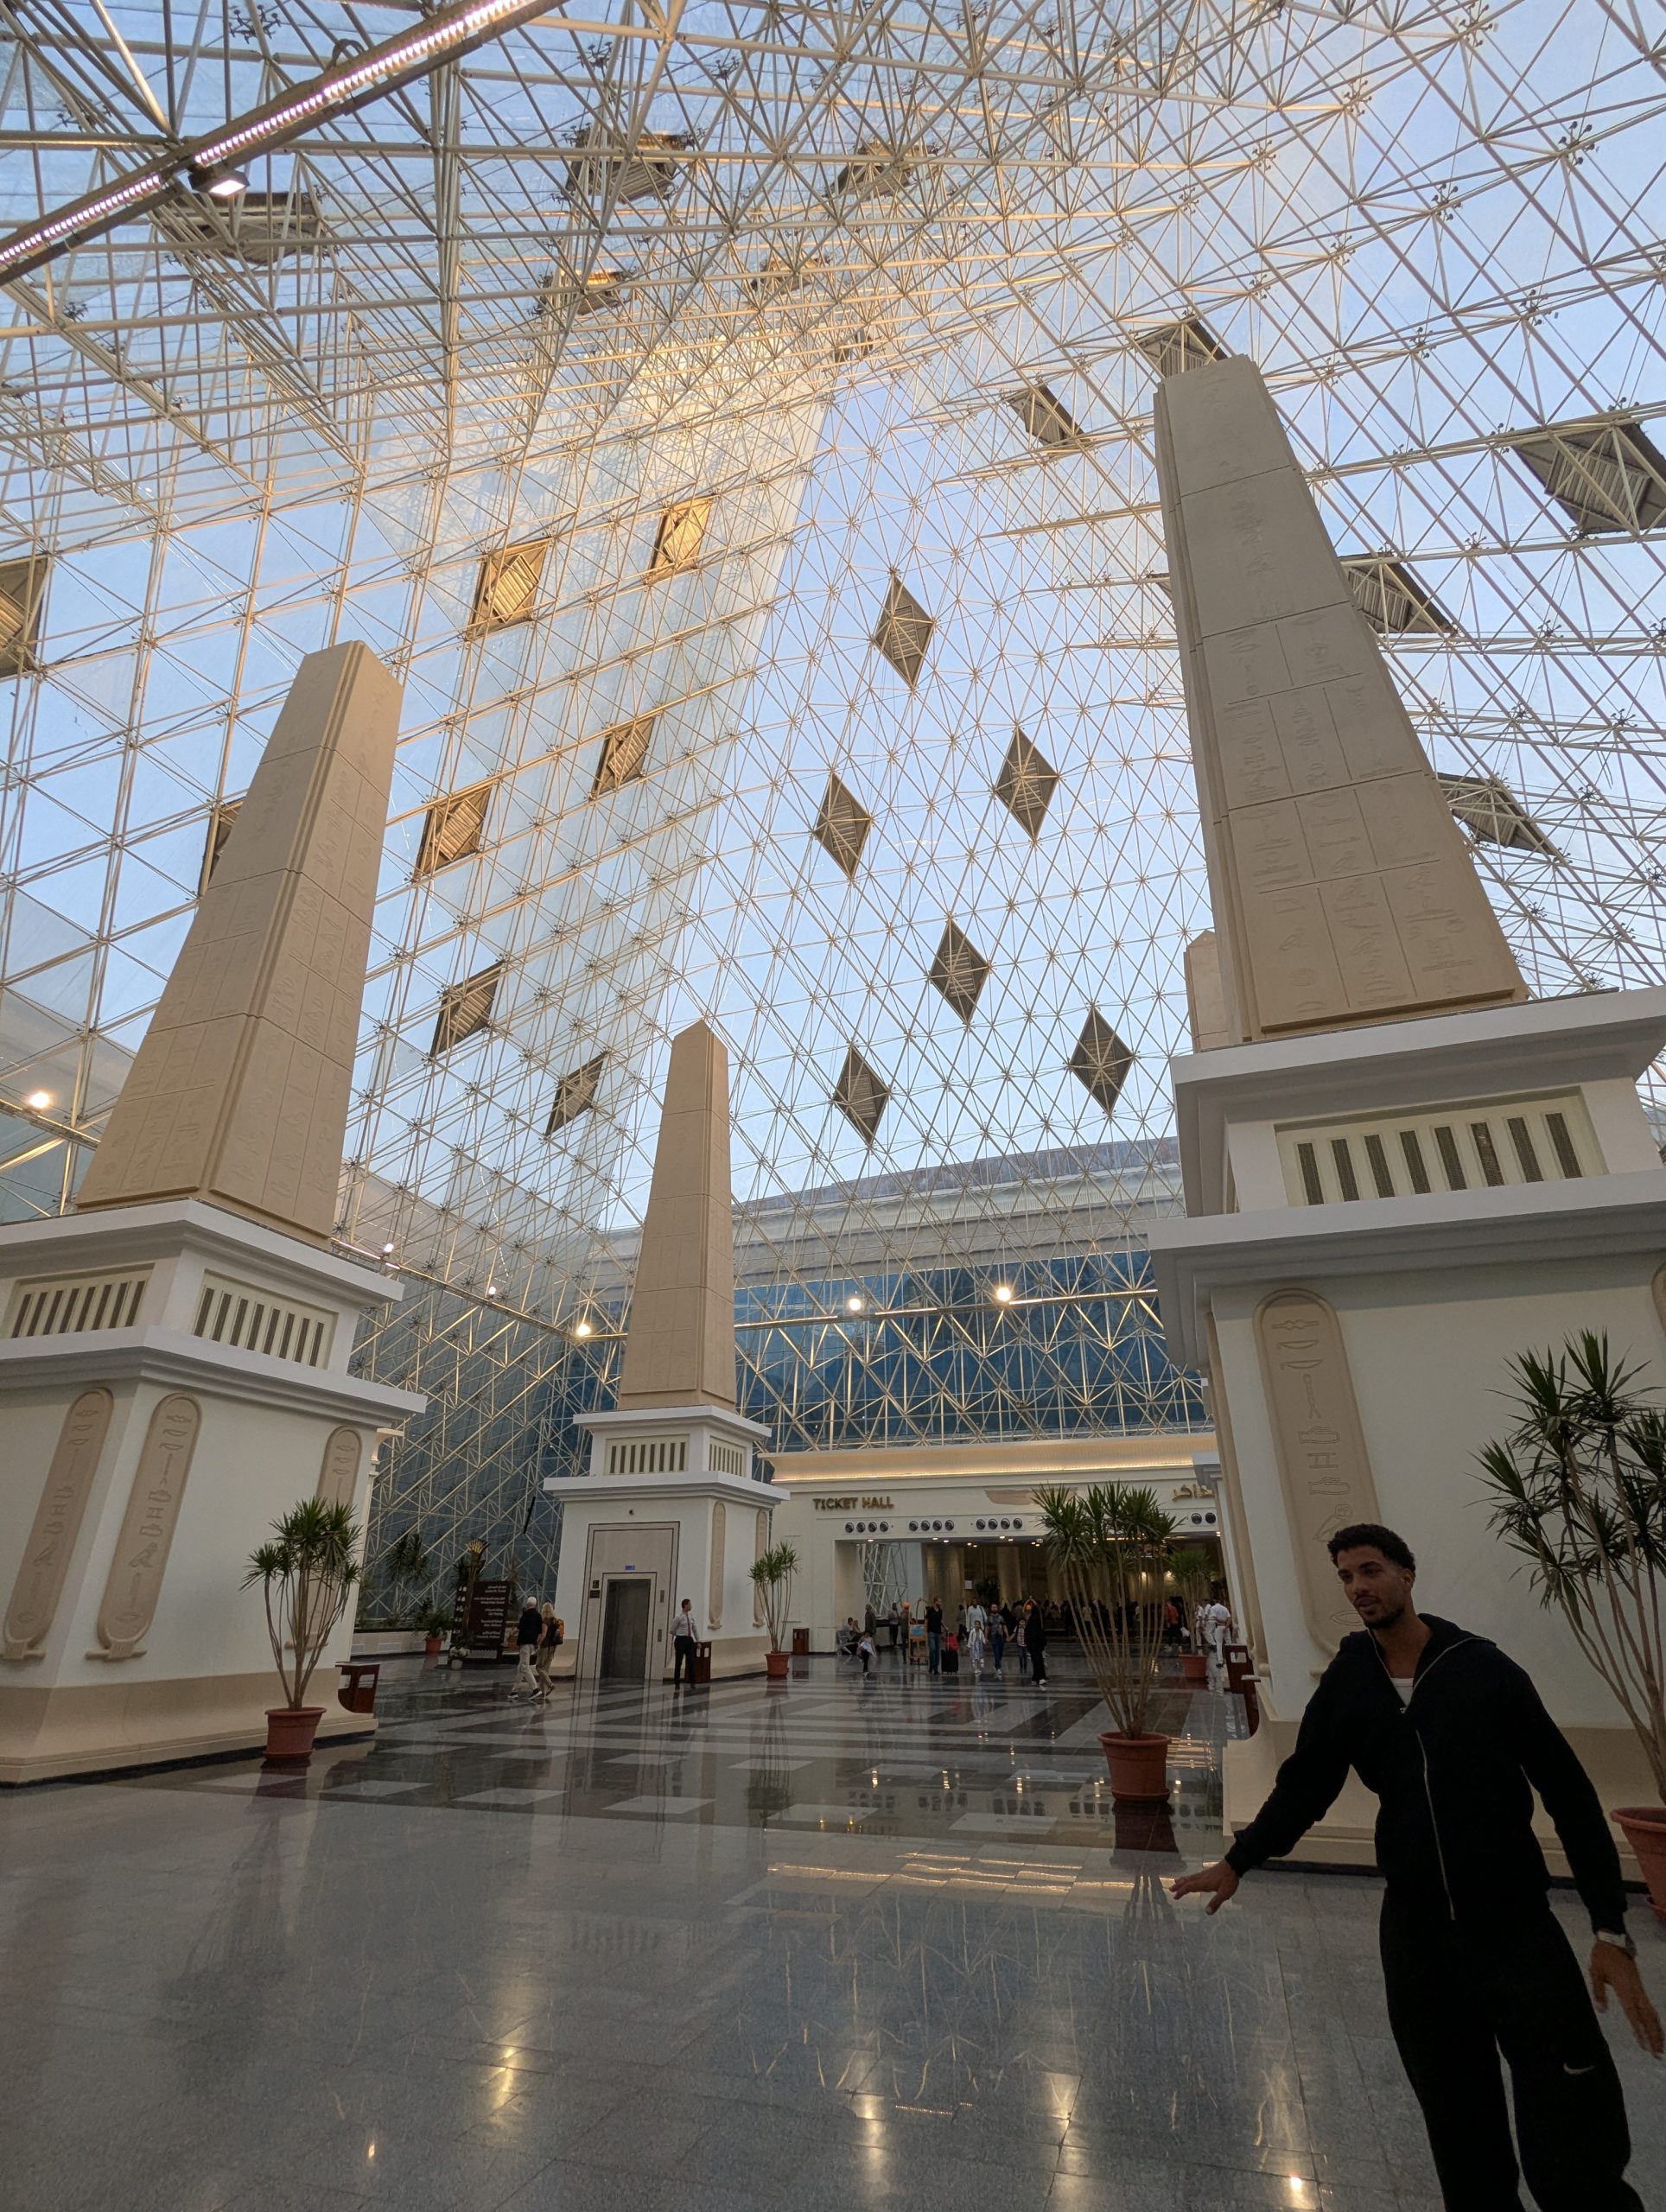
但火車看起就很舊
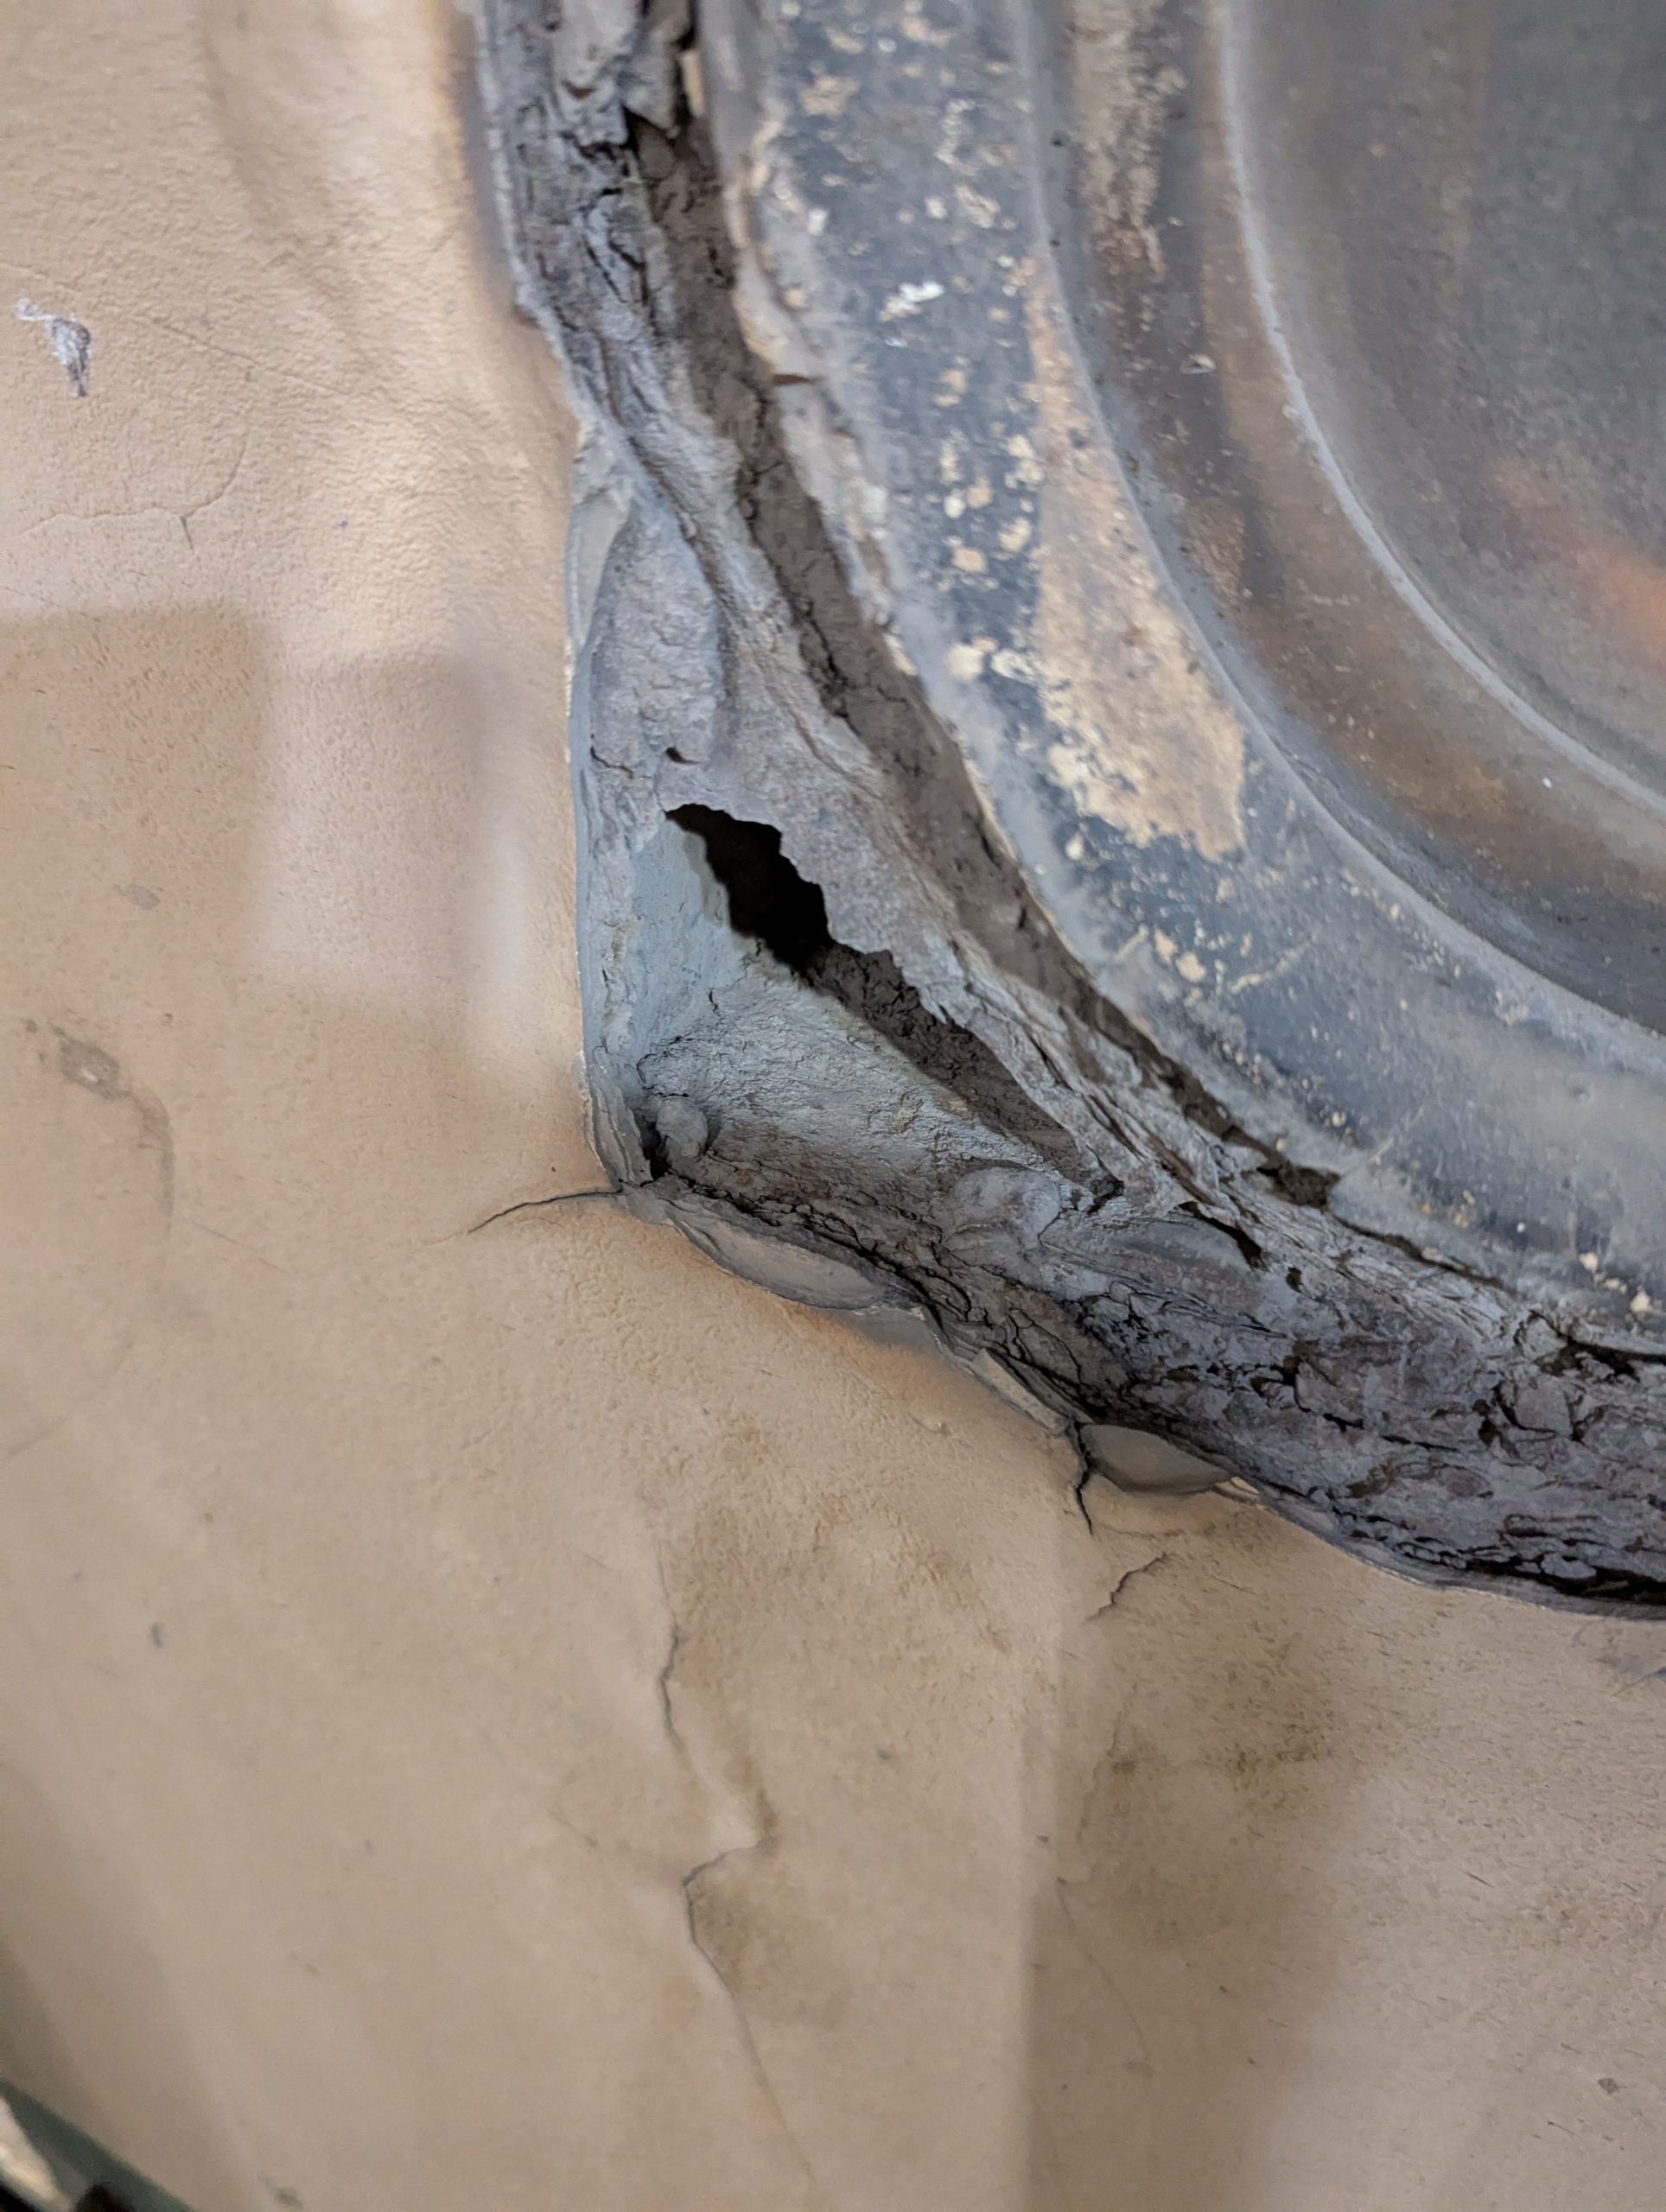
廁所雖然看起來很舊,但整潔程度算 OK
馬桶是直接連接到軌道上,所以乘客的日月精華也直接回歸大自然了 (ry
車廂內差不多是一張雙人床的大小,座位底下可以塞兩個 20 寸行李箱
整潔程度的話我認為是埃及平均水準,介意的人可以自行準備拋棄式床包
晚餐部份跟前幾天相似,不過肉偏柴份量多,也是硬撐吃完

看了各國的臥鋪火車那麼久,沒想到第一趟會是在埃及搭
我豪興奮阿
神廟、陵墓和河輪 (Day 4~8)
風帆船 (Day 4)
古蹟巡禮開始前一天的耍廢行程
當地人駕著帆船在尼羅河上繞一圈
中途還有遇到伊斯蘭禮拜時間 (~18:00)
在黃昏十分聽著兩岸禮拜的廣播特別有異國風情
蠻意外的是船主在回程的路上開始賣各種紀念品 XD
不過受到這幾天的埃及文化洗禮,已經知道可以看看不買
亞斯文大壩 (Day 4)
重要的發電儲水設施,現場武裝軍人維護秩序
河輪 - Royal Eillet
從 Aswan 啟程,沿著尼羅河航行,並停靠 Edfu 與 Luxor,也就是景點所在地
到 Aswan 河岸停了一排河輪,到後面幾天會一起移動
設備有屋頂泳池、付費 Spa、自助餐廳、簡單健身器材
會有人在泳池邊推銷 Spa 方案
因為會再船上停留三晚,可以考慮在這時候手洗衣服 (看好像也有花錢寄洗的服務,但沒用過)
如果恥度夠的話可以把衣服帶到頂樓海灘椅上曬,大太陽大概一小時就乾了
神廟、陵墓
非歷史專業,所以介紹全跳過,只寫心得~
阿布辛貝神殿 (Day 5)
拉美西斯二世和他老婆的陵墓
離河輪 4 小時車程,早上 0400 就出發,河輪有準備外帶早餐,但因為太早了大家一上車就開始睡
孔翁波神殿 (Day 5)
傳沿著尼羅河向下開
同時供奉老鷹神與鱷魚神的神殿,後面還有一個當時的醫院
出口處有鱷魚木乃伊博物館
荷魯斯神殿 (Day 6)
早上五點從河輪上搭馬車到神殿排隊,快到六點開放入場前門口人龍開始變超長
荷魯斯神殿保存的完整度,以及還沒天亮前的打燈,讓我覺得這神廟值得一去
盧克索神廟 (Day 6)
晚上參觀
帝王谷 (Day 7)
參觀了三座免費的陵墓
彩色壁畫過過了幾千年仍保留了一定程度的色彩
外面天氣很熱,但越深入洞穴內會越悶熱
卡納克神殿 (Day 7)
規模最大的神廟
後面還有兩個點:哈特謝普蘇特女王神殿、曼儂巨像,但因為團員太累了所以就直衝紅海渡假村
BTW 各神廟出口都會有大量紀念品推銷,和哈莉莉市集一樣可以自由殺價
紅海渡假村 (Mövenpick) (Day 9)
跑完最後一天的行程後從 Luxor 花 4~6 小時穿越西奈半島,抵達紅海邊
基本上就是來這邊耍廢的
泳池、海灘、滑水道、(付錢的) Spa、吃到飽自助餐
開羅市區與結尾 (Day 10)
- 沙草紙店
- 香精店
- 旅行設有派人來接送
飲食
水
- 旅行社推薦只喝瓶裝水,不要喝過濾水。我另外有喝桶裝水,感覺 OK
- 因為長途移動時可能沒地方買水,最長有可能 2 小時沒廁所,如果平常喝水量多的話建議在這段時間管制進水量
埃及本地食物
如同前面提到的,當地飲食都長很像
如果行李箱空間夠以及會想念台灣食物的話,可以帶幾包泡麵來解饞
河輪
- 午晚餐
- 冷盤、沙拉、甜點和水果是正常的
- 熱食整體偏鹹,疑似想讓遊客買付費飲料,飲料價格可能是台灣物價 2~3 倍
- 肉有一半機率是柴的
- 早餐
- 正常的飯店美式早餐
- 飲料是免費的
渡假村
- 有桶裝飲水機
- 自助餐
- 正常飯店自助餐,有幾道有埃及風格的菜
- 可以和服務生點免費軟飲,啤酒兩美金
文化
紀念品議價
對觀光客會把紀念品價格拉高
旅行社建議從三折開始砍,網路上有人說從一折
我自己感覺可以看完之後先離開,看網路上有沒有分享價格,因為部份商品 (磁鐵、毛毯等) 有可能是從統一源頭來
或是到大商店買 (e.g. 河輪的紀念品店),價格可能會比街邊小販合理的多
阿拉伯語
個人覺得有兩句很實用
- Shkran (謝謝): 拿來表示謝意,或讓窮追不捨的小販停下來很有用
- Habibi (親愛的): 可以用來打好人際關係 (?),比方說和餐聽的服務人員說這個字他們會很開心
網路
- 機場 WiFi 不好用,擔心的話可以先買一張便宜的 esim 當備用網路
- 當地網路可以在機場買 (單位流量價格便宜),我這次用 Orange,路上大部分有網路 (2G~4G 都有),是可以在長途移動上偷聽線上會議的那種 (?
- 另外也有人推 WE 的行動網路覆蓋率,也可以考慮看看
- Orange App 裡面的流量資訊可能不正確,實際用量可能要自己看手機的統計資料
- Day 1 的飯店有 WiFi,雖然只有上下速度只有 10/10Mbps,但連線穩定
- 河輪上的 WiFi 要買,但不知道為啥找到了一個沒鎖的 WiFi,測了一下好像也是接 Cellular 的,所以速度沒啥好期待,但流量免費 XD
- 河輪上房間內的收訊有可能不好
- Movenpick 也是 10/10Mbps,但只有 2.4 GHz WiFi,穩定度實在不行。但覆蓋率不錯,連海灘都收得到
參考資料
出發前做了一些功課,把有印象看過得資料放在這